
Continuation of Part 2
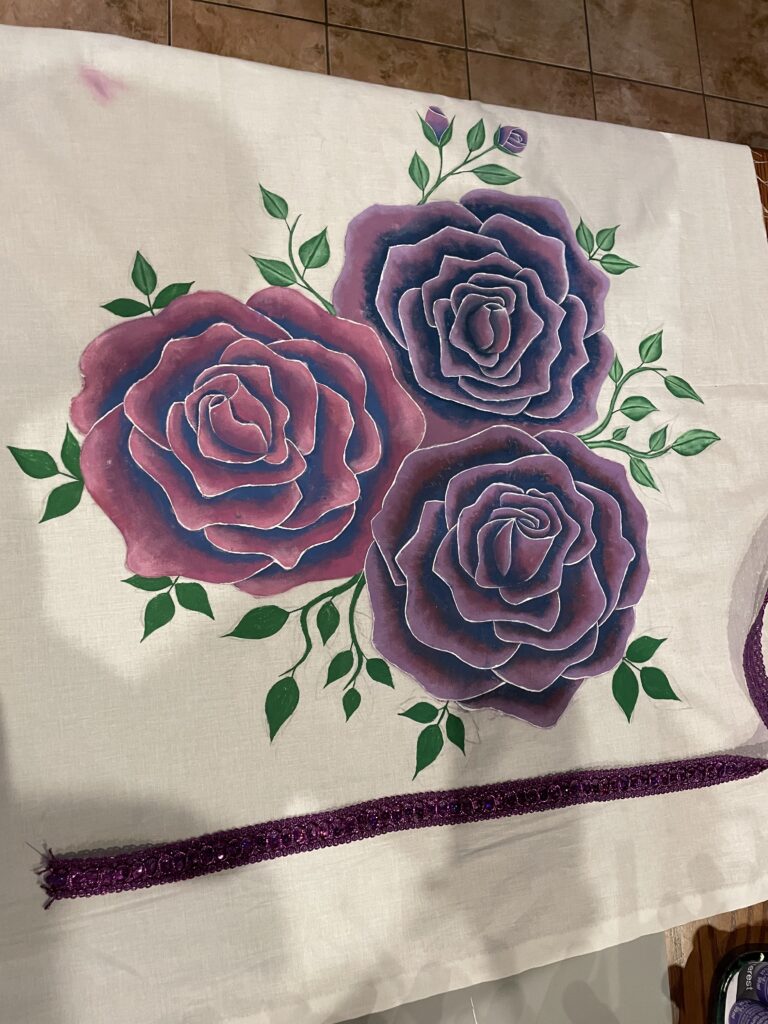
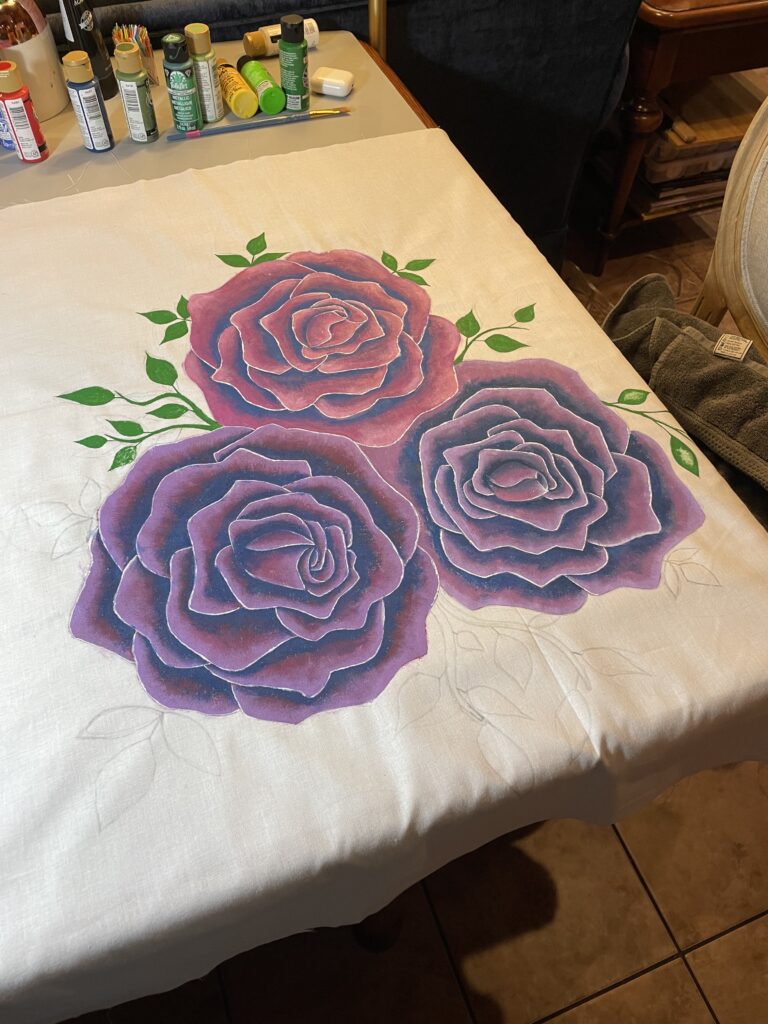
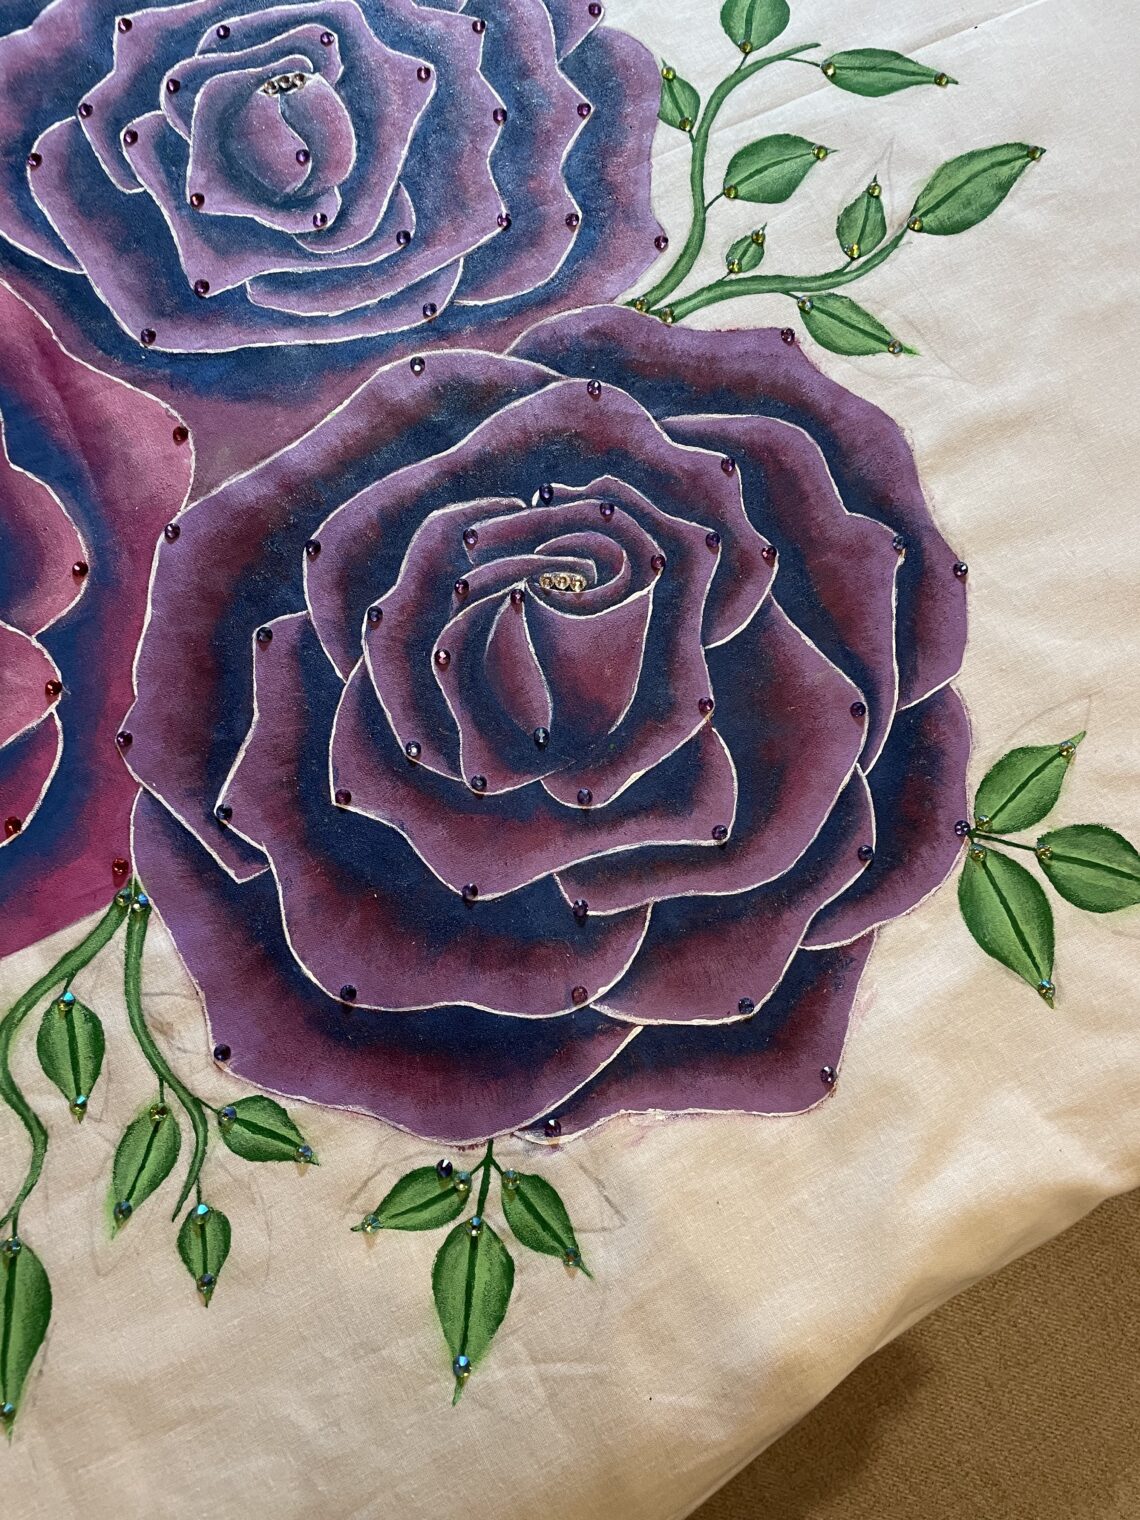
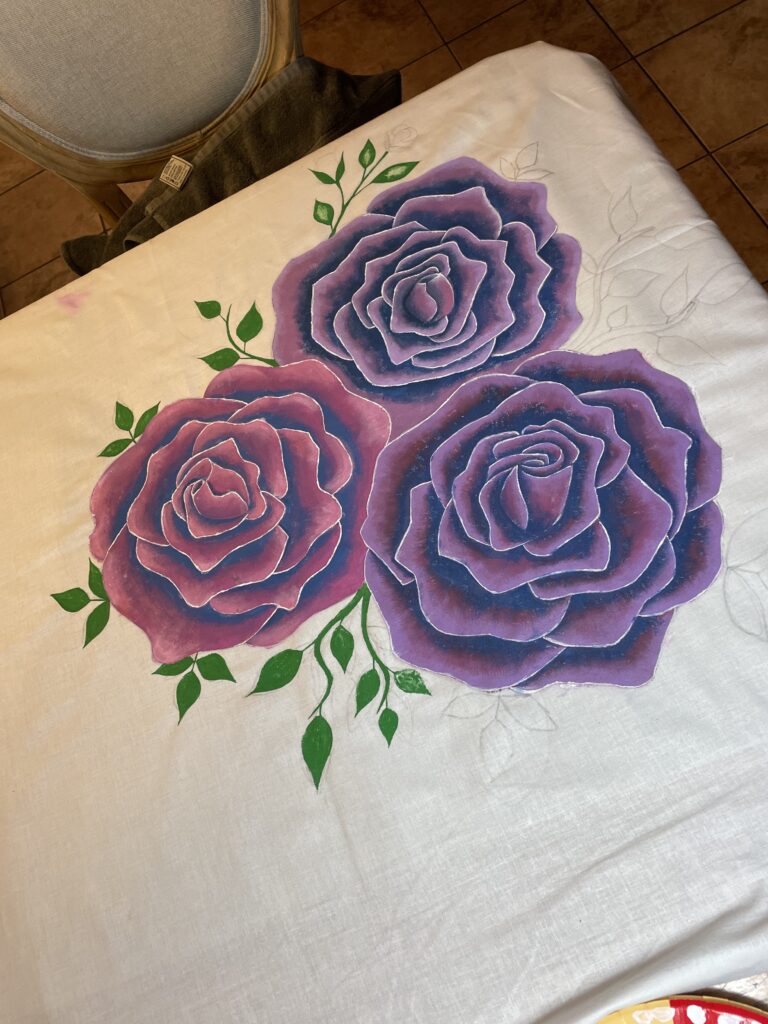
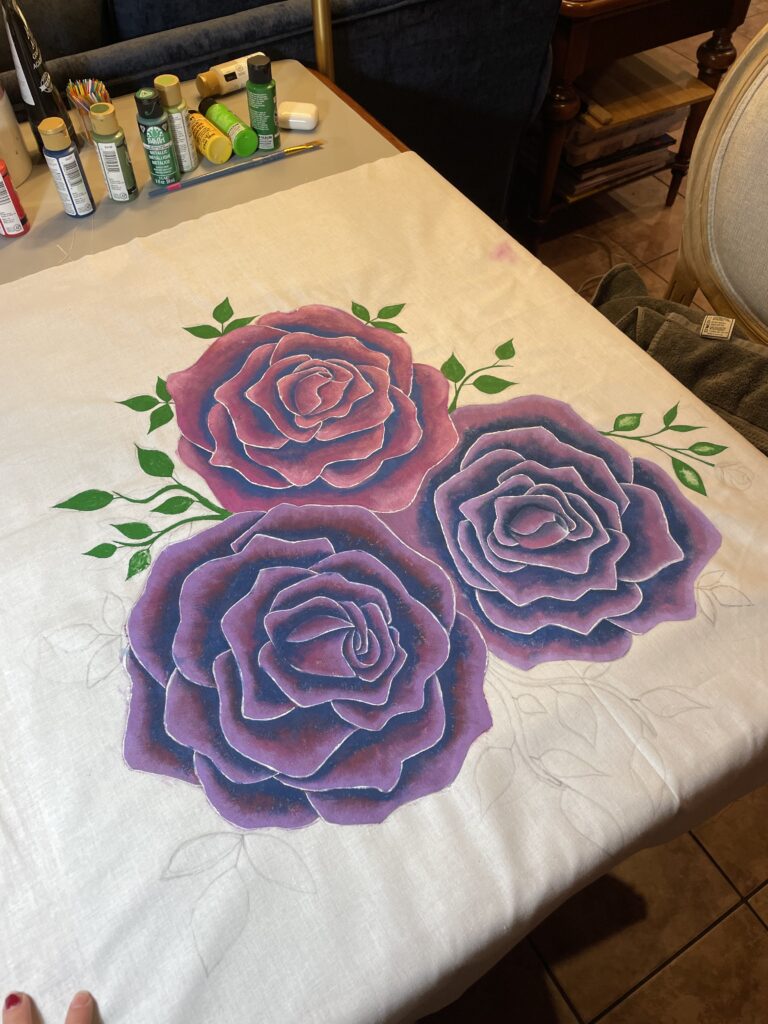
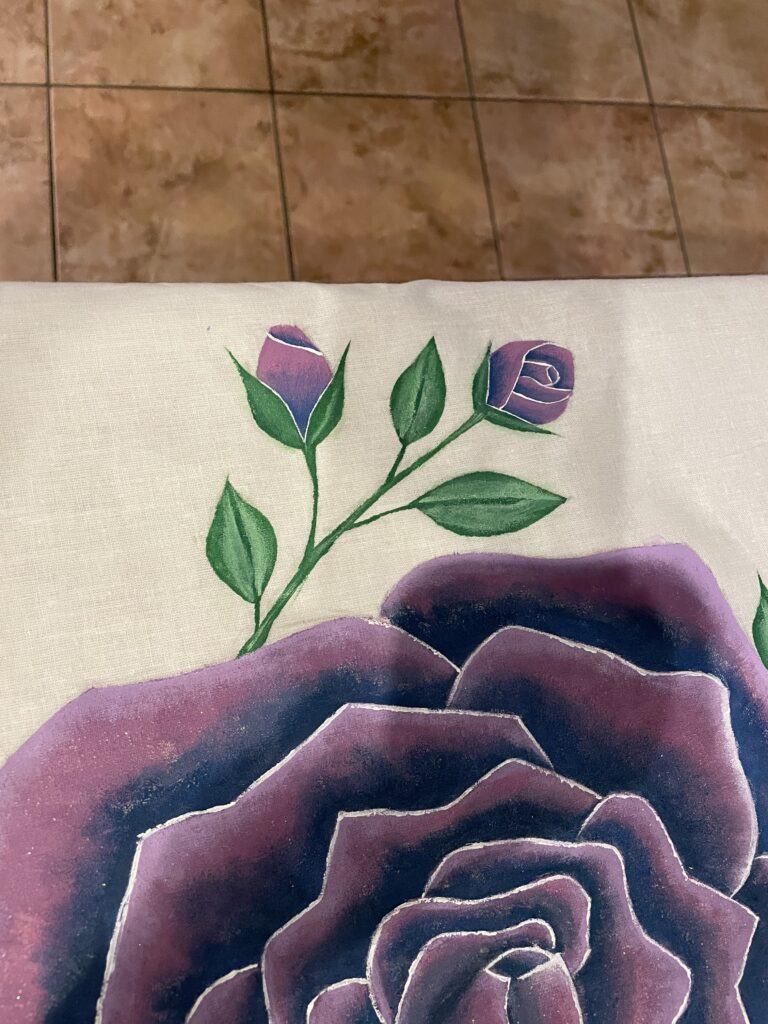
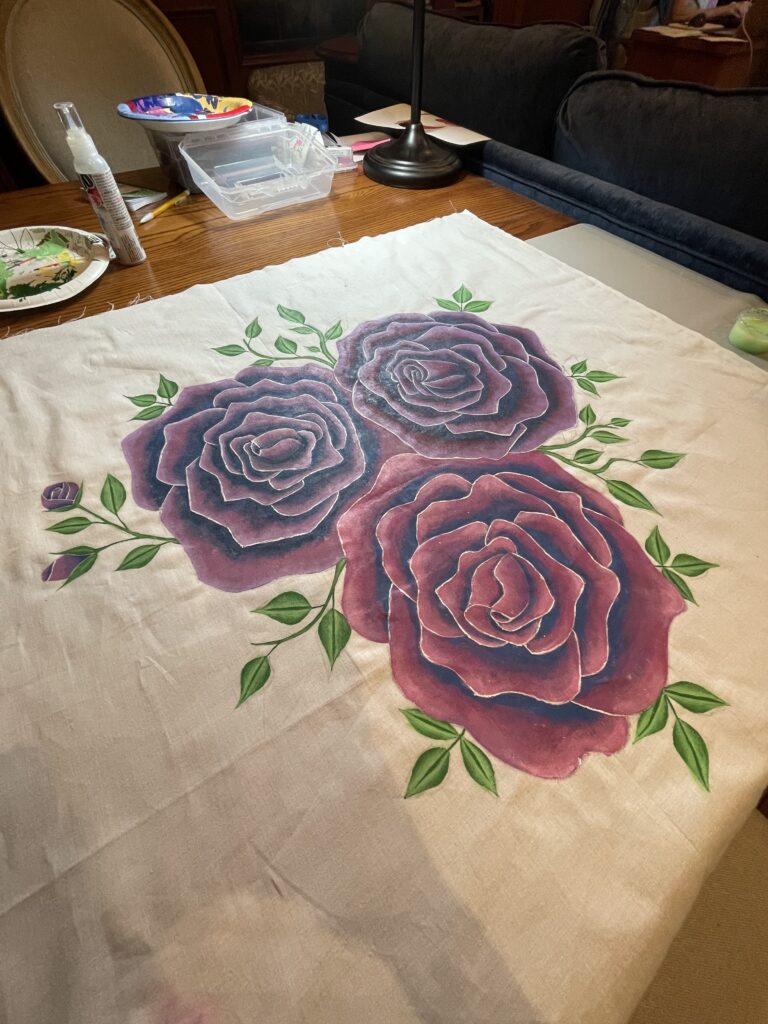
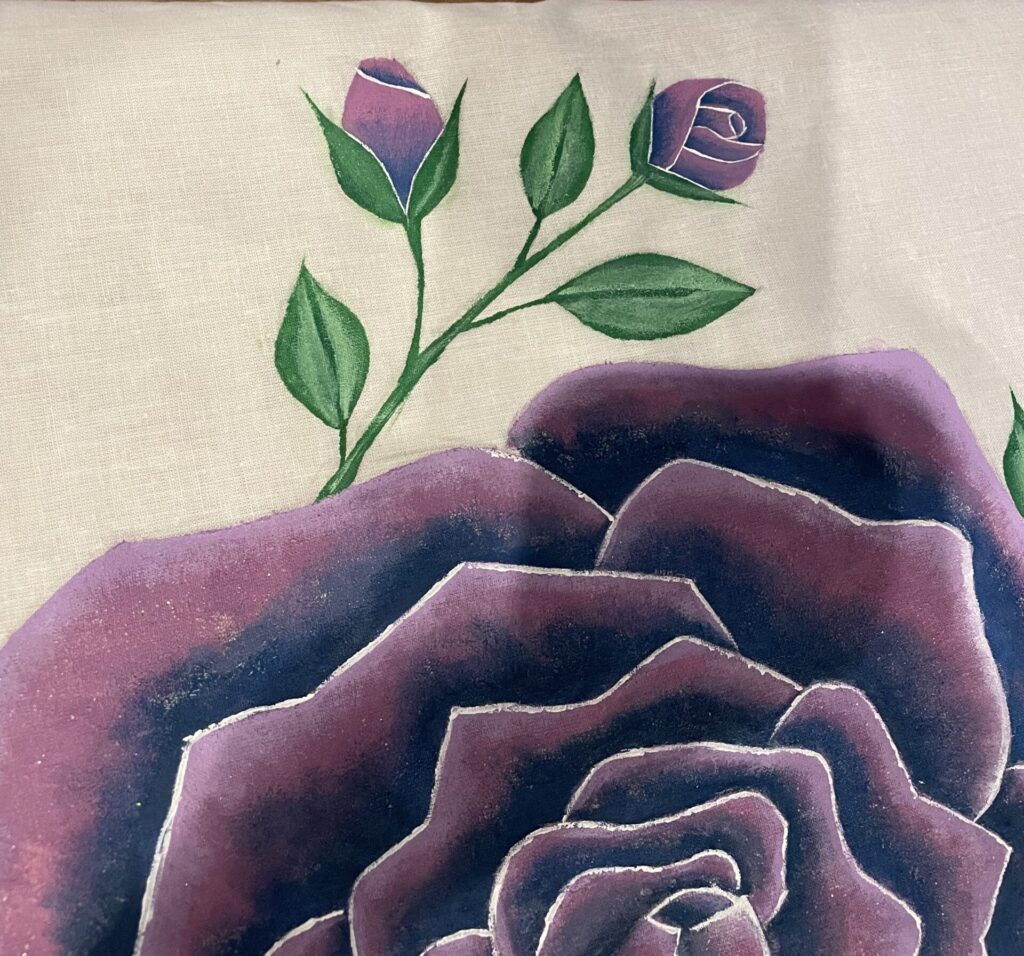
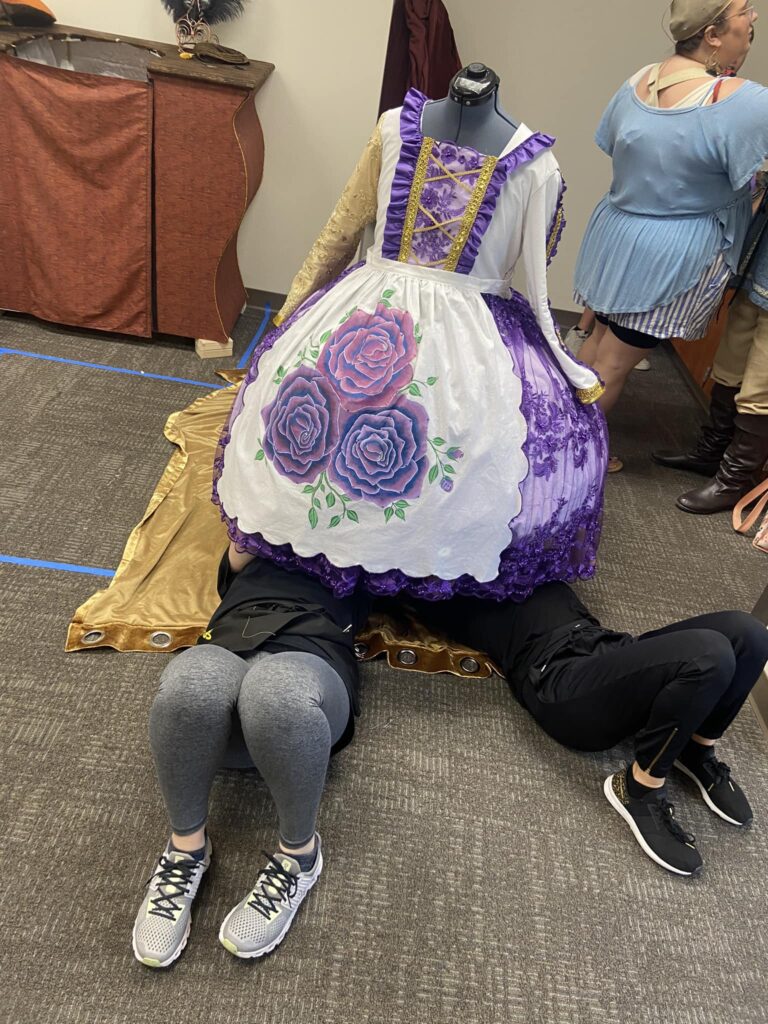
Once I finished painting the flowers I moved on to the leaves. I added a few vines and branches to get the leaves farther out and fill up a bit of the white space. To paint the leaves I laid down a dark green layer of paint and then added a light green layer while the dark green was still slightly wet. Once both layers were down I smeared the paint together to give it that nice gradient look. I ended up changing this method when I painted Chip’s roses. I thought it would be cute to have a tiny rosebud and a partially-opened rose so I added them to the edge of the roses.
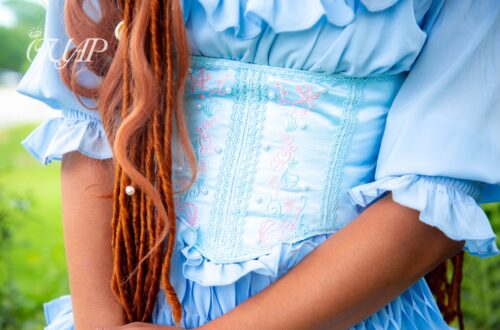
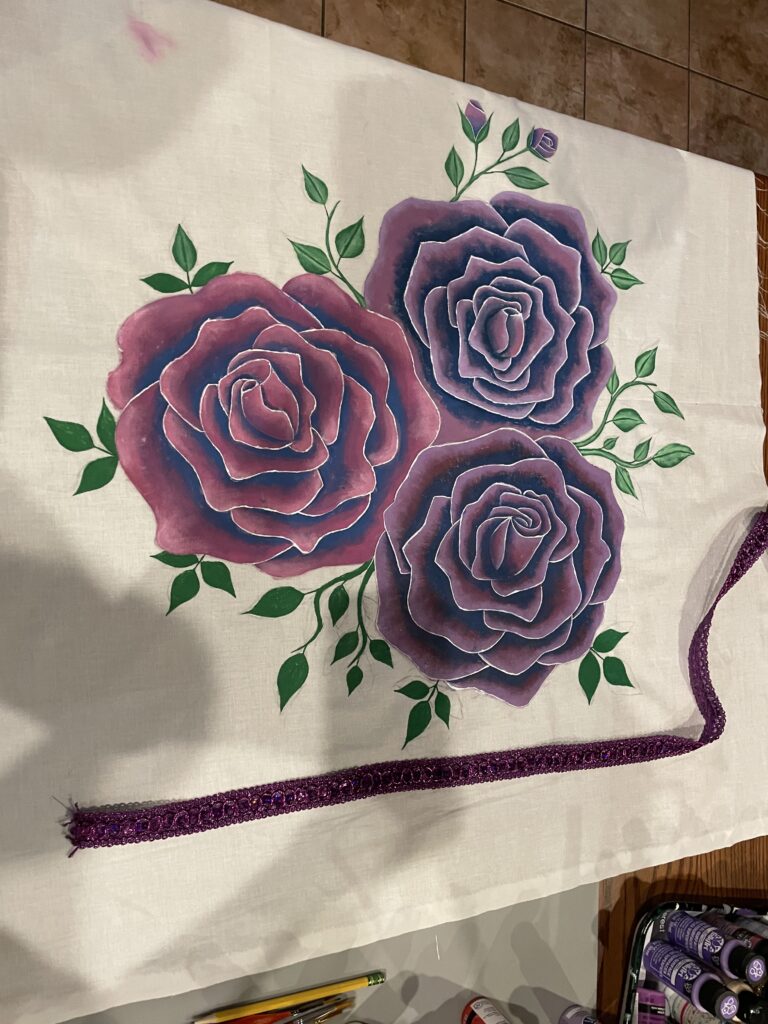
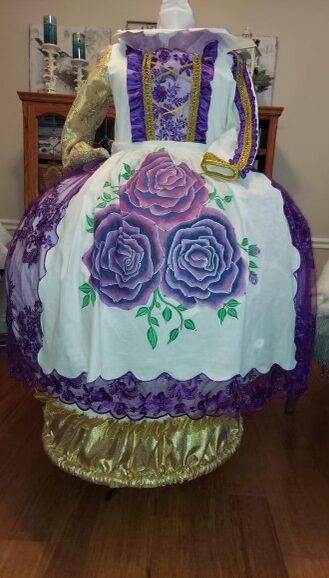
Once everything was painted and dried I moved on to adding bling. I use E6000 Fabric Fuse to glue the bling to the fabric, and you can’t move it once it’s placed. I first laid out the bling where I thought they should go and then got the placement approved by the director and MelRae. They wanted the roses to catch the light but not look gaudy. Once everything was settled I began gluing the bling down. Once the bling dried I had officially finished my part of the Mrs. Potts apron!
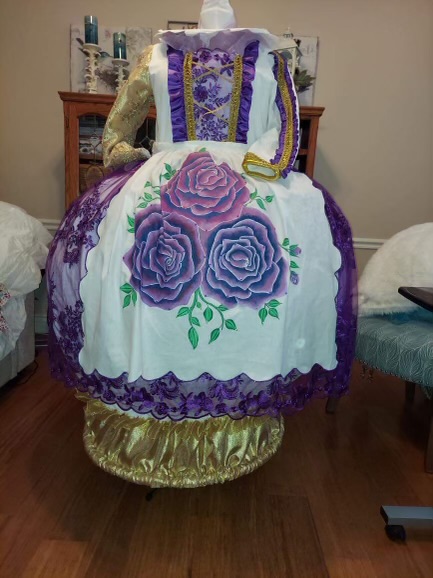
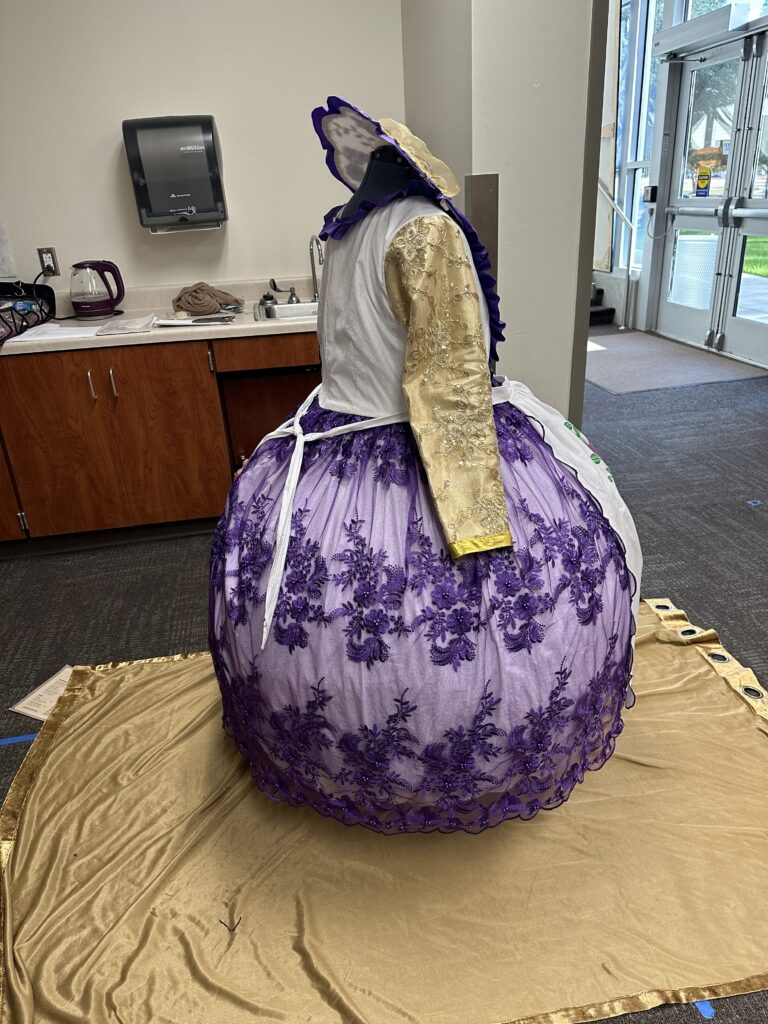
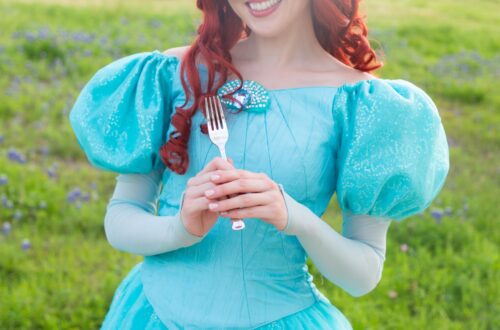
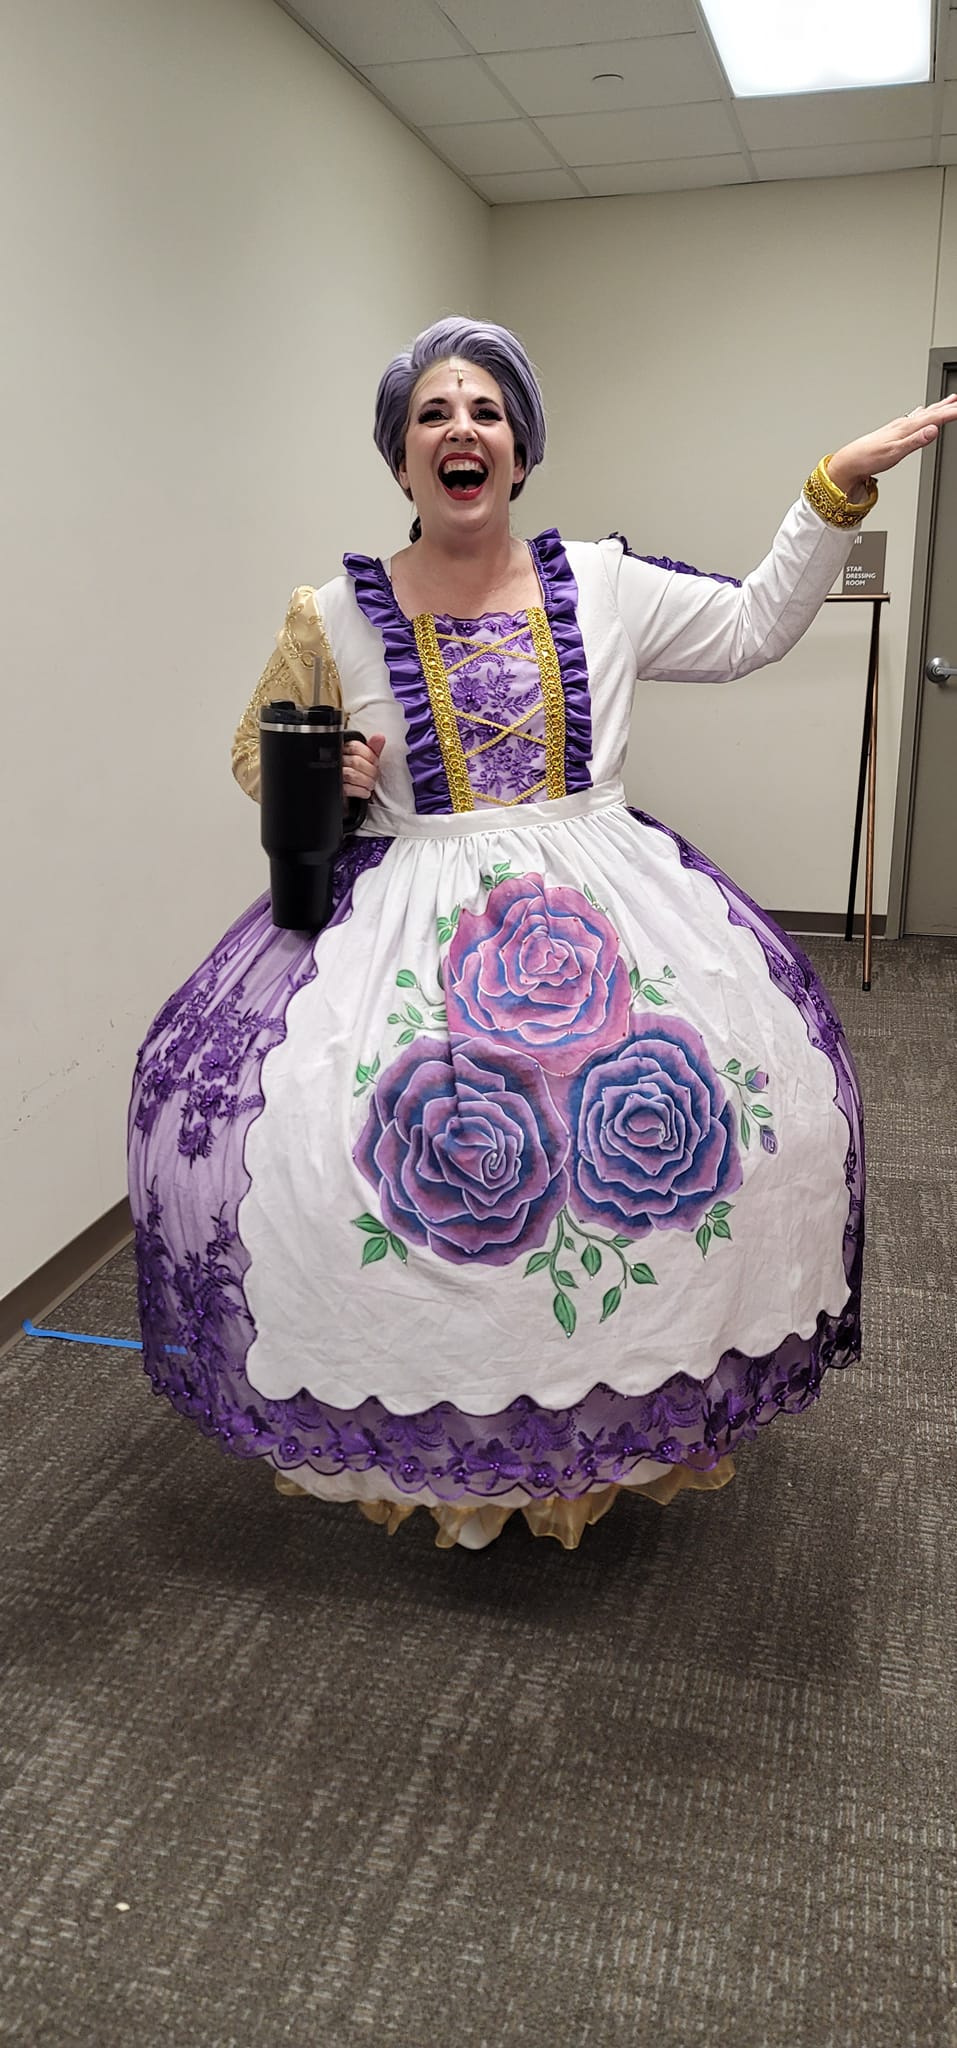
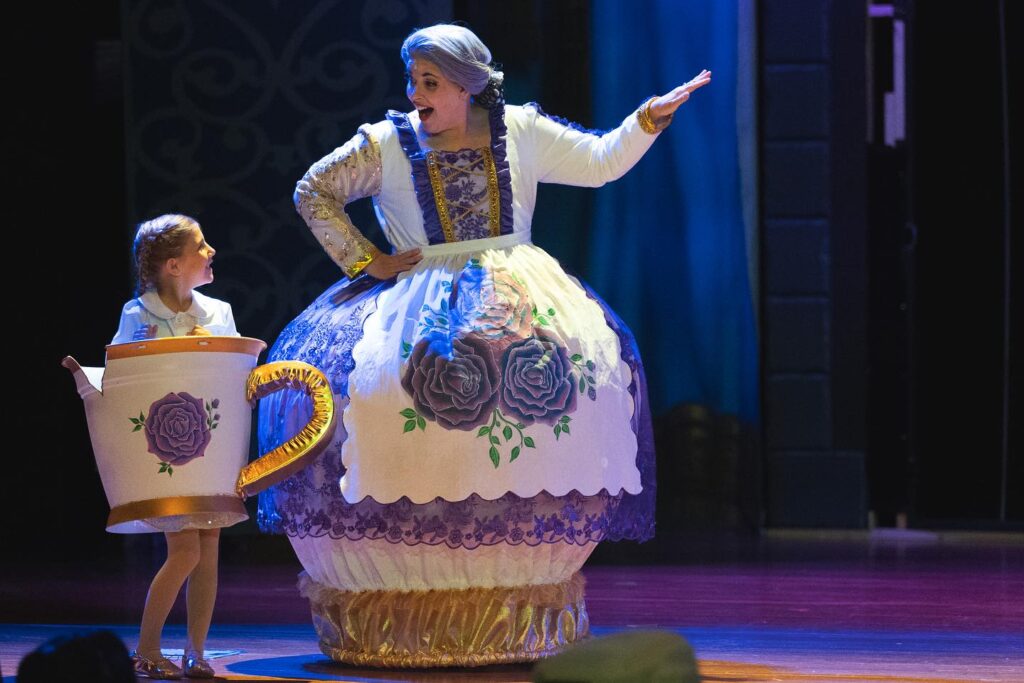
We sent all the materials and design sketch to costumer Lisa Lamberson, who masterfully brought the researched, prototyped, and brought the concept to life. Sophie Pullen detailed out the teapot collar, and the talented Jennifer Acevedo was the perfect embodiment of Mrs. Potts on stage.
Here are a few of the products we used!
E6000 Fabric Fuse
Jollin Flatback Rhinestones
FolkArt Textile Medium
Plaid Flat Brush, Gold Taklon
*As an Amazon Associate, we earn from qualifying purchases.*