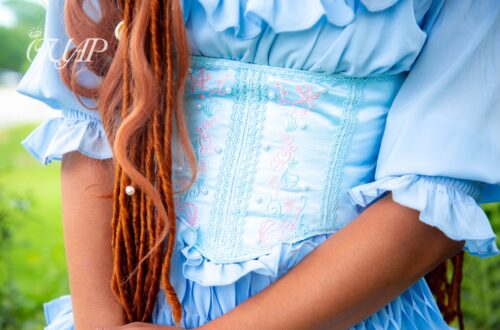
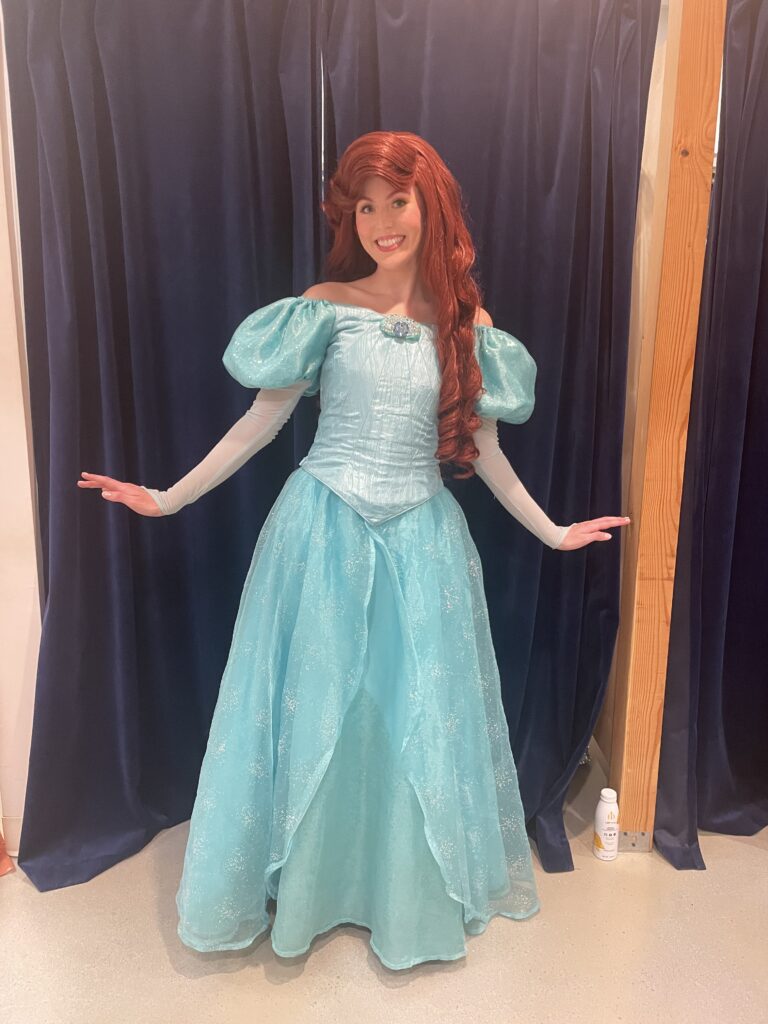
Our friends at Once Upon a Party have a dainty Ariel who needed alterations so she wasn’t swimming in her gown. (Get it? Ariel swimming in her gown? Anywho…)
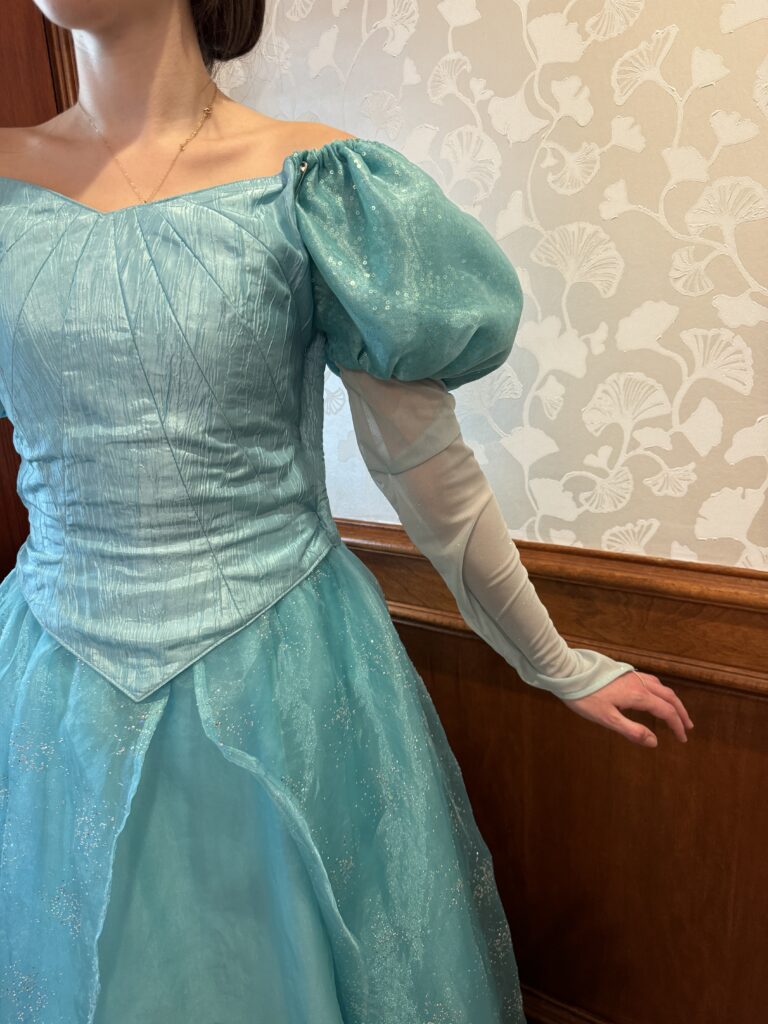
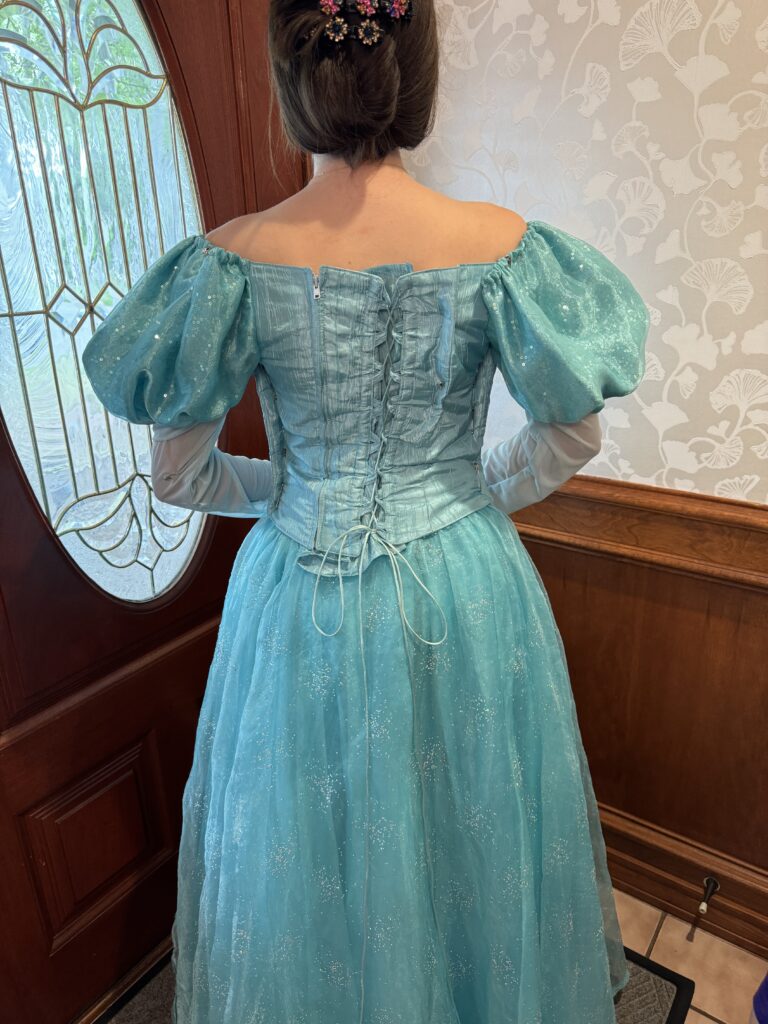
Ariel’s dress is 4″ too wide around her bodice, and the front and back yokes need to be more narrow. The sleeve caps hang too far down her arms, so we will shorten those up, and add a little structure into the sleeve to help maintain the fullness. The sleeves are more than 2″ too long (they are pinned up under the sleeve cap in these pictures, and they are too wide and baggy on our petite princess. We need to add the brooch to the center front of the bodice, and the client requested additional and more rigid boning. Let’s grab our dinglehopper and straighten things out!
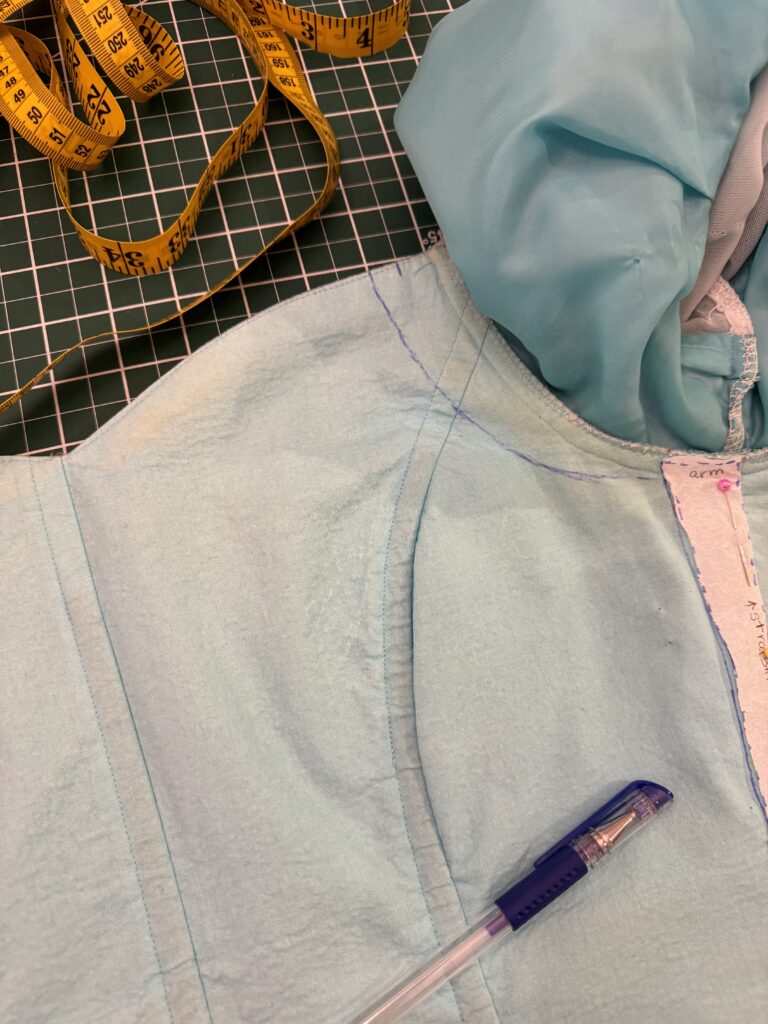
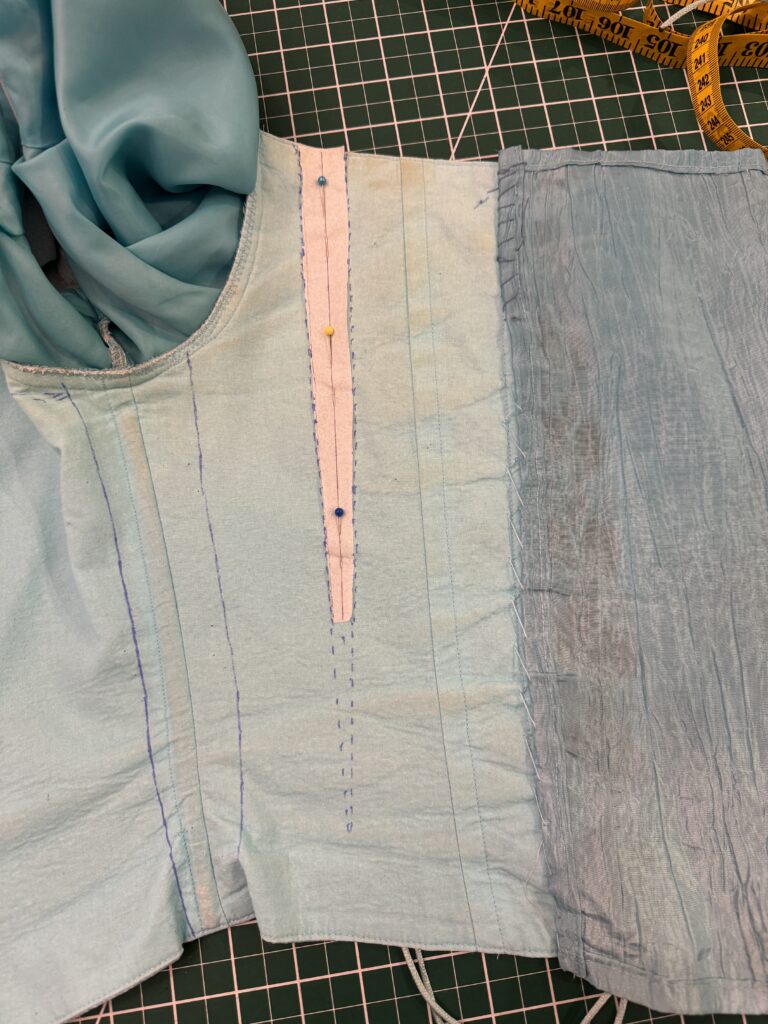
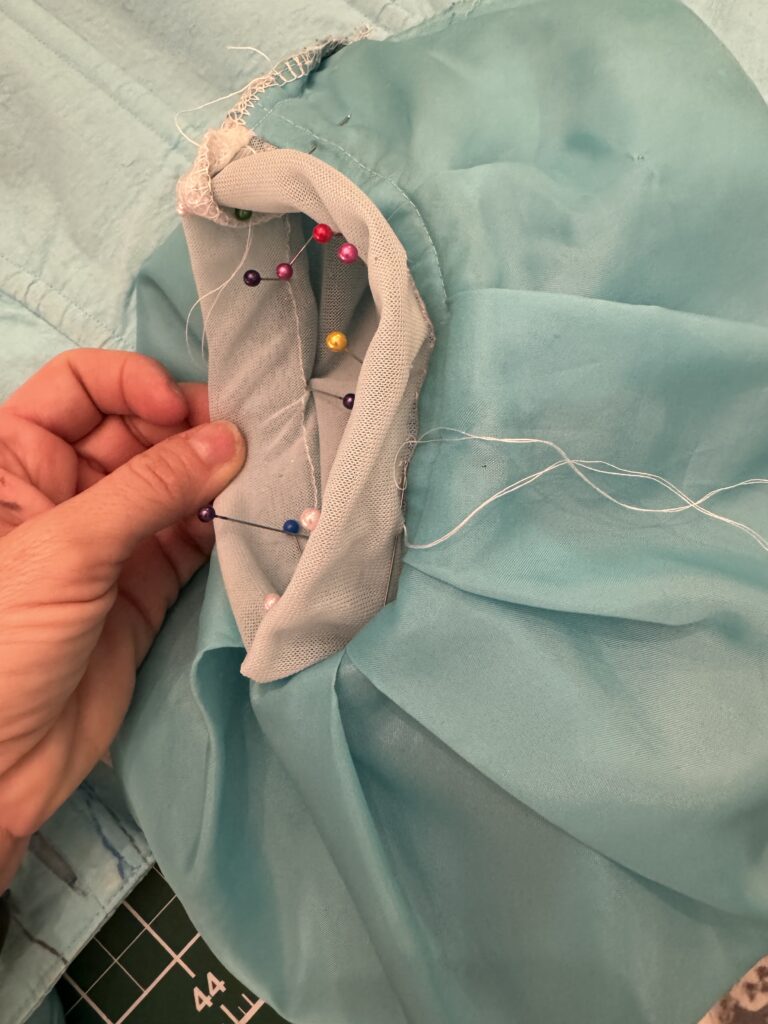
The first thing I did was to translate all those safety pinned folds into evenly distributed, well-placed markings on the inside of the bodice. For example, I measured how much I folded up at each arm, added both folds together, and divided by two. This way I take the same amount out from each side of the bodice, leaving the beautiful point and seams right at the center of the gown. This folded out amount tapered to nothing at the side seam, so I sketched that onto the fabric, then traced that shape onto a piece of pattern paper, flipped it, and drew the exact same curve at the opposite arm.
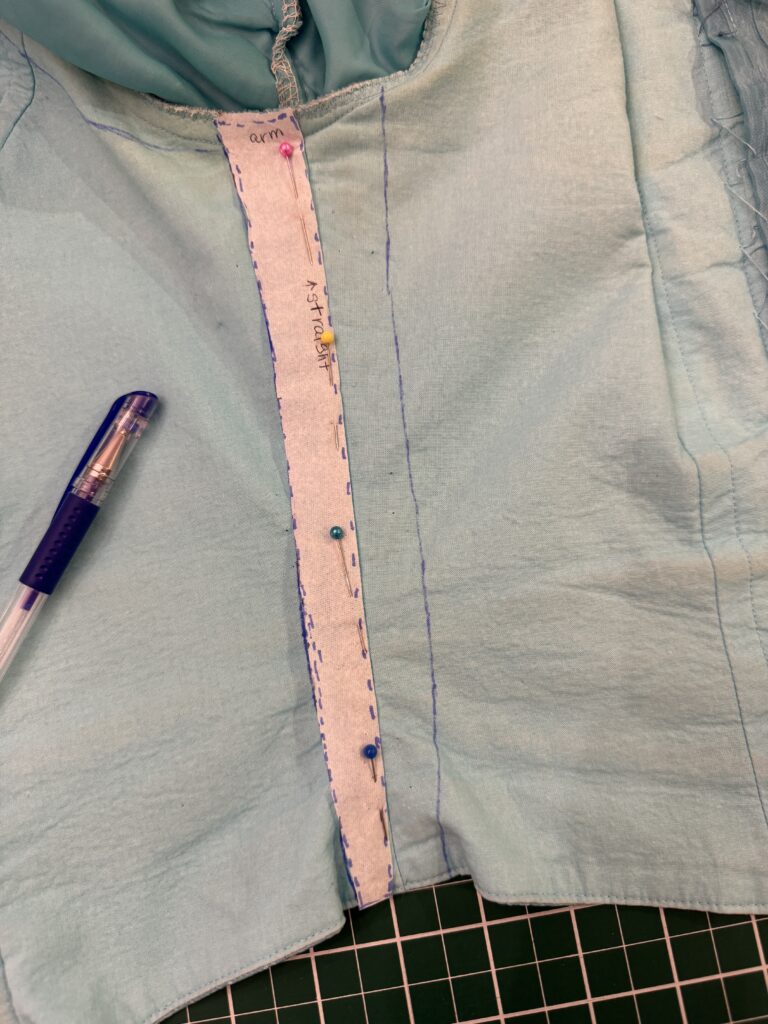
I followed a similar method at the side seam. I measured the total of the fold amount on both sides at several points down the side seam, and divided that amount by four. Wait! Why four instead of two? Because I want to create a shape that goes evenly down the seam – taking the exact same amount out of the front and back on both sides. I mapped out all the math on a piece of pattern paper and labelled which edge goes at the armhole and which edge goes at the seam. I placed this pattern piece on the the bodice and drew four lines. It’s really hard to describe with typed words – if you look at the picture, it should make a lot more sense!
The last patterning was for a dart that tapers down the bodice back to almost nothing just below the waist. Following the same method of adding together the fold amounts and dividing by four, this time I sketched a long, narrow triangle to create the dart shape. Because there isn’t an existing seam line to follow, I drew a mark at the center of the back panel at the top of the dress, and the NEW center of the back panel at the waist. I used these two points as the center for the dark, and placed the pattern piece along that center. (Of course, I repeated this same dart on both sides of the bodice back.)
For marking on this type of fabric, I use Madam Sew Heat Erasable Fabric Marking Pens. When we iron later in the process, these marks will disappear – it’s fabulous! There are four colors, so I can usually mark on whatever color fabric I’m working with.
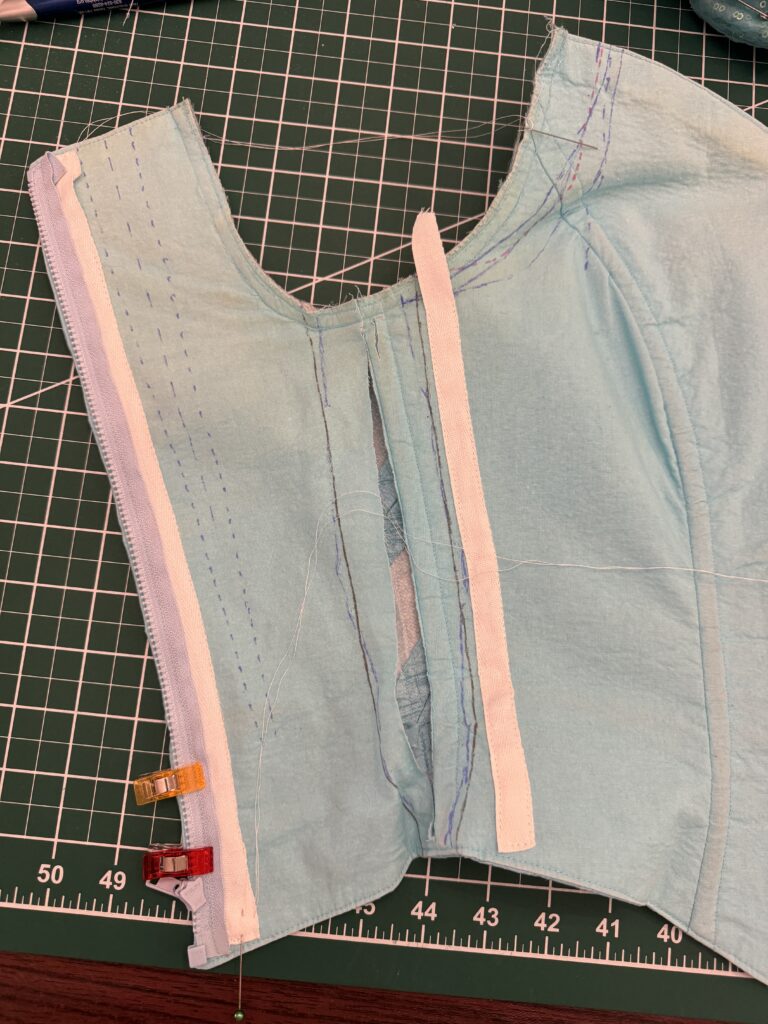
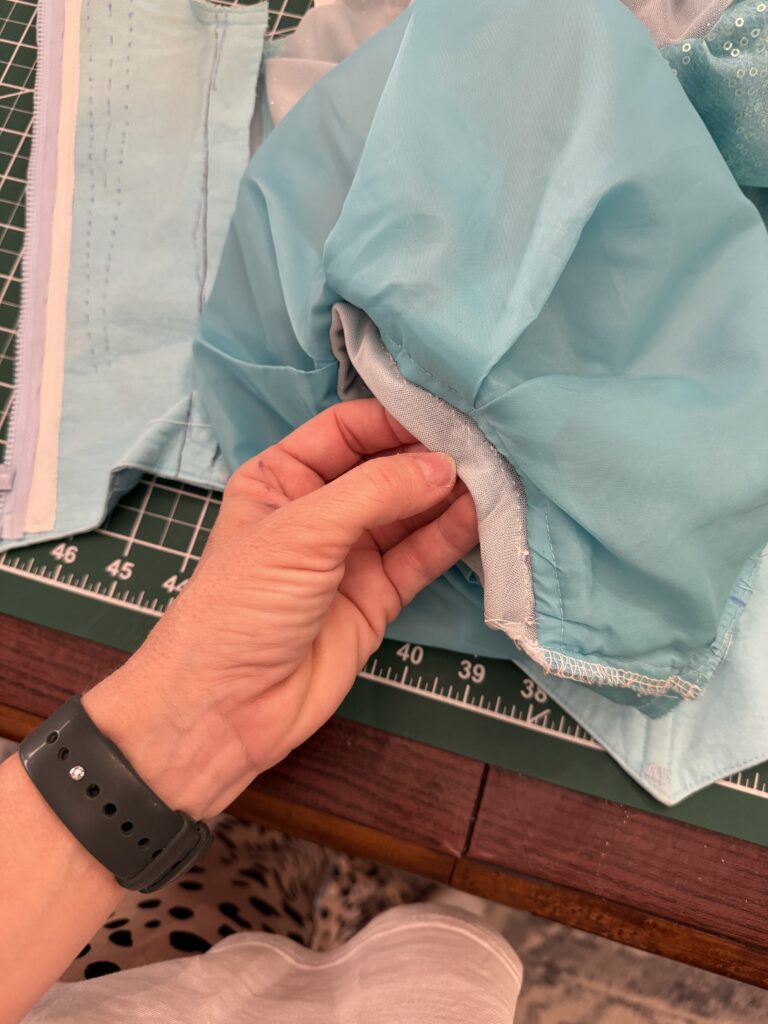
Now that the sewing lines are placed, it is time to open up the seams, and address the boning that provides structure inside the bodice. Can you see that at the side seam, there was a channel that held boning? This channel will be gone when we sew that side seam narrower. I cut open the channel, removed the side boning, and hand sewed bias tape along the edge of the (soon-to-be) new seam line. I don’t want the stitching to show on the front of the dress, and I don’t want to completely take the bodice apart (that would cause a lot more hours and a higher cost to my client), so I cut open the side seam so that I could slip my hand inside the bodice, and just make tiny hand stitches to the back lining only, and not sew all the way through to the front. I left the bias tape open at the top, to insert the boning later. Because our client requested more structure, I added an additional channel on each side of the zipper, and I used 1/2″ spring steel boning in all of the channels, including the already existing three channels at the front of the bodice. Sometimes I used spiral stainless steel boning, but the client is aiming for a more rigid top.
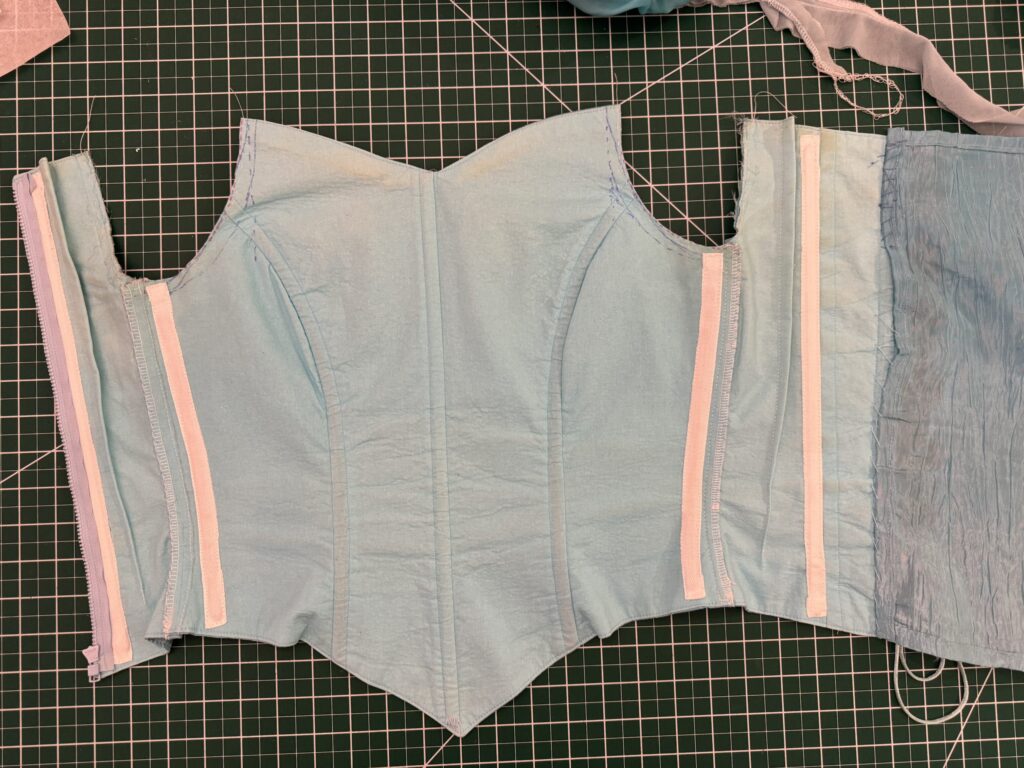
This picture shows the inside of the bodice, with the new boning channels, all boning inserted and the top of the bias tapes sewn closed to keep the boning inside. The three middle channels were all addressed as well – since the arm holes will be narrower, the boning needs to be shorter and not come up into the soon-to-be-sewn line. The center boning was also replaced with the more rigid spring steel boning. All the bones have tips applied to the top and the bottom to soften those ends and prevent them from tearing through the bodice lining and from poking our princess. In this picture the side seams are sewn and serged and the darts are sewn. The serged seams are hand-sewn to the bodice to keep them laying flat, and the darts are next on that same ‘tacking down’ process. You can see the hand-basting at the armholes to keep all the layers together until we sew the sleeves back to the bodice.
These sleeves are beautifully made from a delicate mesh and have nice details at the hand. They are just too long for our Ariel, and too wide. You can see in the first image how much extra length is here. I decided to take the difference up near the top of the sleeve to preserve the finish at the hand, and too keep more consistent with the tapering shape of the arm. After measuring the pinned fabric, I sewed a line around the sleeve 2 1/4″ inches below the cap, and used this stitch line as my guide to bring the rest of the fabric up evenly. I forgot to take good pictures of this part, but we also narrowed the sleeve to make it fit into the new armhole sizes. Remember that we are making the front of the yoke narrower and changing the seam at the front arm? That will change the size of the sleeve opening, so we need to make the sleeve match that new, smaller armhole.
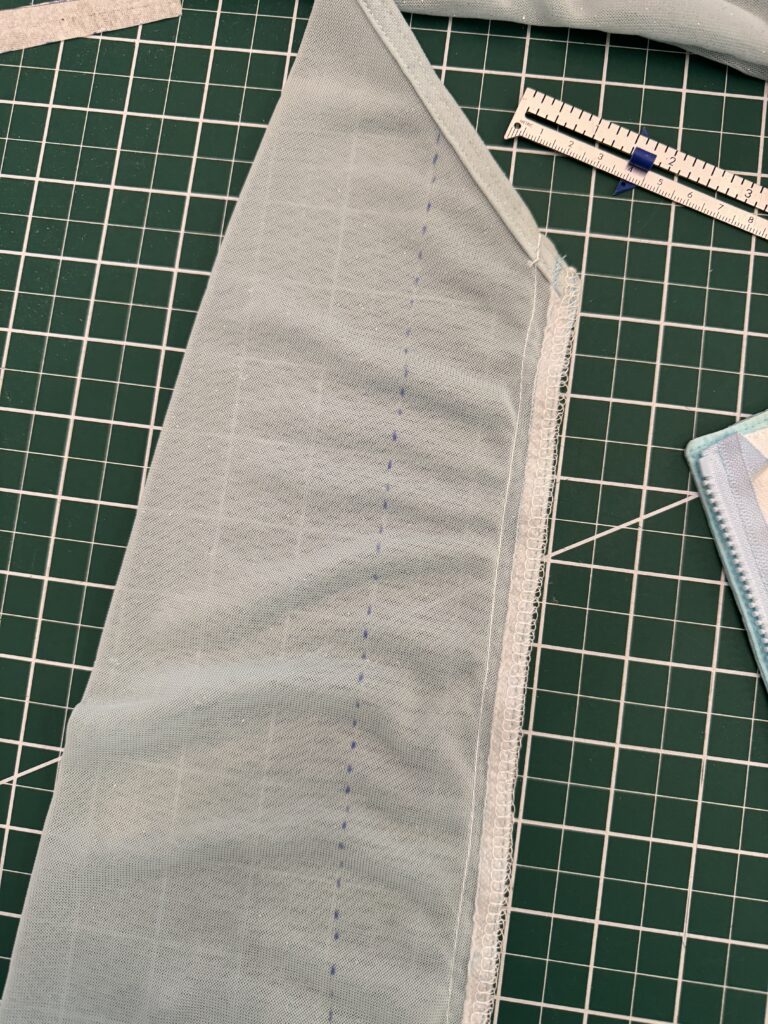
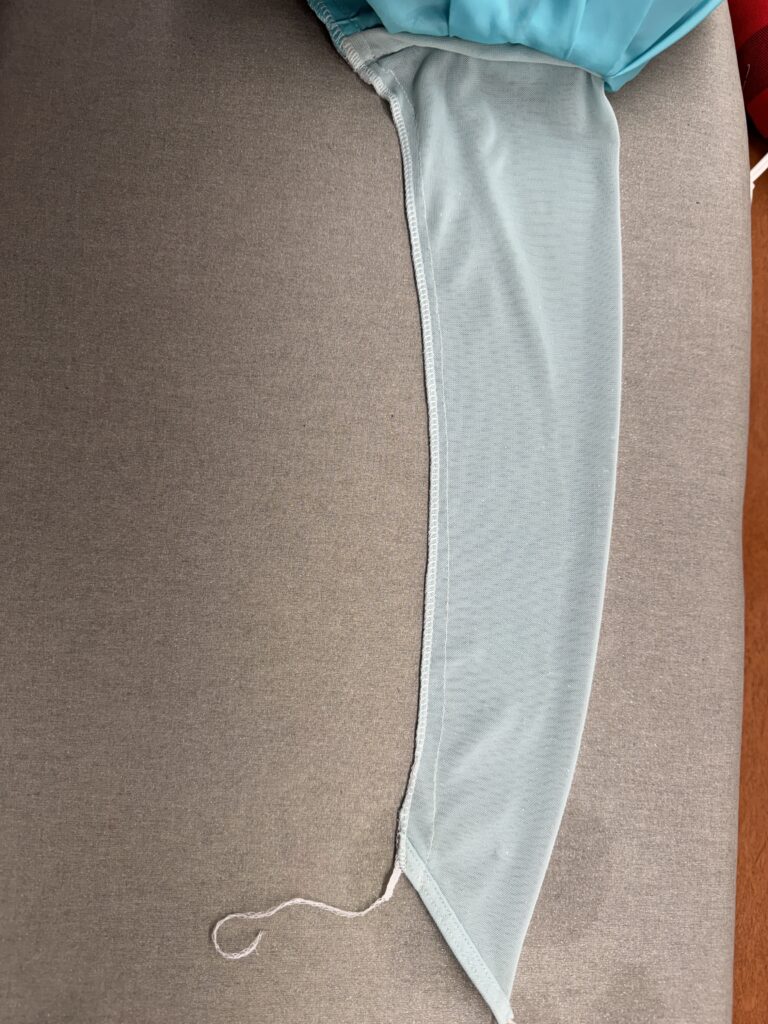
To narrow the sleeves, I measured in several places the pinned-out fold. I used the sewing gauge to transfer those measurements onto the sleeve, then sketched a smooth curve to create a new, fitted arm shape. After stitching this curve, I serged away the excess, and ironed the seam to set it and to remove the markings. I wove the tail end of that serged thread back into the seam.
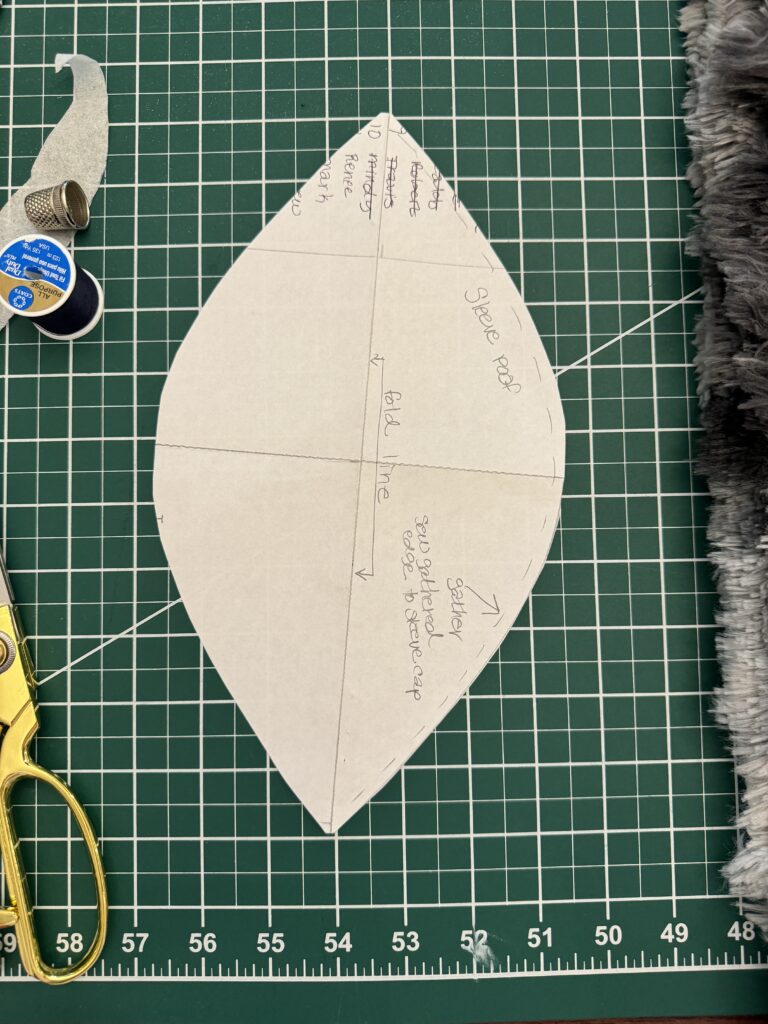
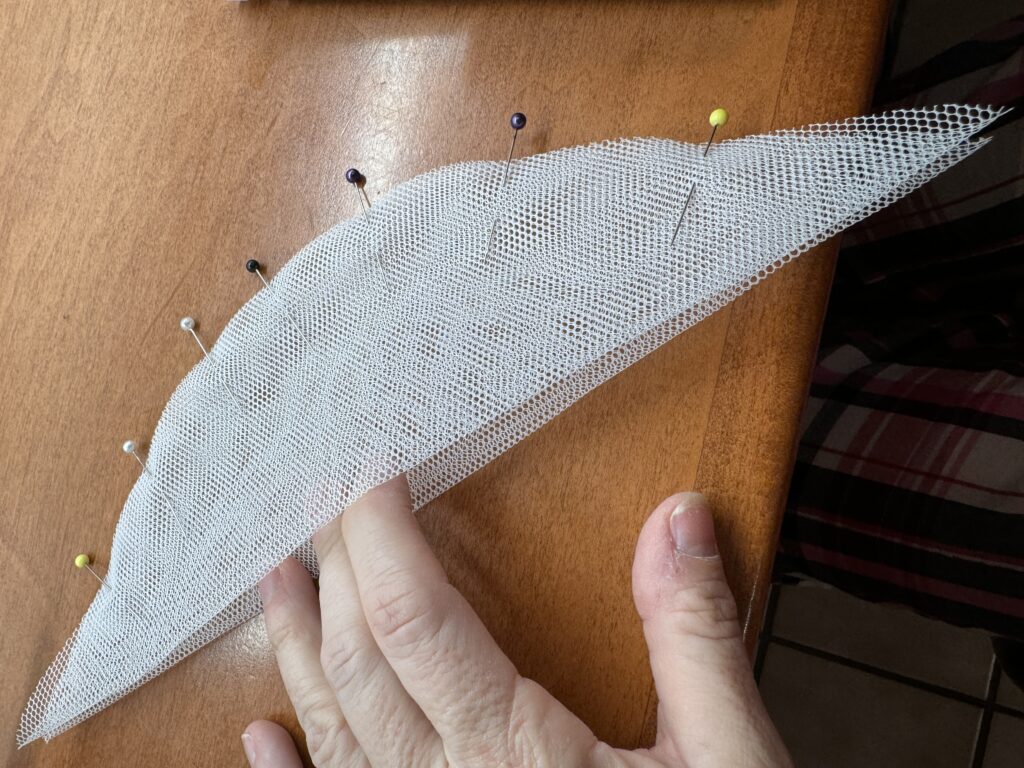
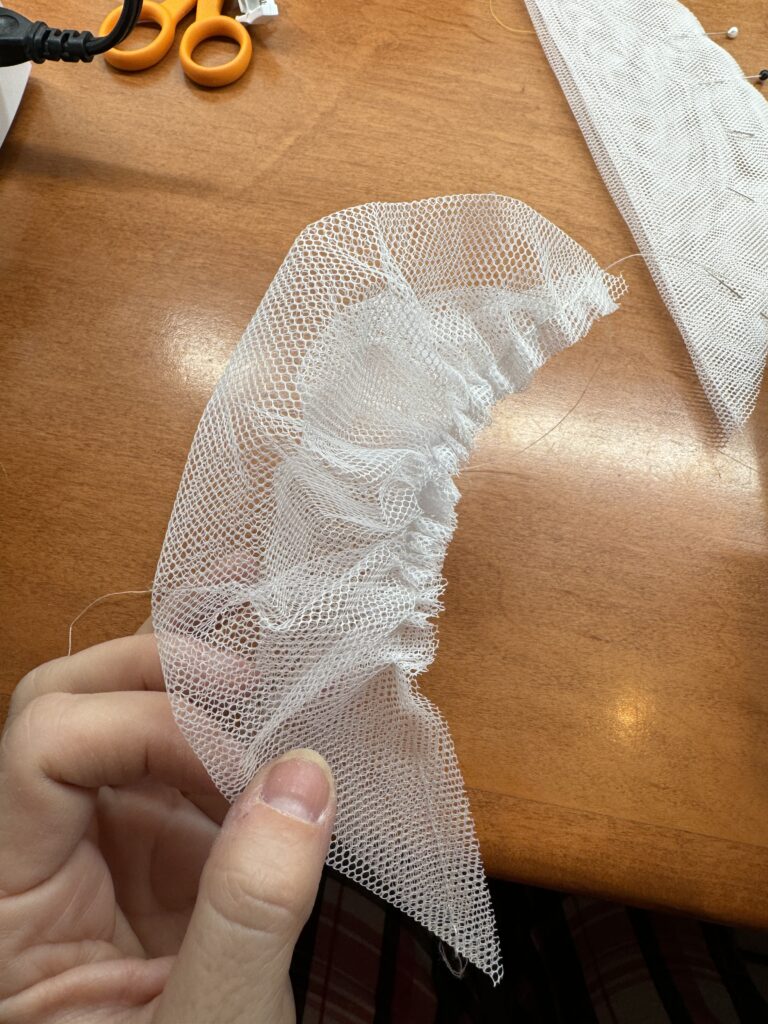
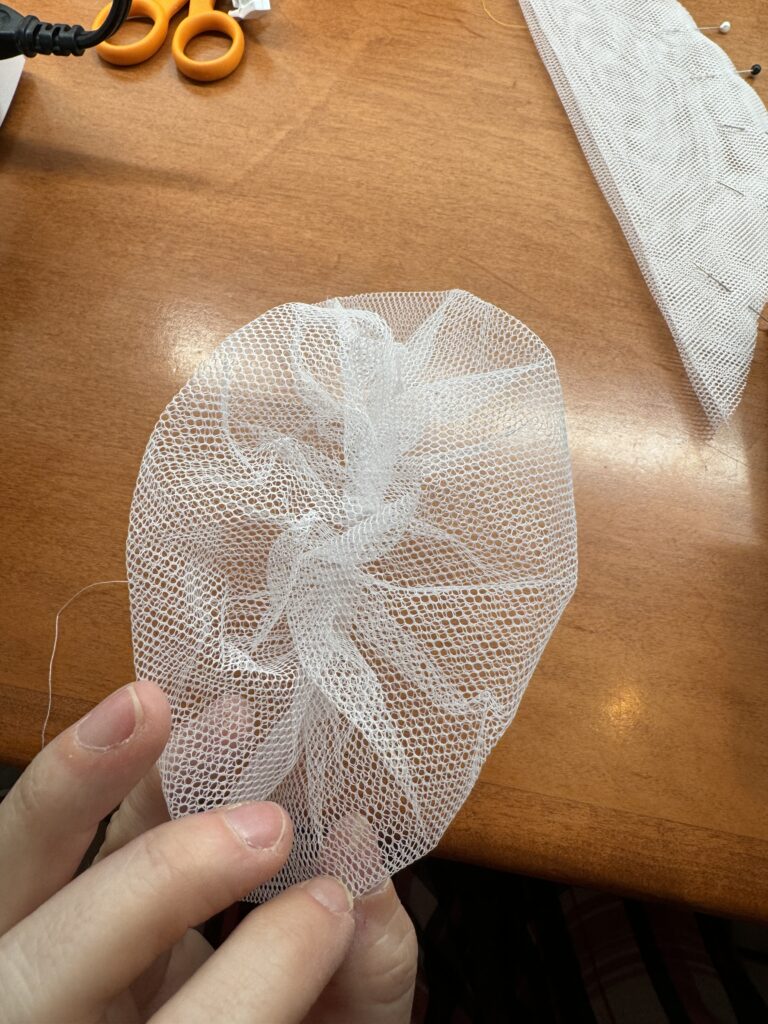
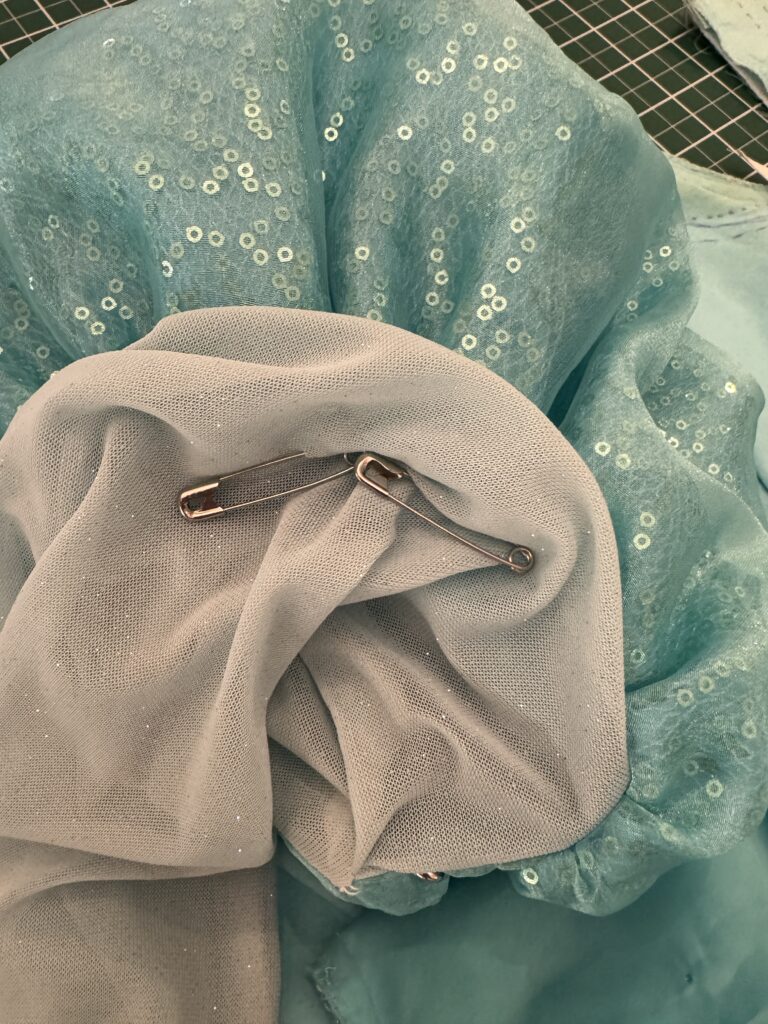
While we fitted the gown, we saw the sleeves drooped and decided to address this by shortening the sleeve cap and adding some lightweight fill inside the sleeve. I shortened the sleeve cap, casing, and elastic 4″, which caused the sleeve to rest higher up her arm, enhancing the beautiful sweetheart shape of the bodice. While the sleeve was open, I inserted a rigid but light-weight poof between the layers of fabric so it won’t scratch our princess. To create this poof, I sketched a football shape, then folded the paper into fourths to cut it out. This way the shape is perfectly symmetrical. For each sleeve, I cut out two ‘footballs’ of rigid net, then folded each football in half, I sewed these together along the curved edge, then fluffed each one open separately. This method gives a maximum amount of both volume and resistance to crushing. The rigid net is scratchy stuff, but it’s lightweight and yet strong enough to hold up the heavy, gathered layers of sequined fabric and satin.
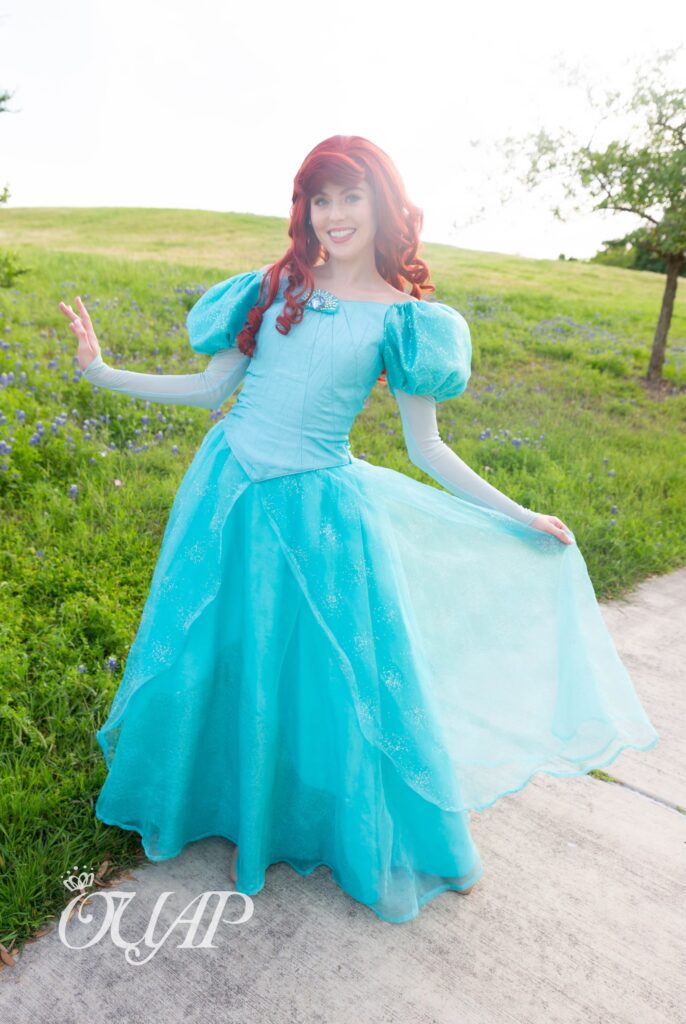
For the last steps, we sewed the altered sleeves to the new armhole sewing line on the bodice, and serged the edges to finish. We pressed and steamed everything, then added the brooch. Chloe and I worked together to finish all the details a few days before the deadline because Ariel had an event added to her schedule that she needed to attend.
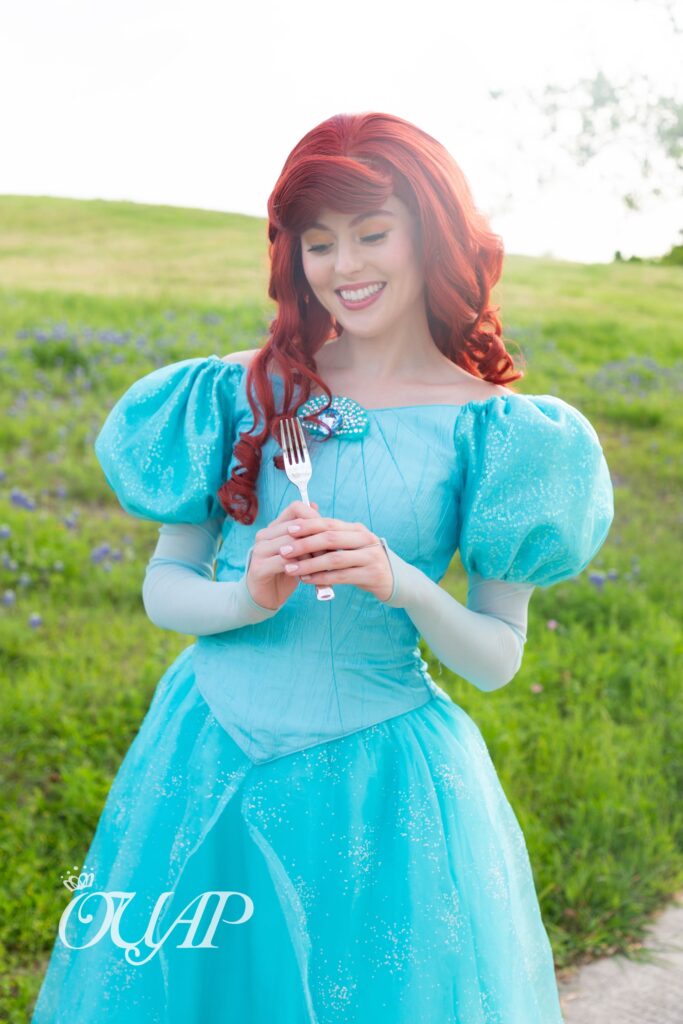
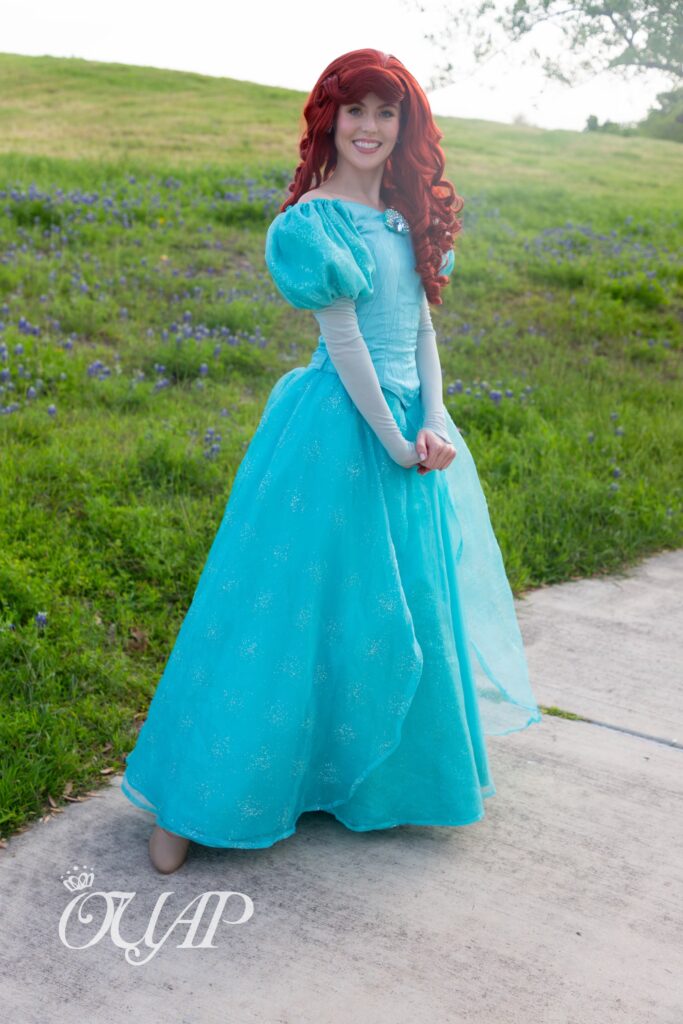
Isn’t she grand? I love how Once Upon a Party brings magic to life with excellence in every detail!