
Magi/Wise man #3 has his own set of creative details. The fabric is an elegant scarlet silky satin with a beautiful sheen and yummy drape. The tunic very simply pulls over the head, then ties with a woven brushed cotton herringbone burgundy sash. The sash now has a black tassel sewn onto each end. (not pictured)
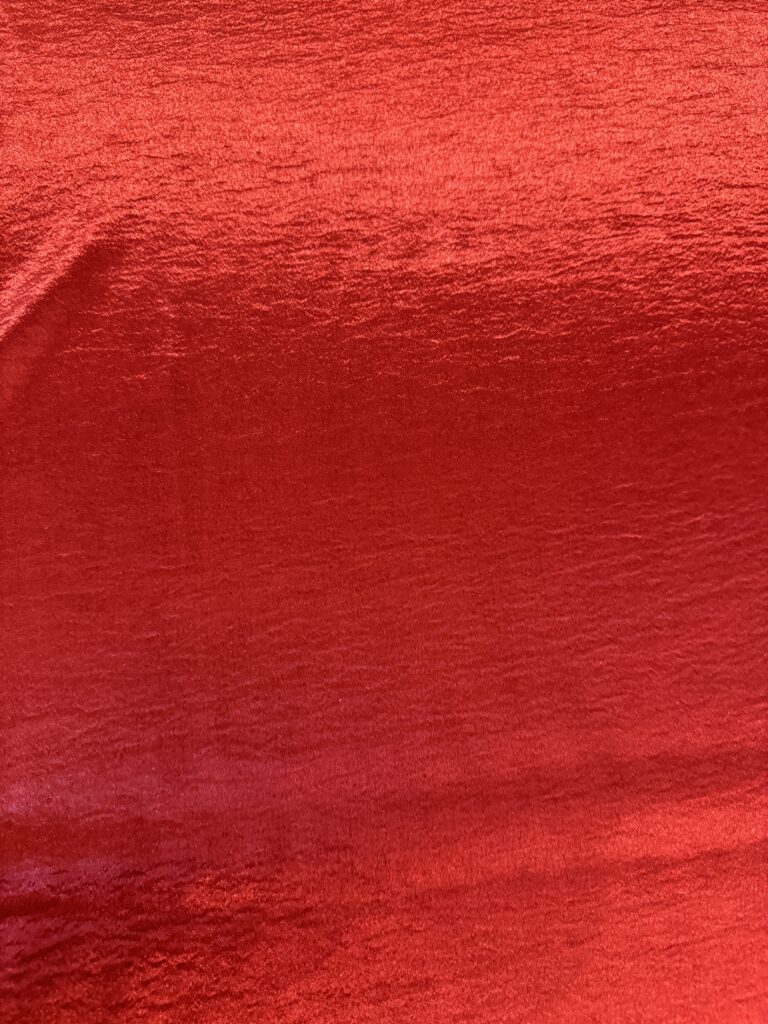

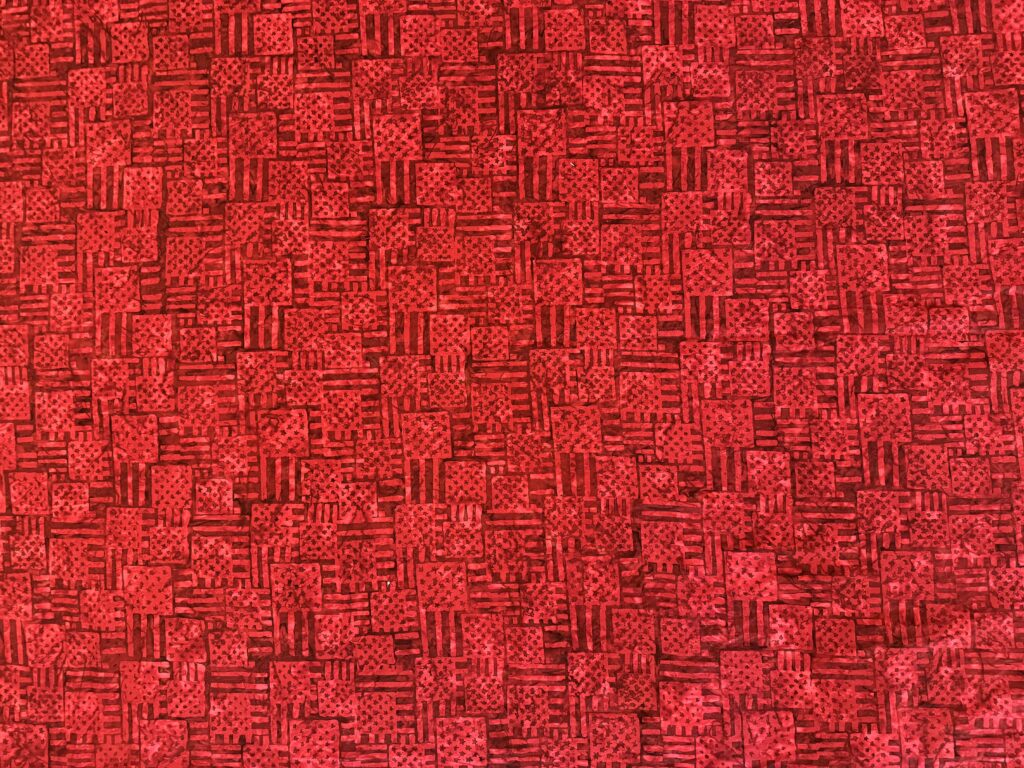
Aren’t these fabrics gorgeous? The costume had to turn out to be FABULOUS, with these fabrics as the starting point. The tunic is made from the scarlet silky satin. The sash and collar from a burgundy and black brushed cotton herringbone weave. The cloak is a gorgeous flag batik. Working with several different textures and patterns elevates the overall look.
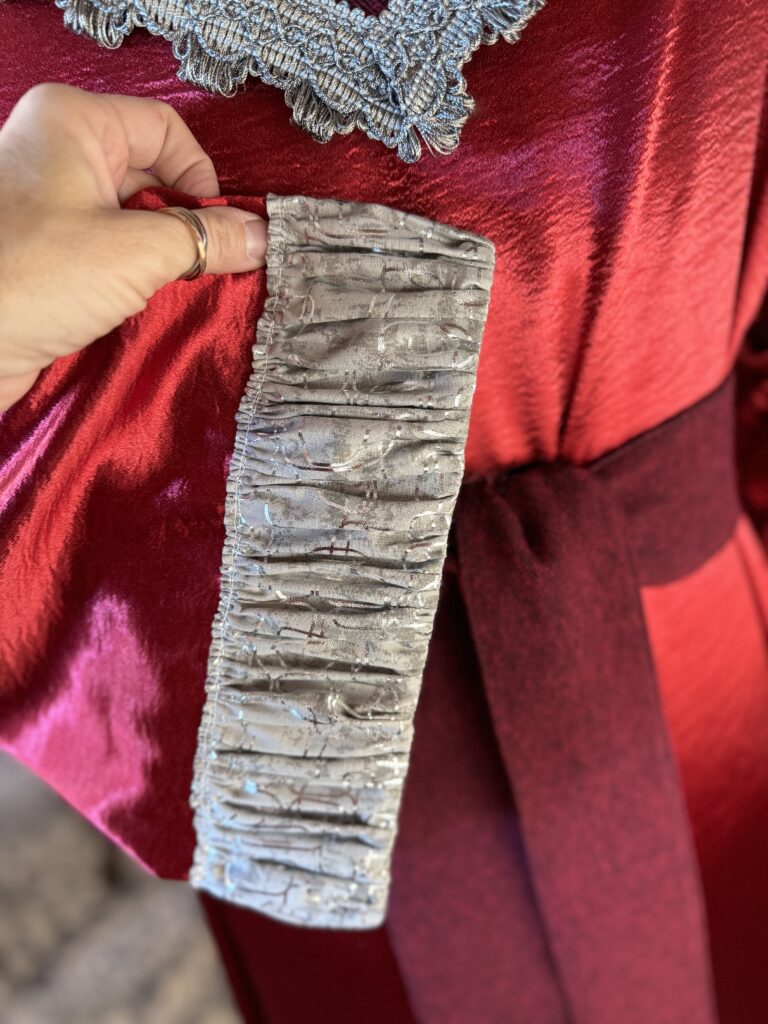
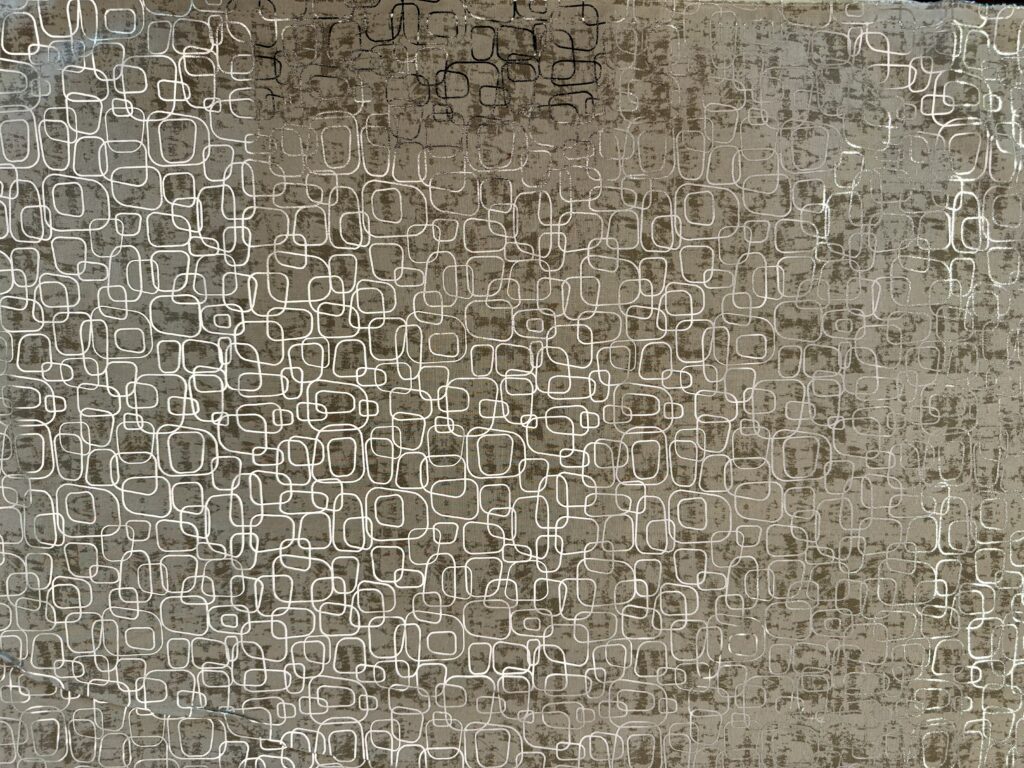
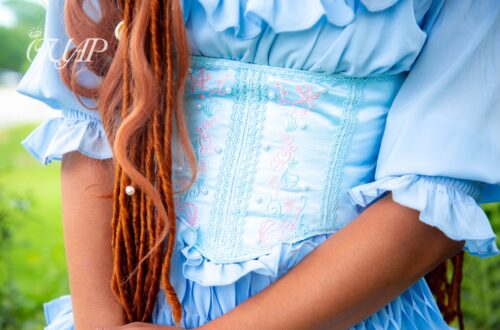
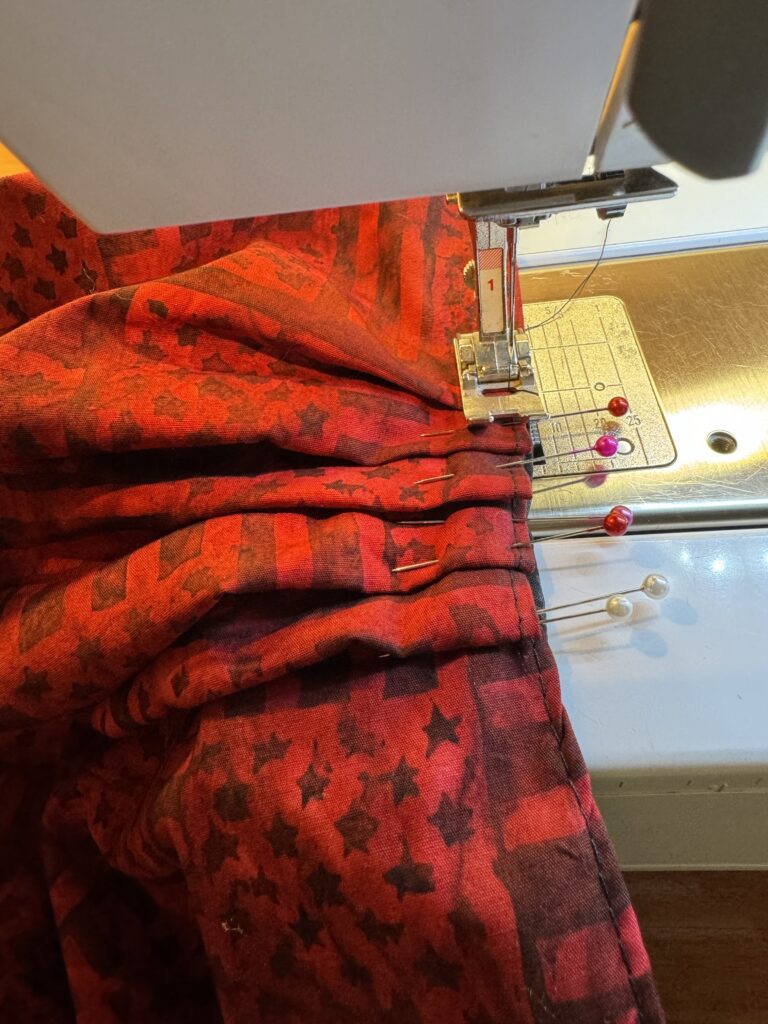
The ruched trim at the sleeves is a long rectangle of cotton with silver metallic foil print which is gathered on both long sides.

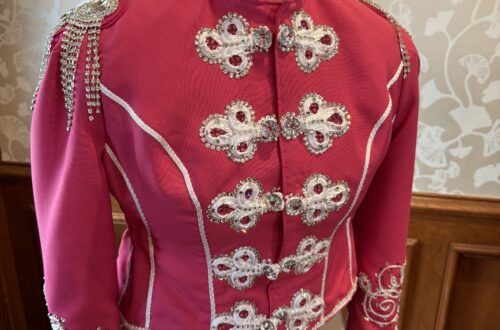
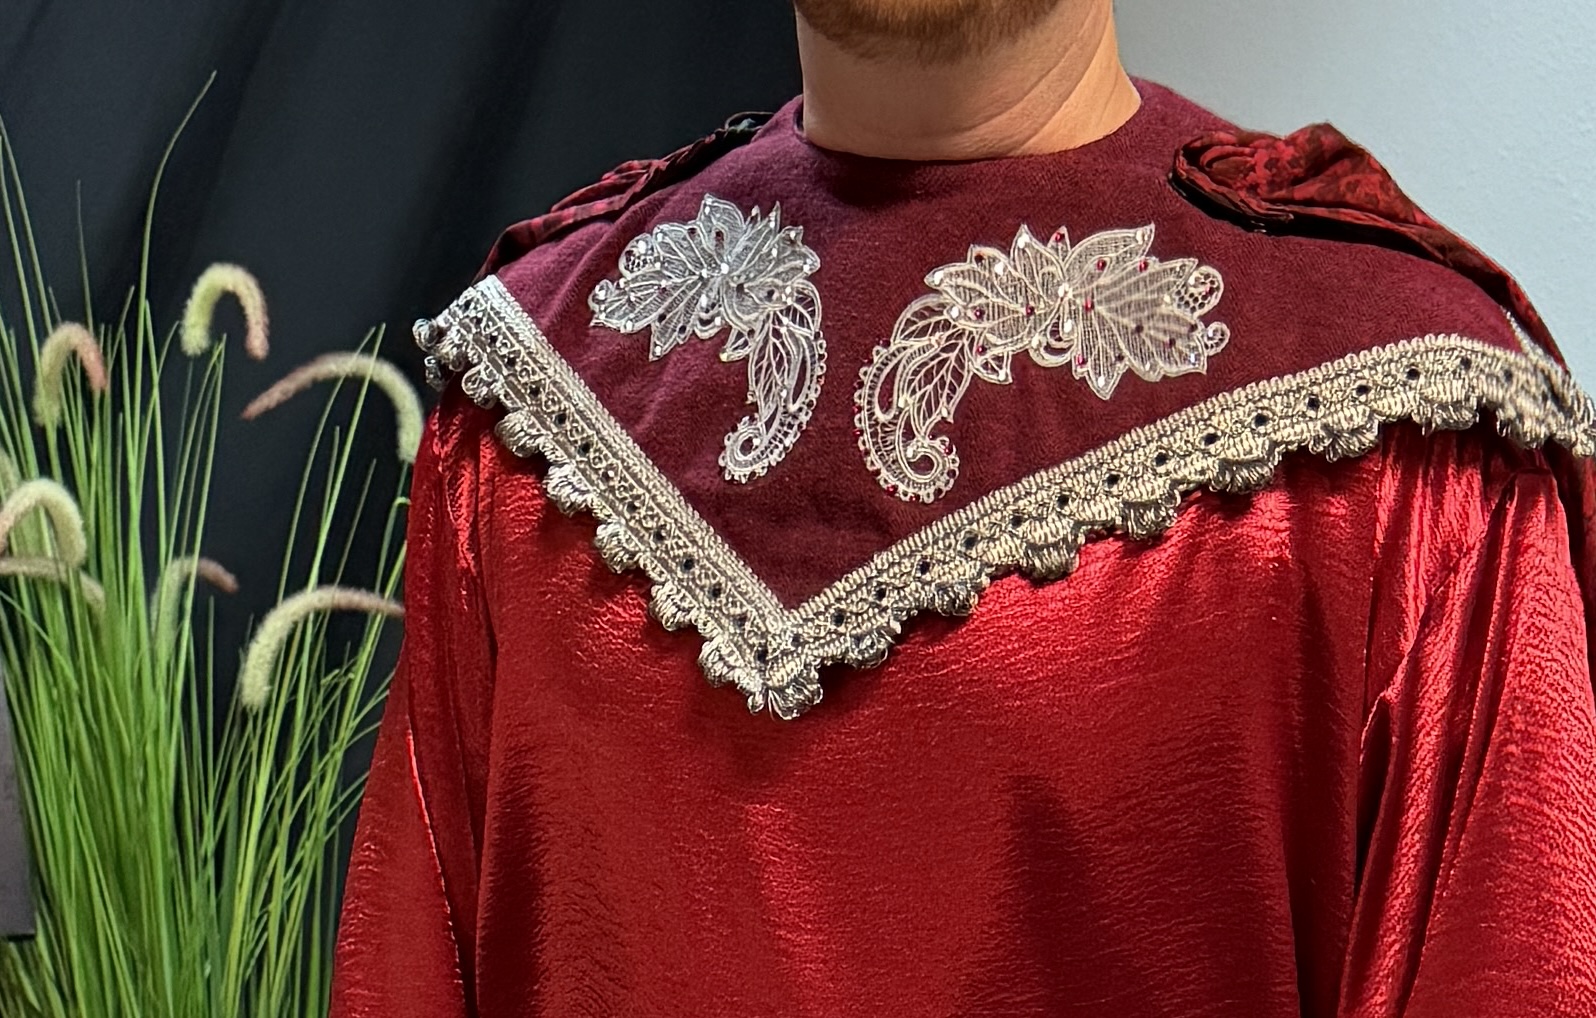
Once the tunic was complete, I made a collar from a beautiful burgundy and black herringbone weave fabric. Inside the two pieces of fabric is a layer of buckram to give this collar shape and strengthen it to hold the cape. The collar snaps behind the neck with a nice large whopper popper. I added some lovely silver scallop edge trim with mitered corners.
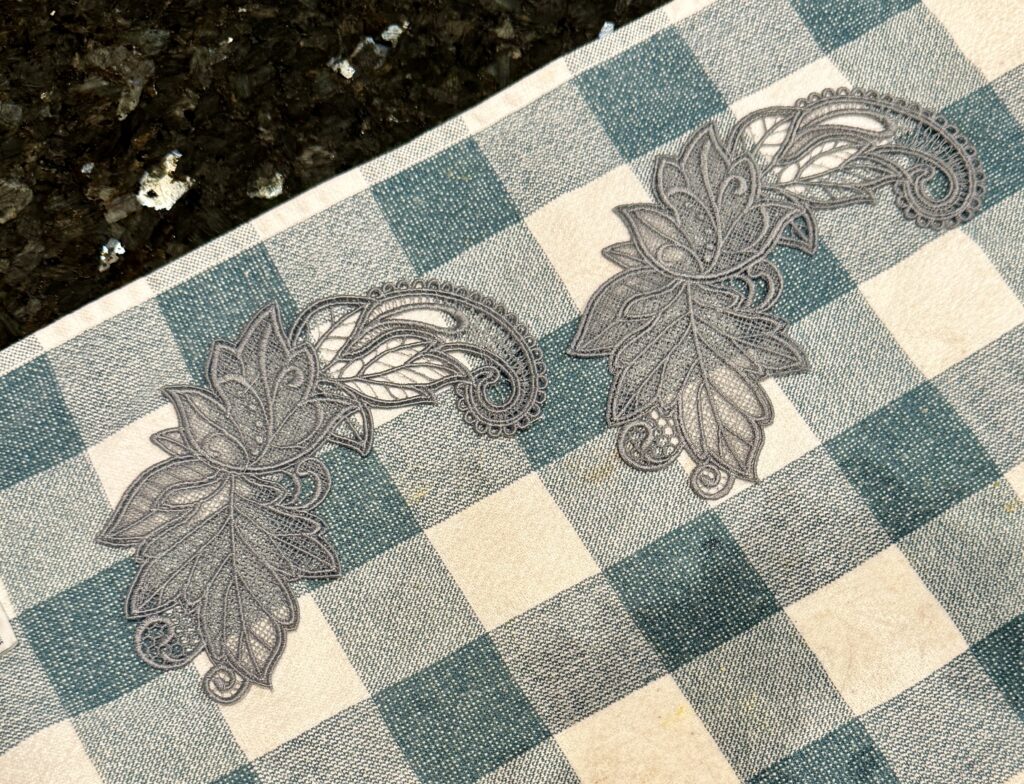
On the collar are two pieces of freestanding lace (FSL) that I stitched on my Bernina 790+ in a silvery grey Isacord thread. After hand-sewing the lace to the collar, Chloe added black, burgundy and clear bling to the lace and the trim of the collar. Those pieces really shone on-stage, and I thought the light touch was just enough to signify wealth without being gaudy.
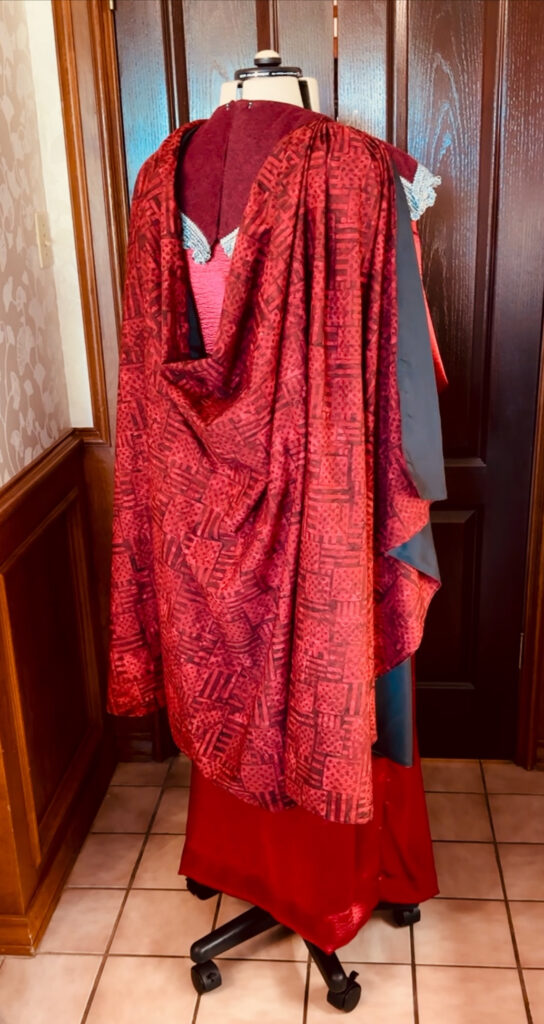
I’ll try my best to explain this draped cloak. It’s basically a very long rectangle, with rounded corners, lined with black fabric for contrast. I wanted a really dramatic drape in the back, with a noticeable cascade at the front edges. Lining with black really helped the cascading cloak edge pop.
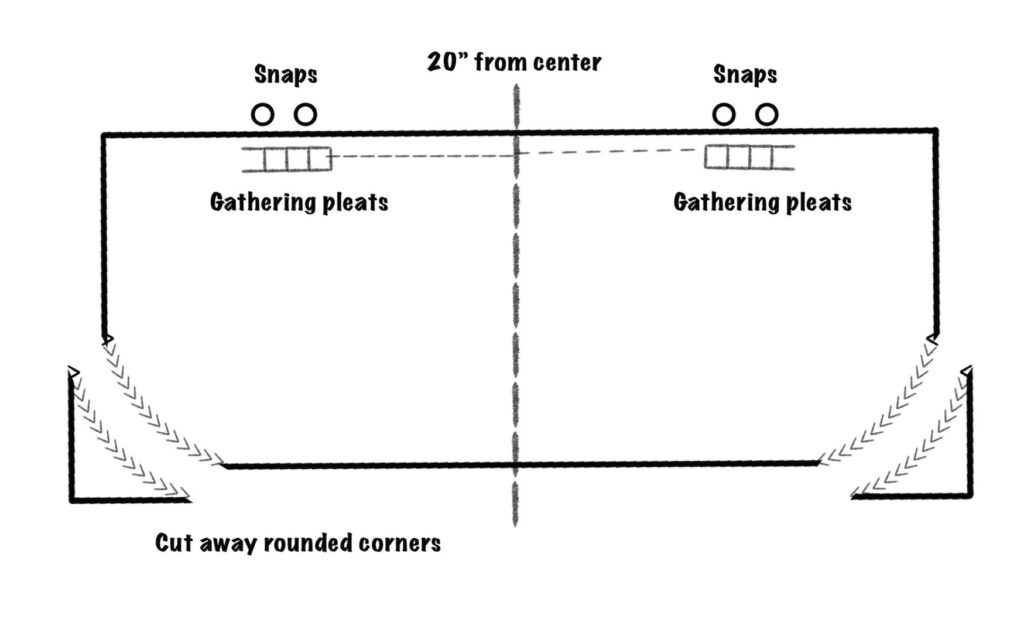
To create the drape, I pleated 4″ of fabric 20″ from the center of the rectangle. That gave 40″ between the pleats, which swooped dramatically when attached to the cloak. I sewed these pleats together on the sewing machine, at the same time I sewed on a reinforcing piece of black lining.
After sewing the pleats closed, I added whopper poppers underneath, to snap into the collar at the top of the shoulder. With the sturdiness of the pleats plus lining, attaching to the buckram interlined collar, this connection will be strong enough to hold the weight of the cape without damaging the fabric or causing pulls.
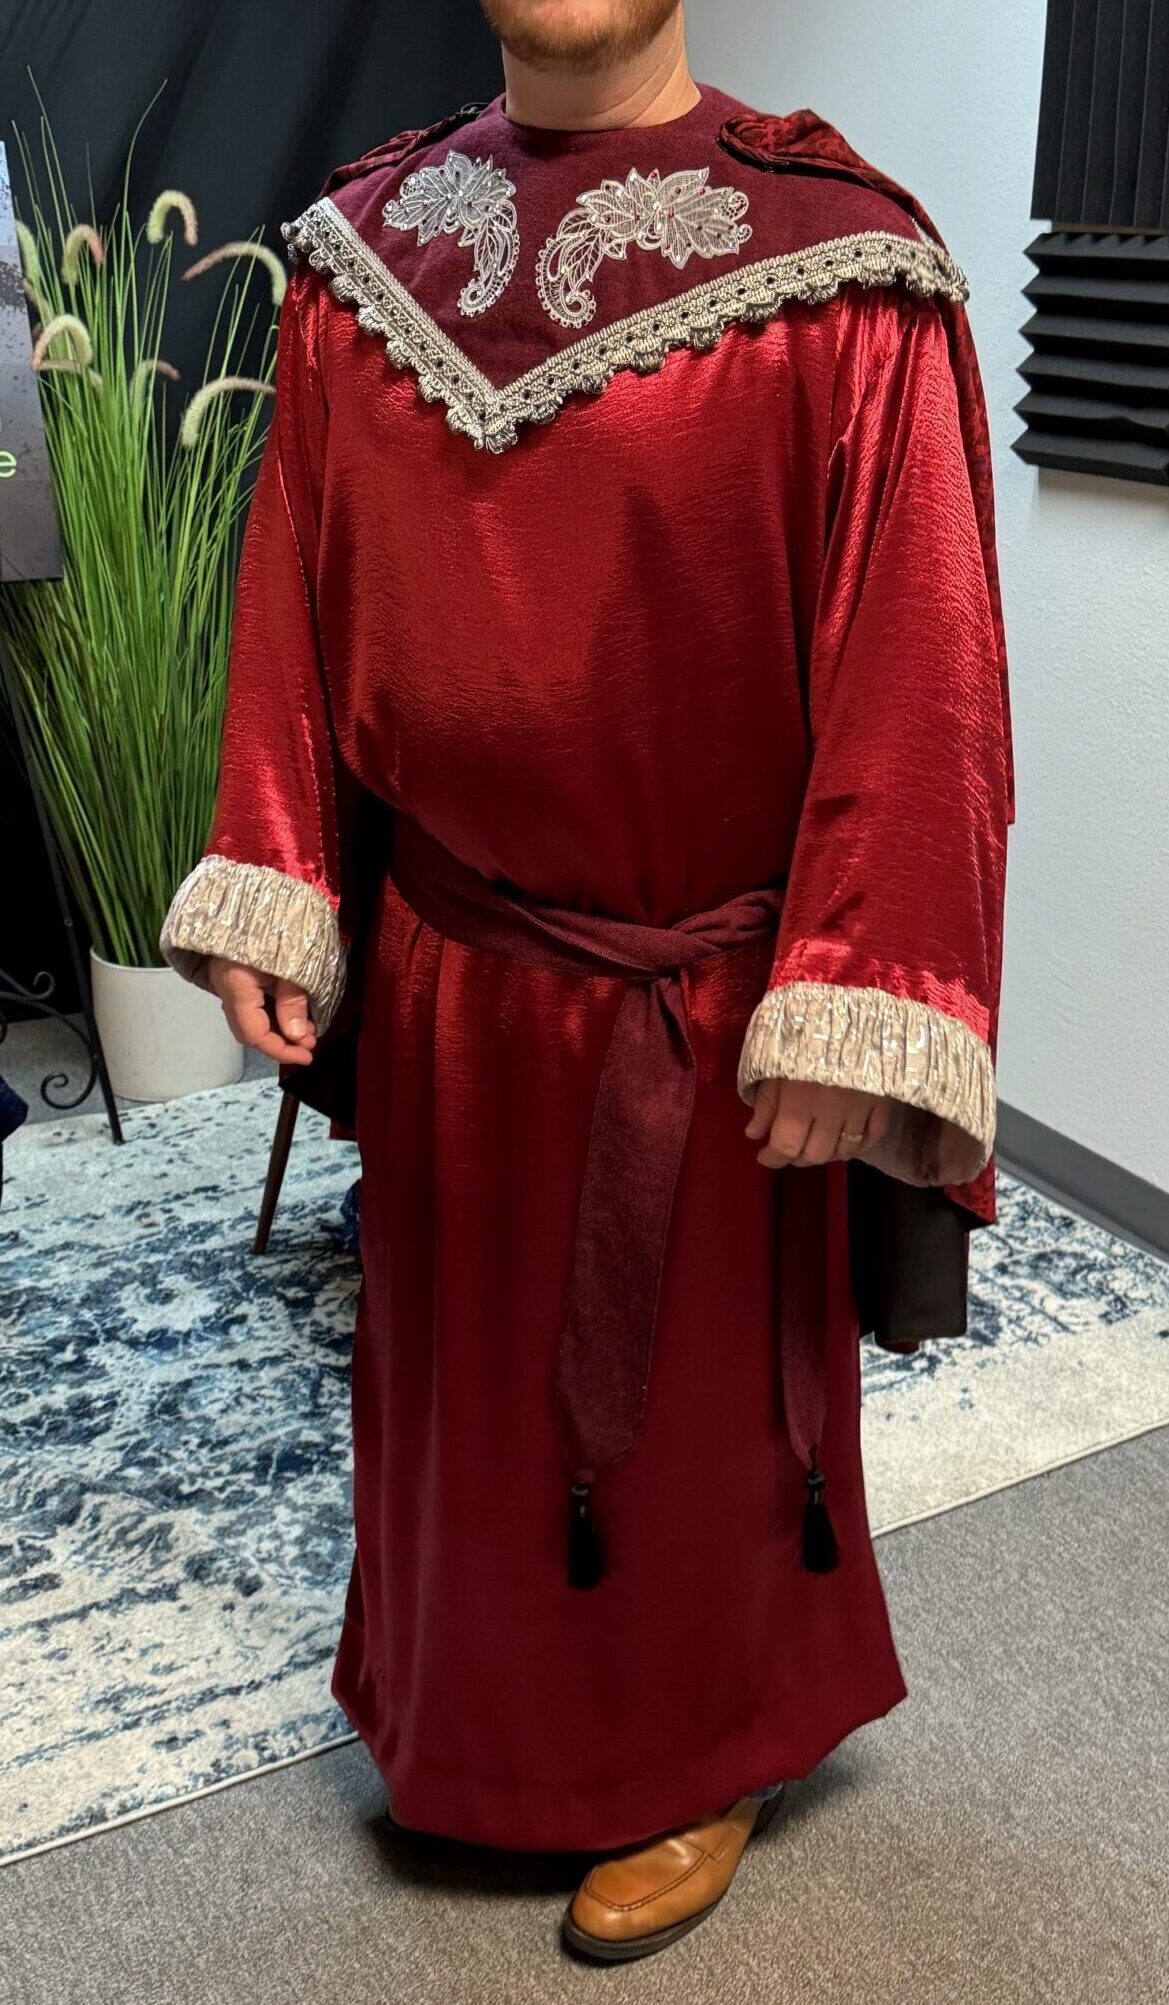
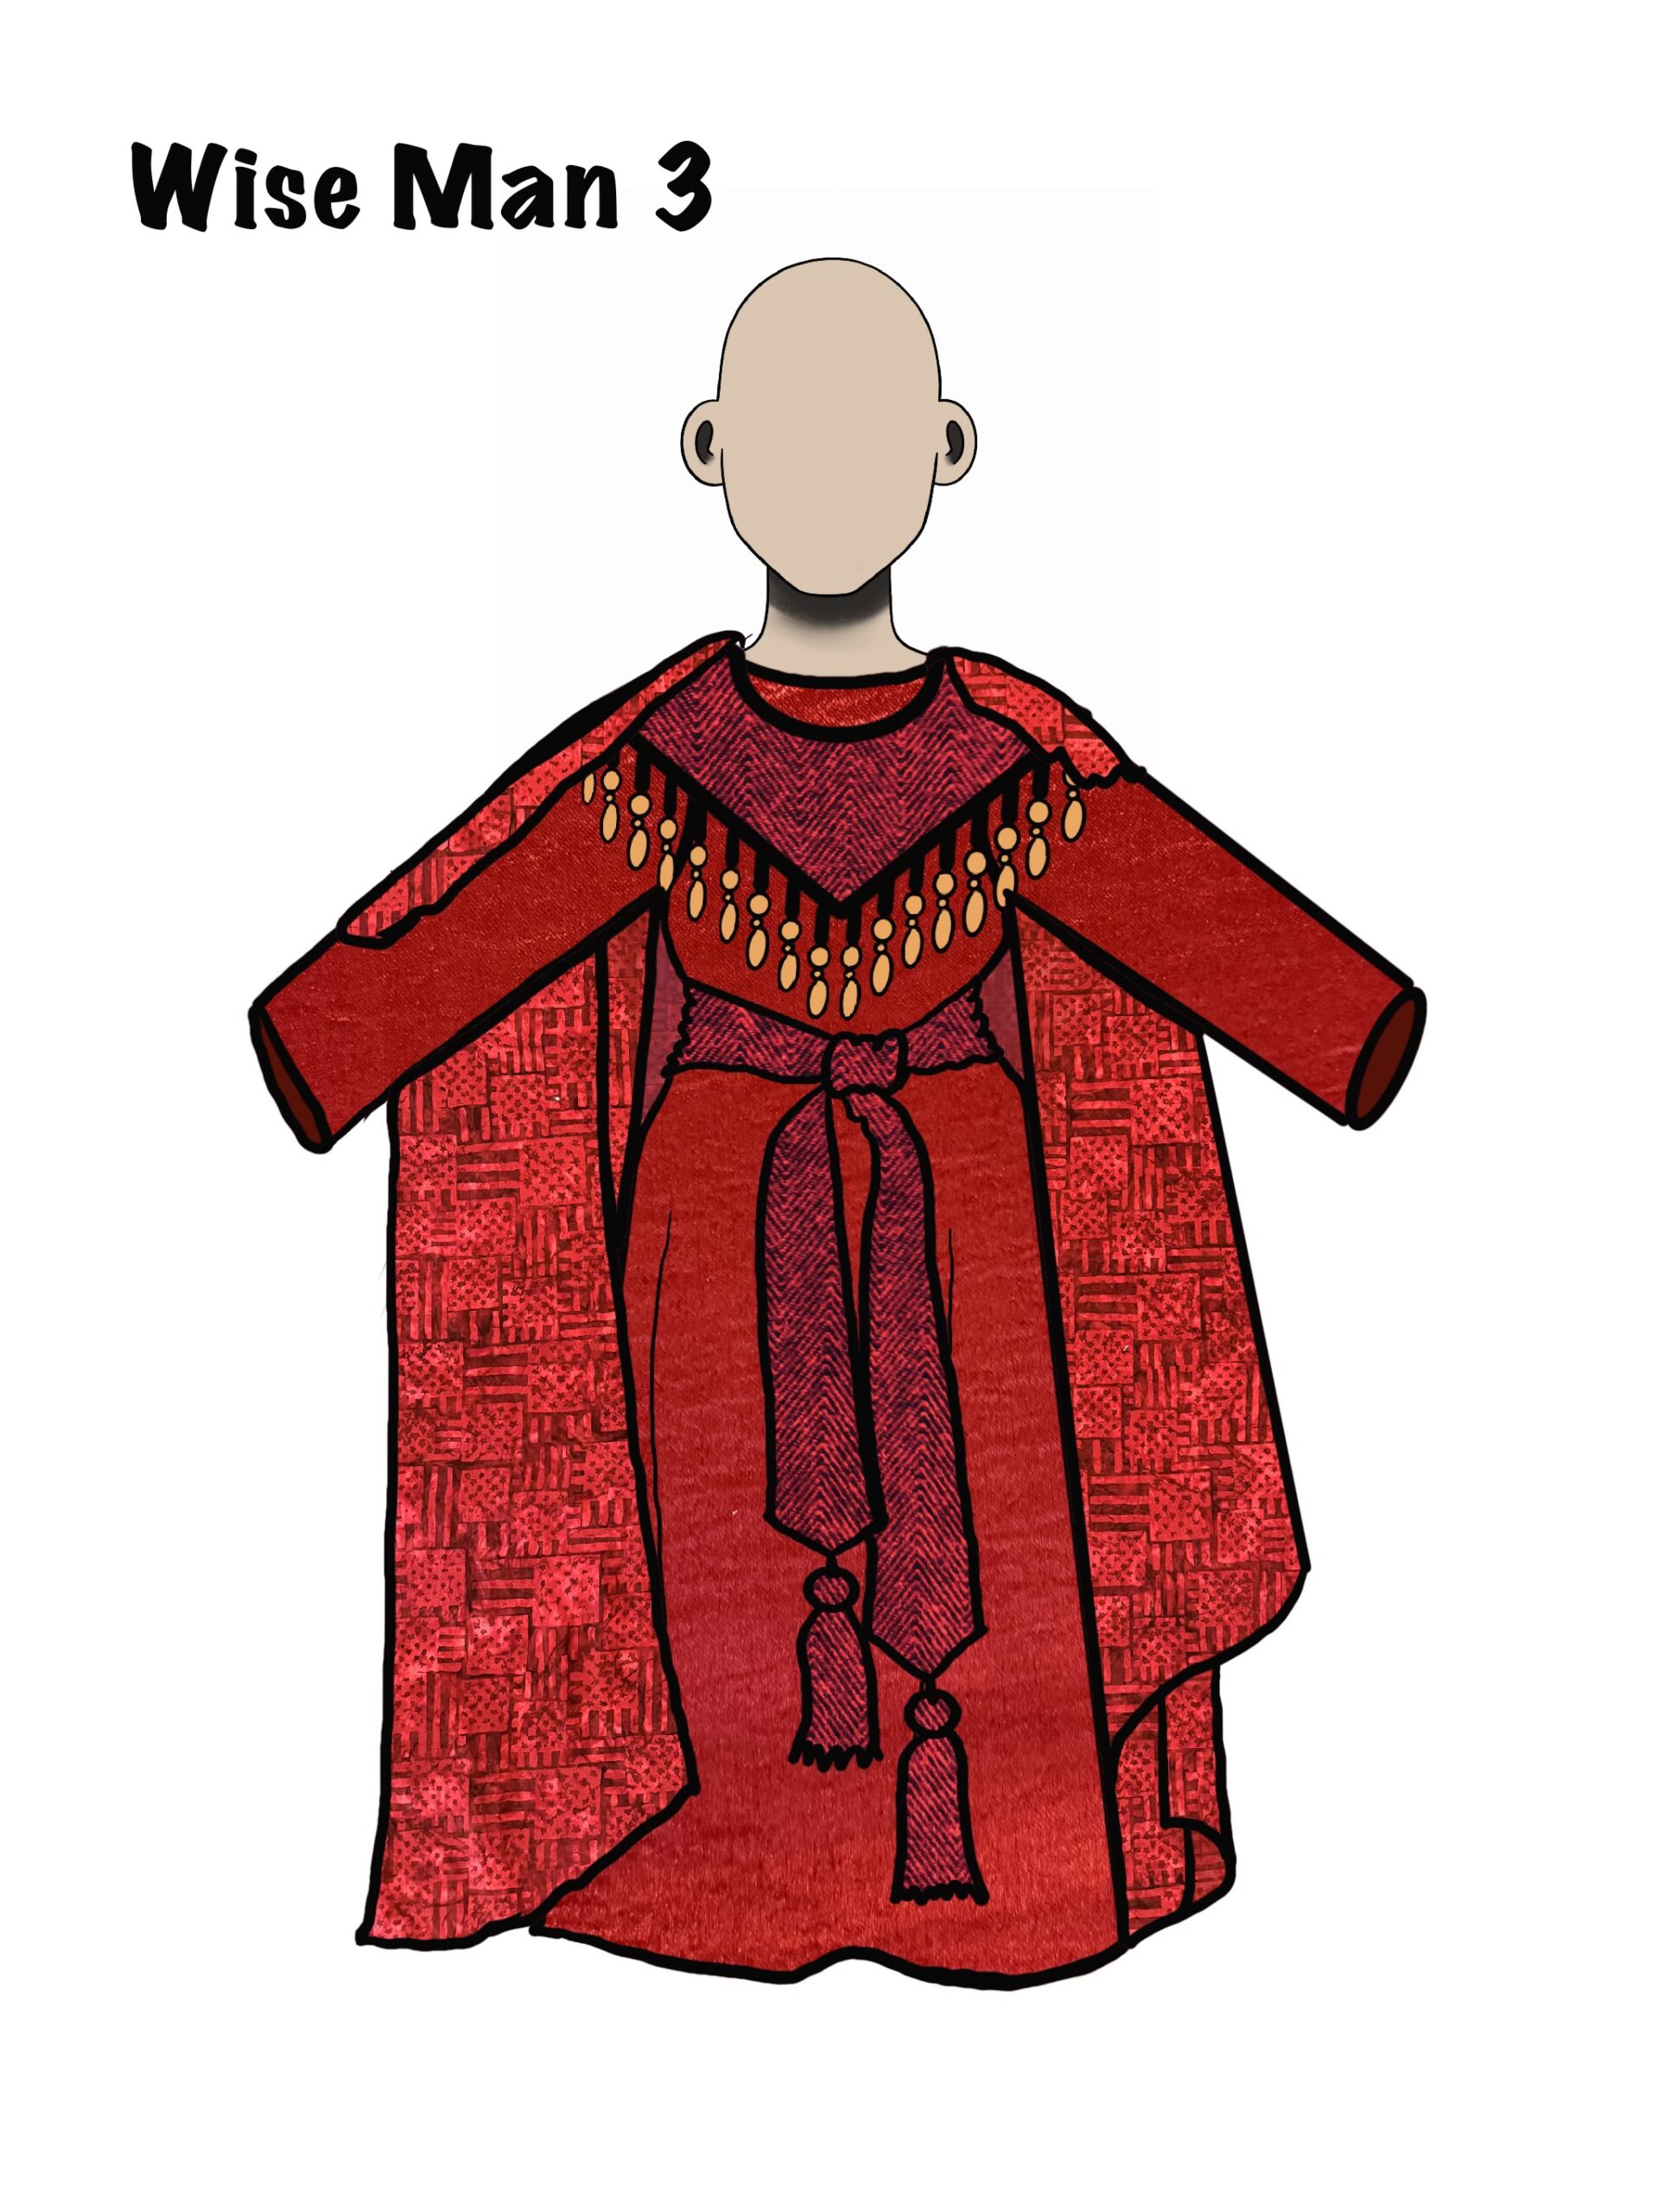
This is the final costume, next to my original design sketch. Pretty close!
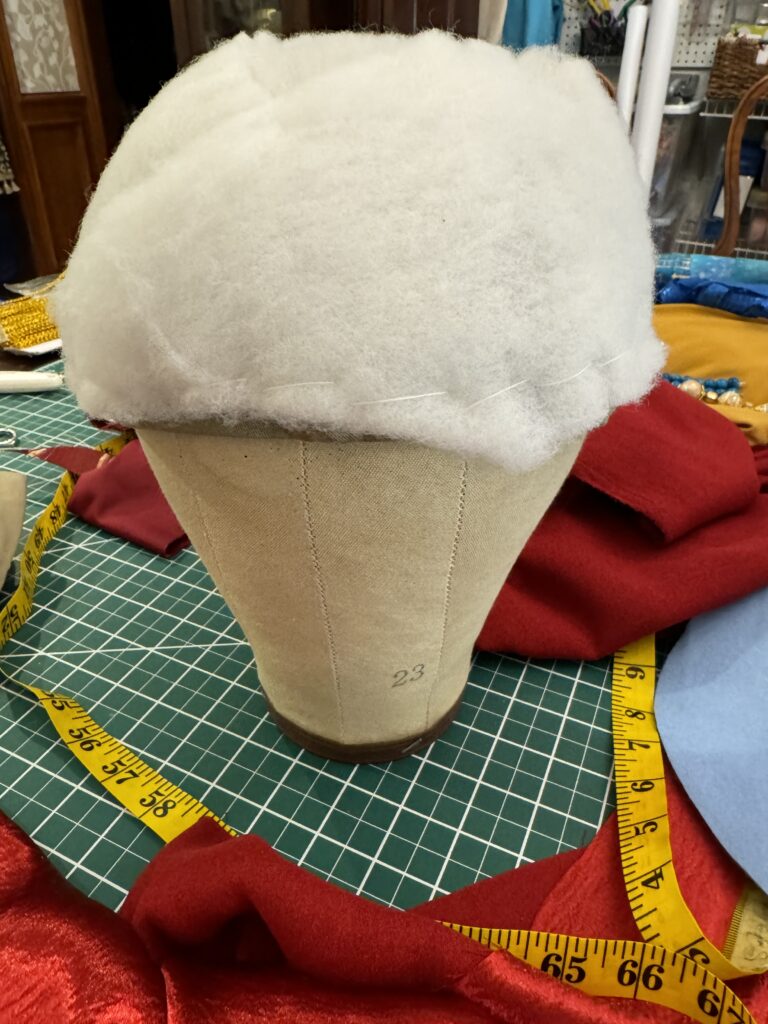
The last phase for Wise Man 3 was creating his hat. Because I didn’t want the button or seams of the ballcap to show through, first I sewed in a layer of quilt batting. This padded out the cap, and gave substance to the hat base. I covered the hat with a burgundy stretch velour scrap I had in my cabbage bin, leftover from sewing a vintage inspired Santa coat.
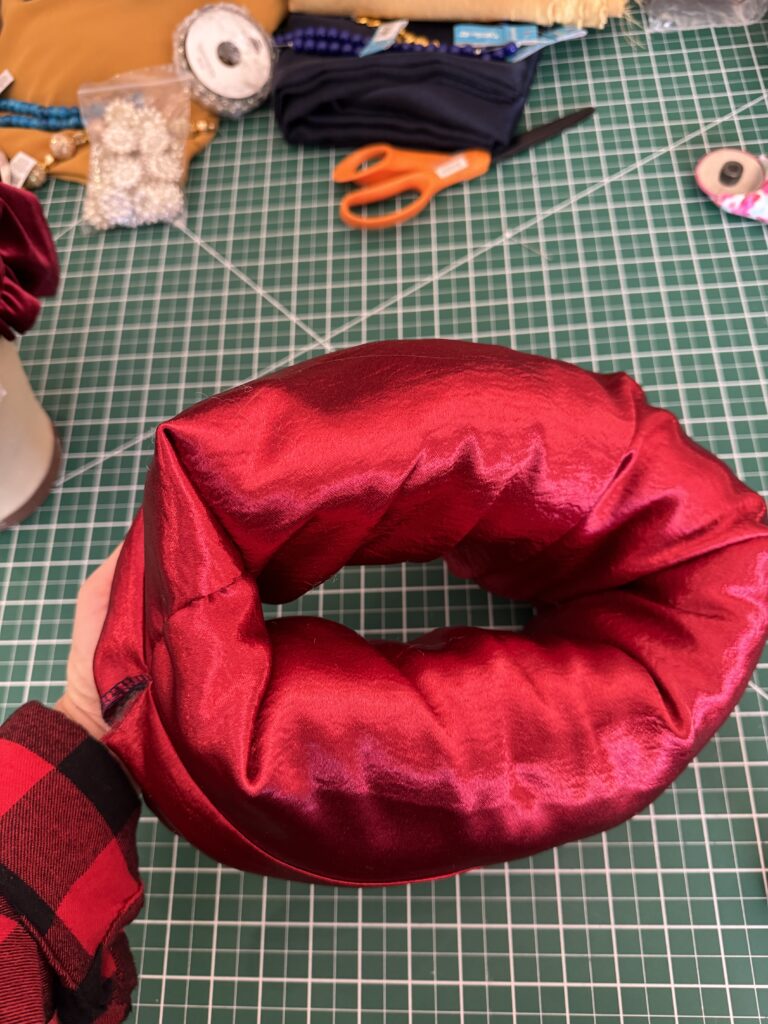
Next I sewed a tube of the red crepe-backed satin, stuffed it, and sewed it closed into a ring. (Because adding stuffing puffs the ring out, and makes it smaller – causing it to fit more snugly on the head – I was careful how much I added. This picture makes it look uneven, but it all spread out as I worked, and the inner diameter stayed large enough to fit the actor’s head.)
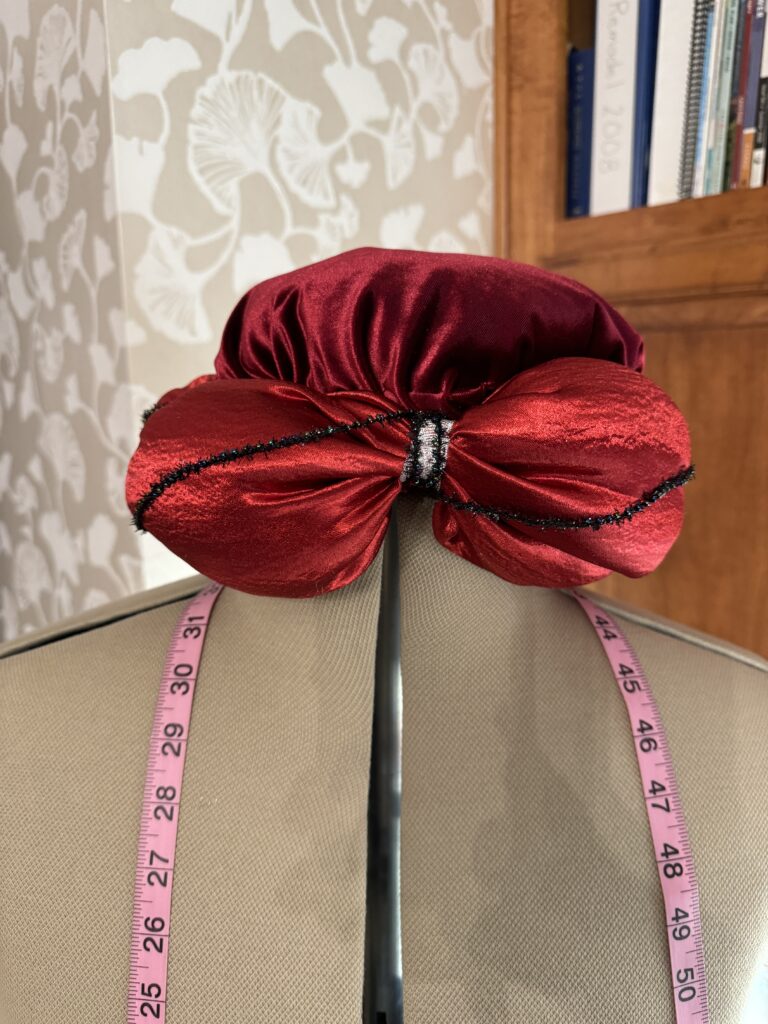
I divided this ring into six equal portions, and sewed a small piece of shiny silver ribbon to cinch each portion. I swooped some beaded black trim around the ring, then tacked it to the lower edge of the hat.
Whew! Finished just in time for the technical practice with costumes!