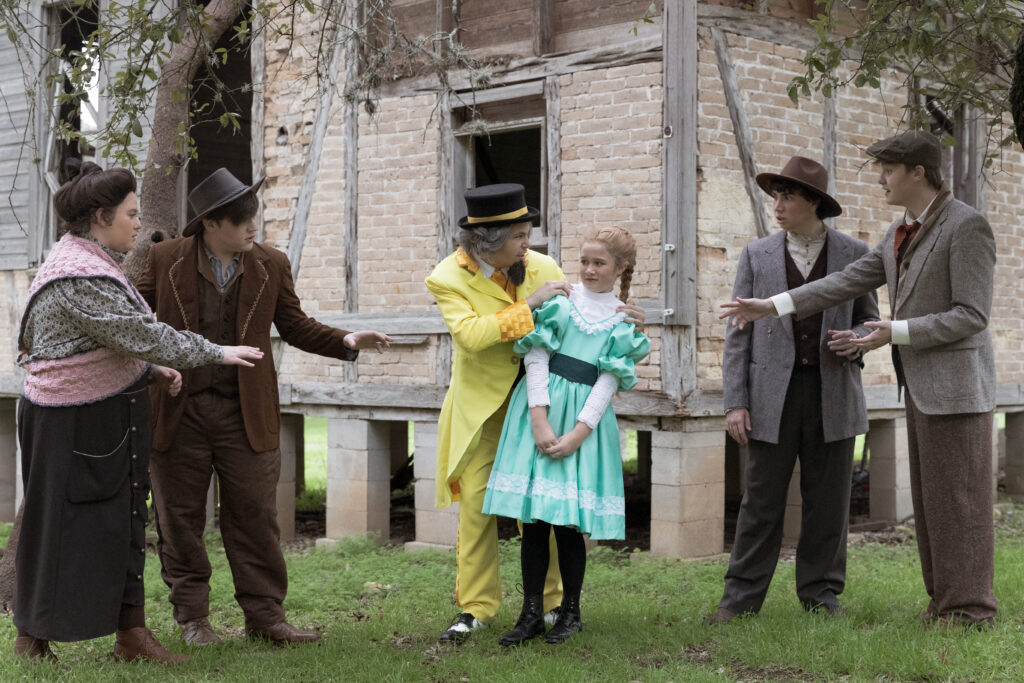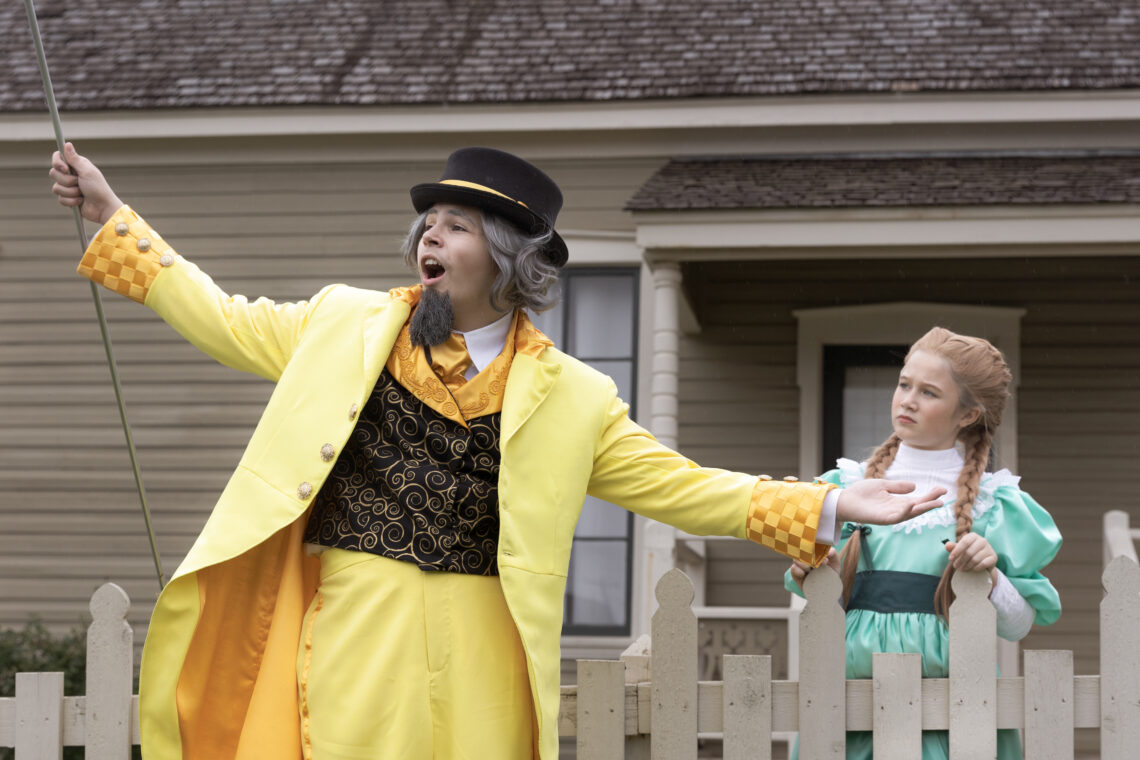
Yes! That really is the name of the character! It’s a long one! 🤣 After our team searched Amazon and the internet for a period appropriate yellow suit, they asked if we could make a custom suit for the show. Knowing this one will probably never be used again, we agreed and learned a lot about men’s suits!

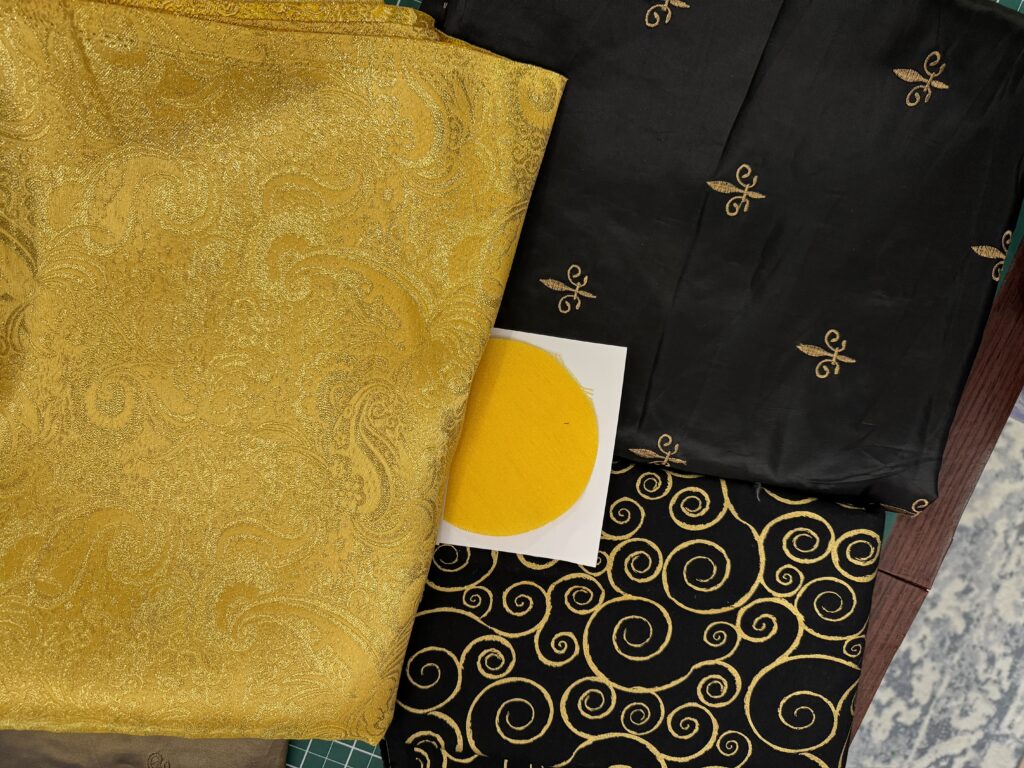
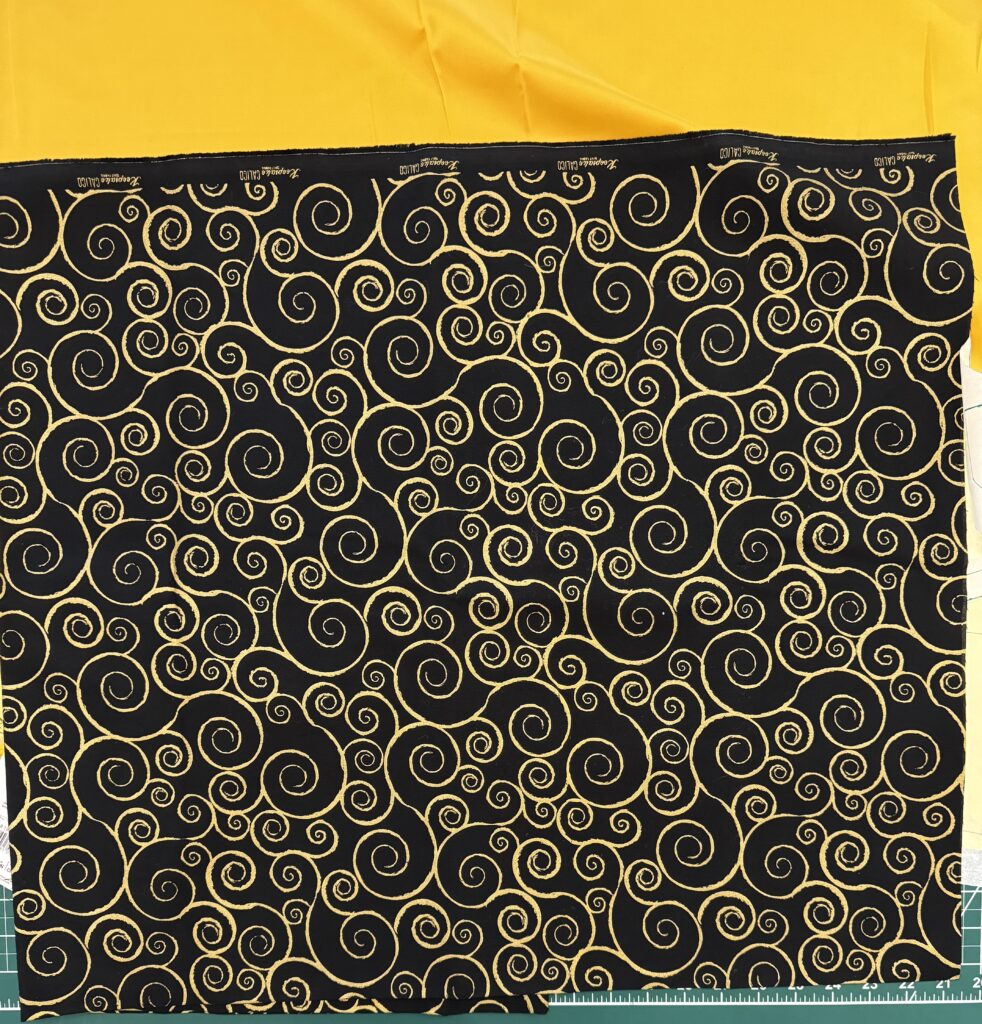
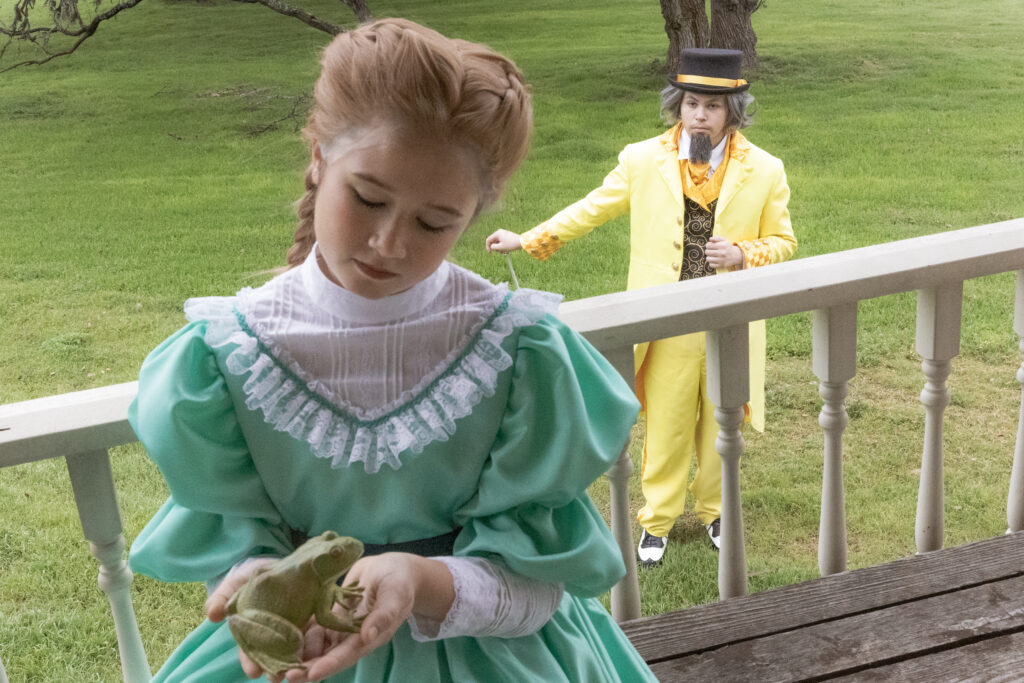
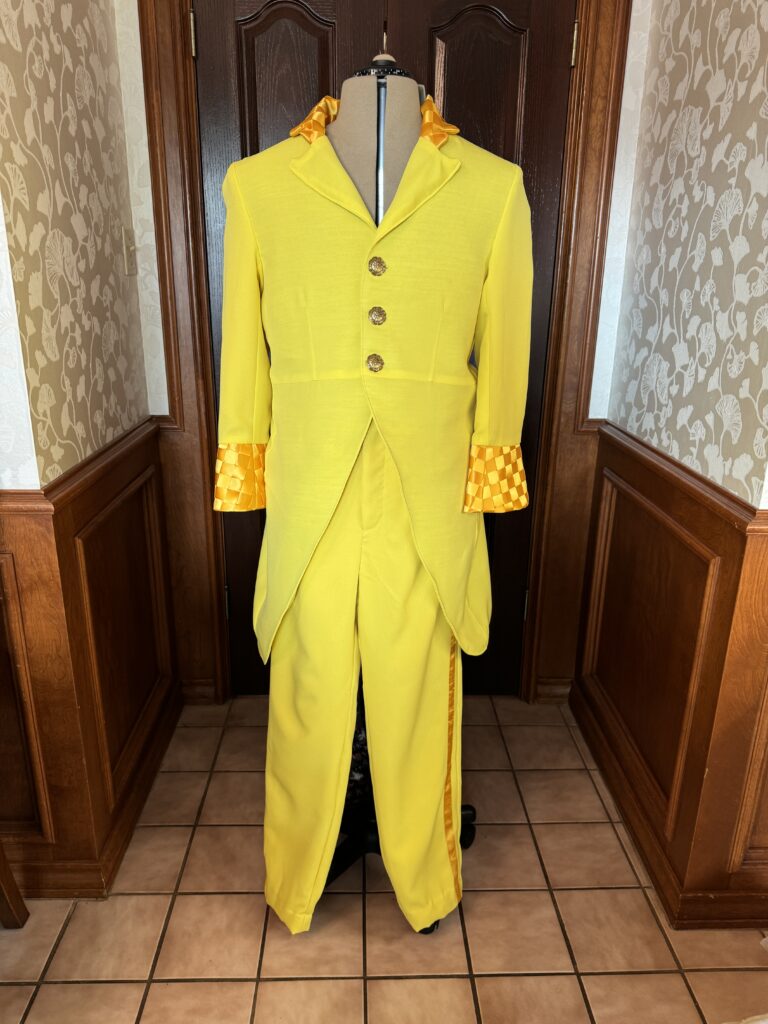
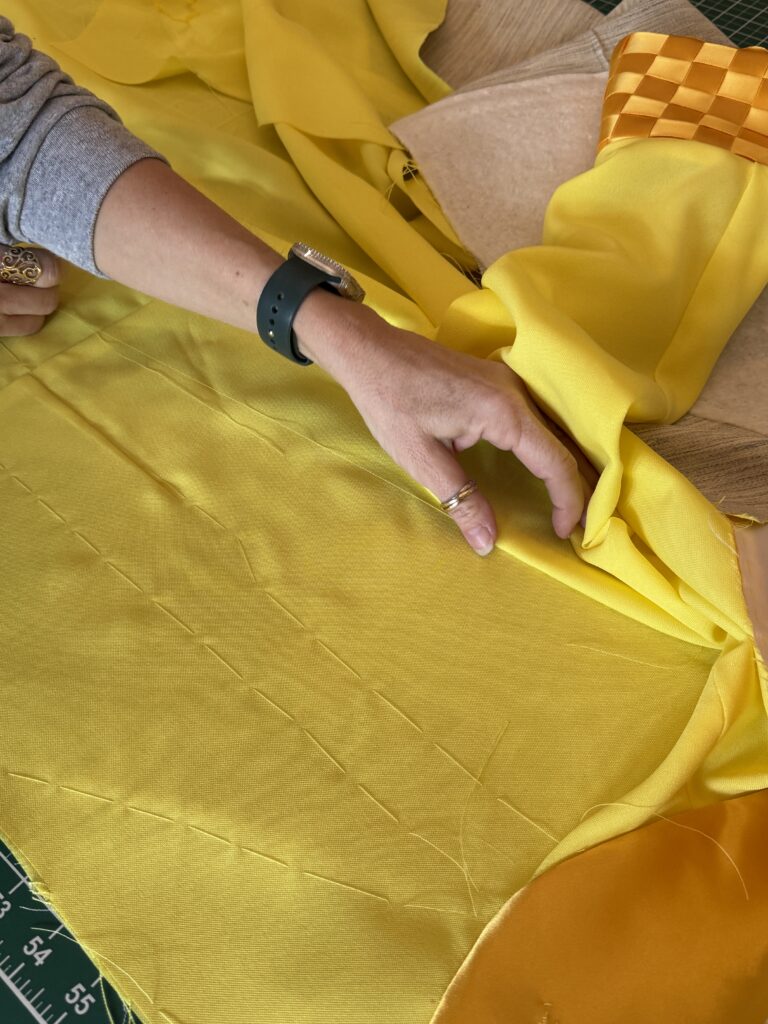
First things first – a costume sketch and choosing fabrics. So many great options. We wanted a yellow that was obnoxious, but still believable as a persuasive salesman. Not banana yellow, but strong enough to warrant the lines in the show that talk about the suit.
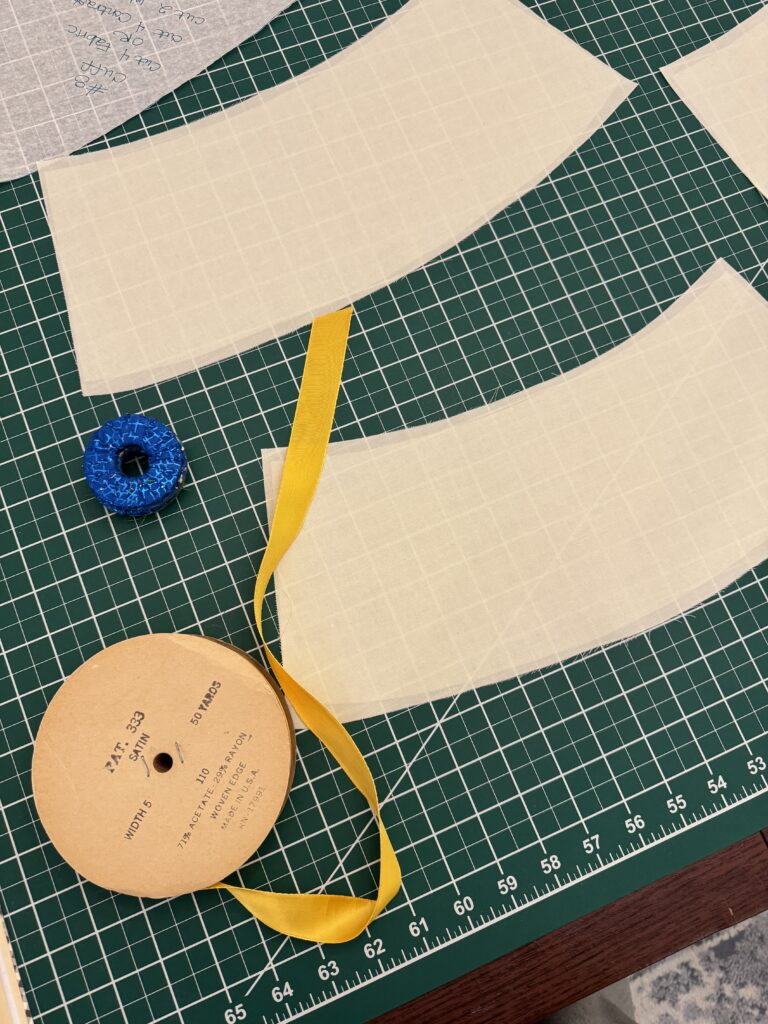
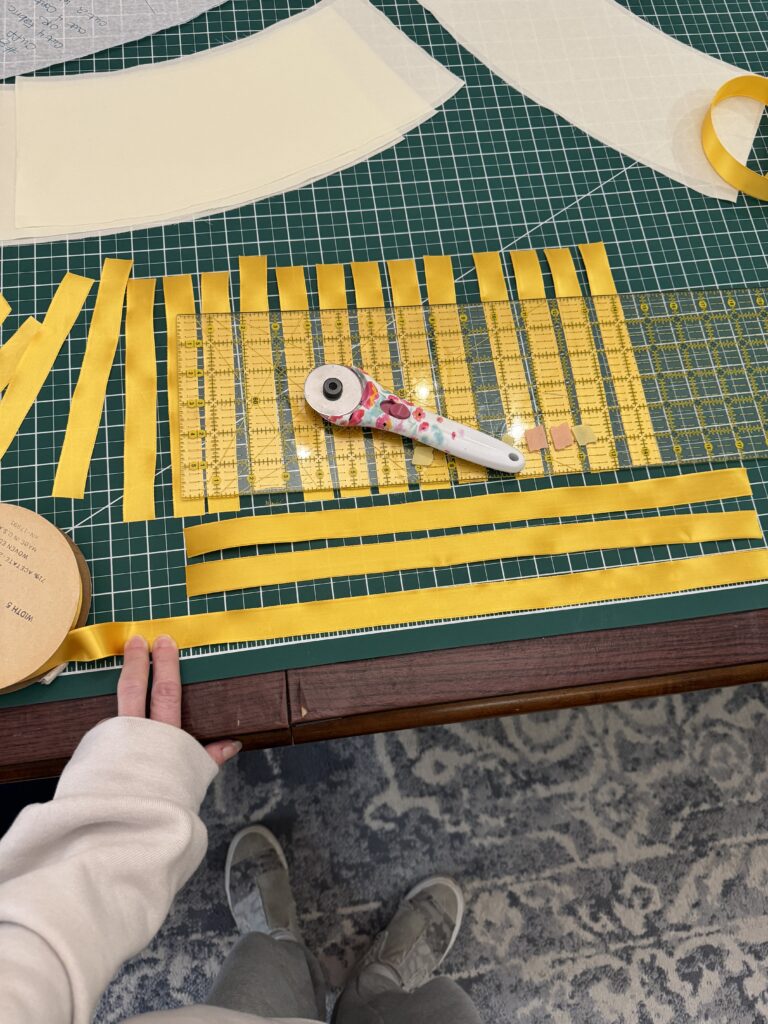
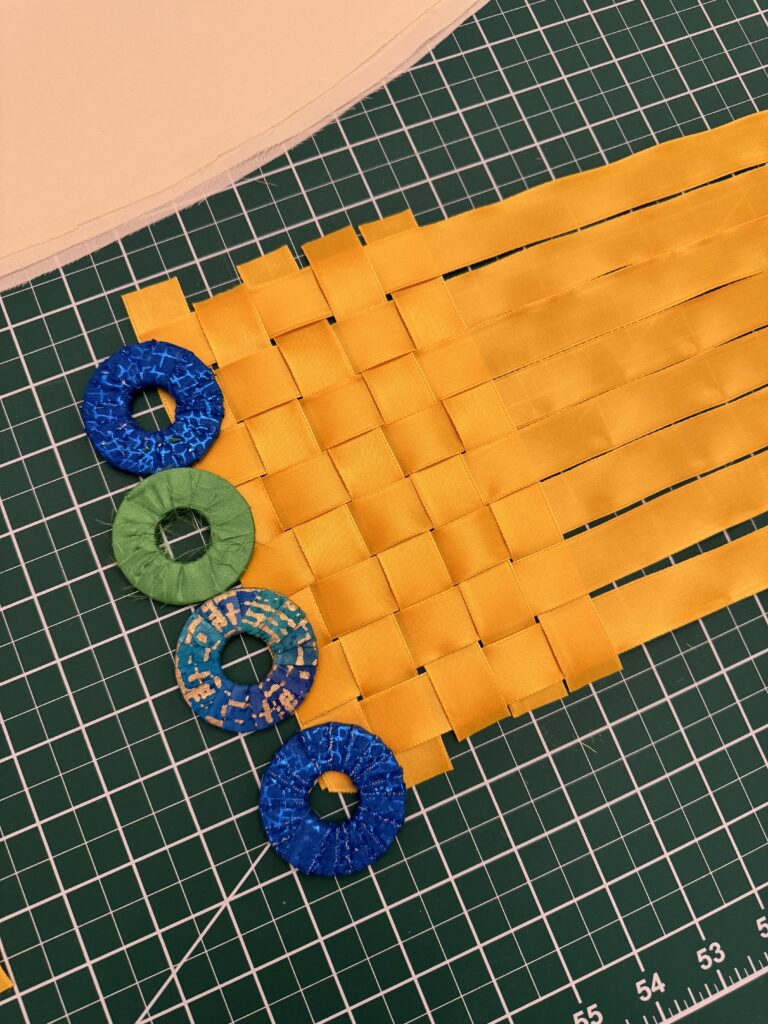
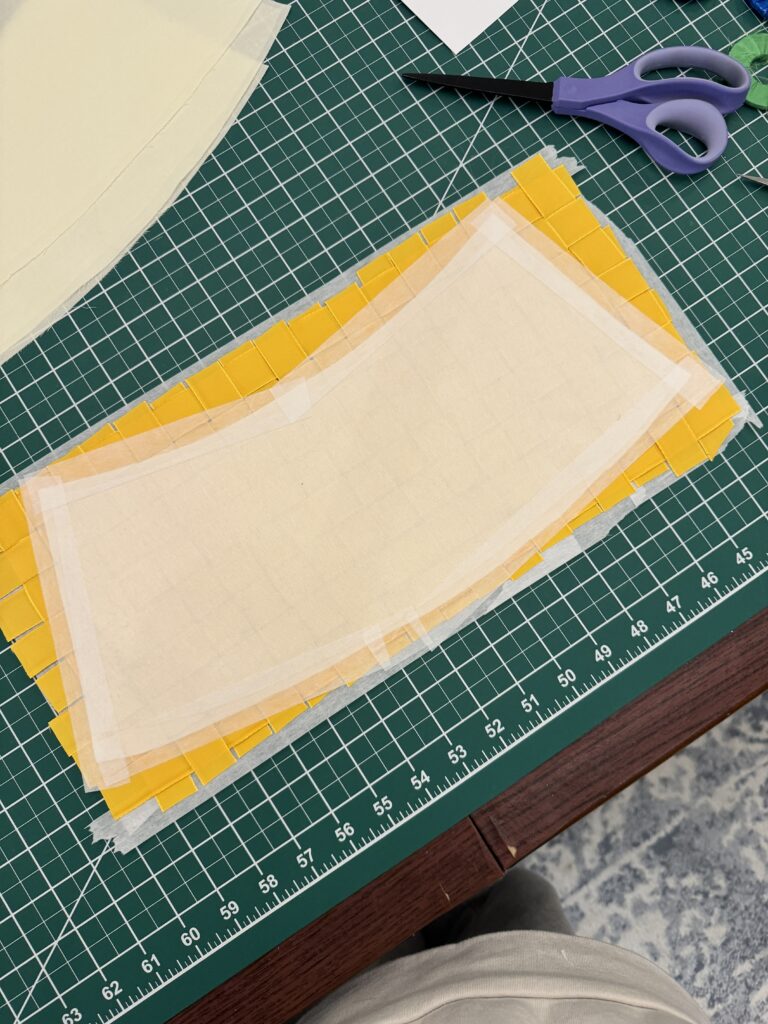
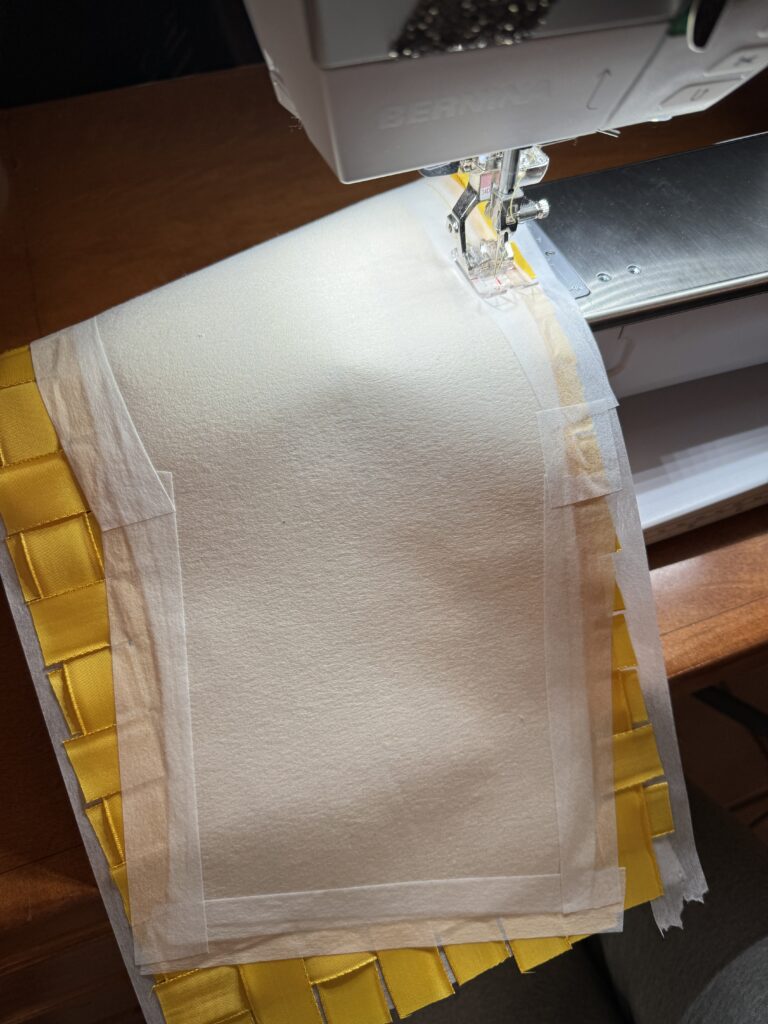
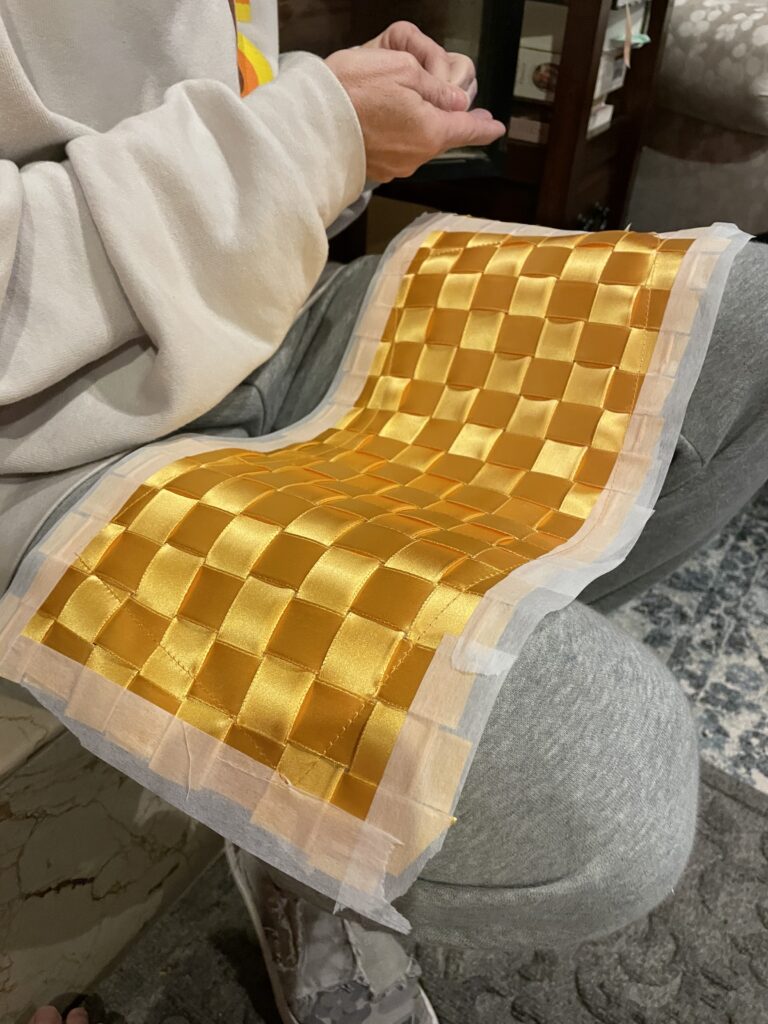
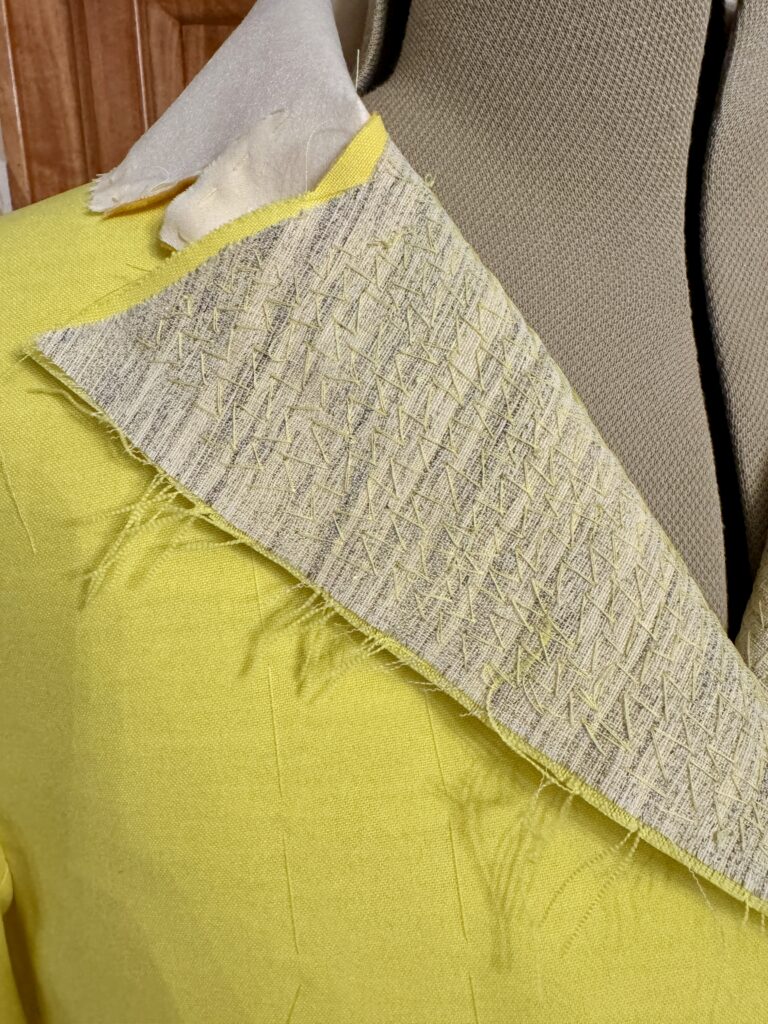
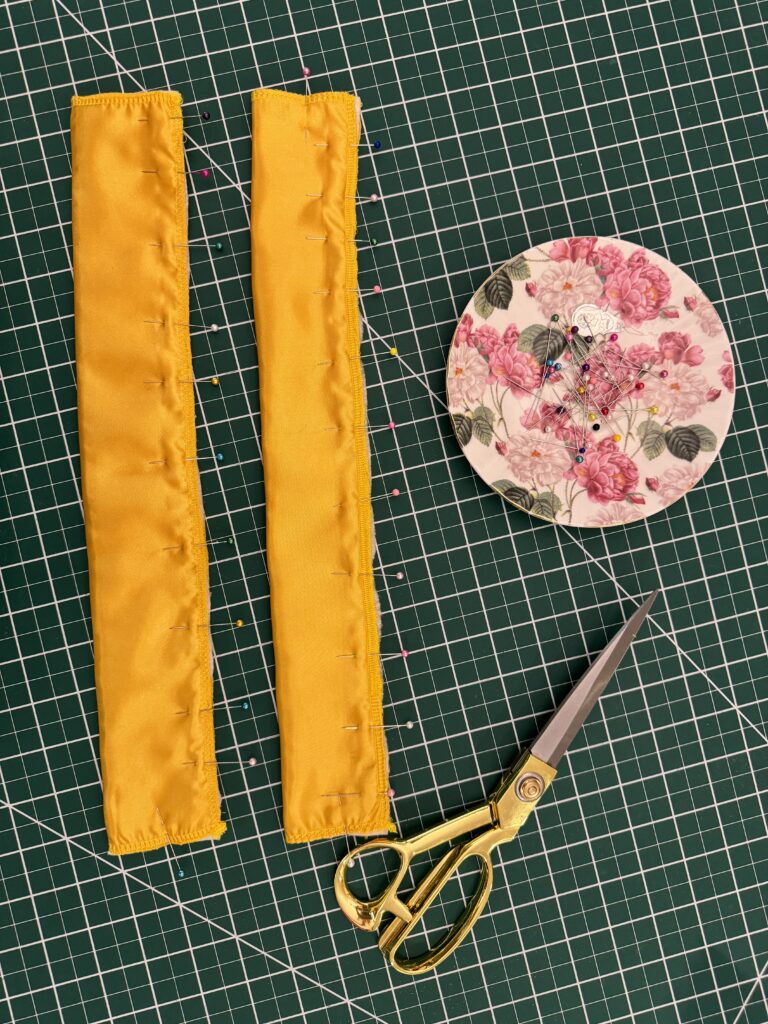
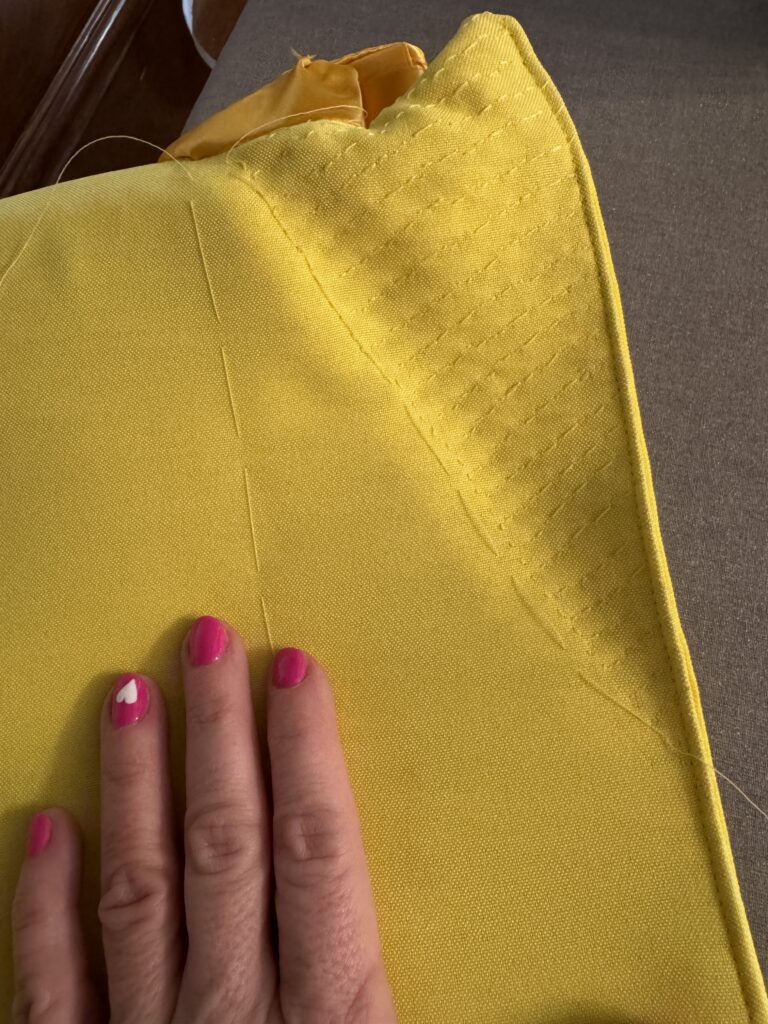
Our lead costumer found a massive roll of yellow satin ribbon. I thought it would add a nice bit of texture to weave that ribbon into a fabric and use it for the jacket cuffs and collar. This fabric caught the light as he moved under the stage lights, giving subtle variations in the depth of the yellow.
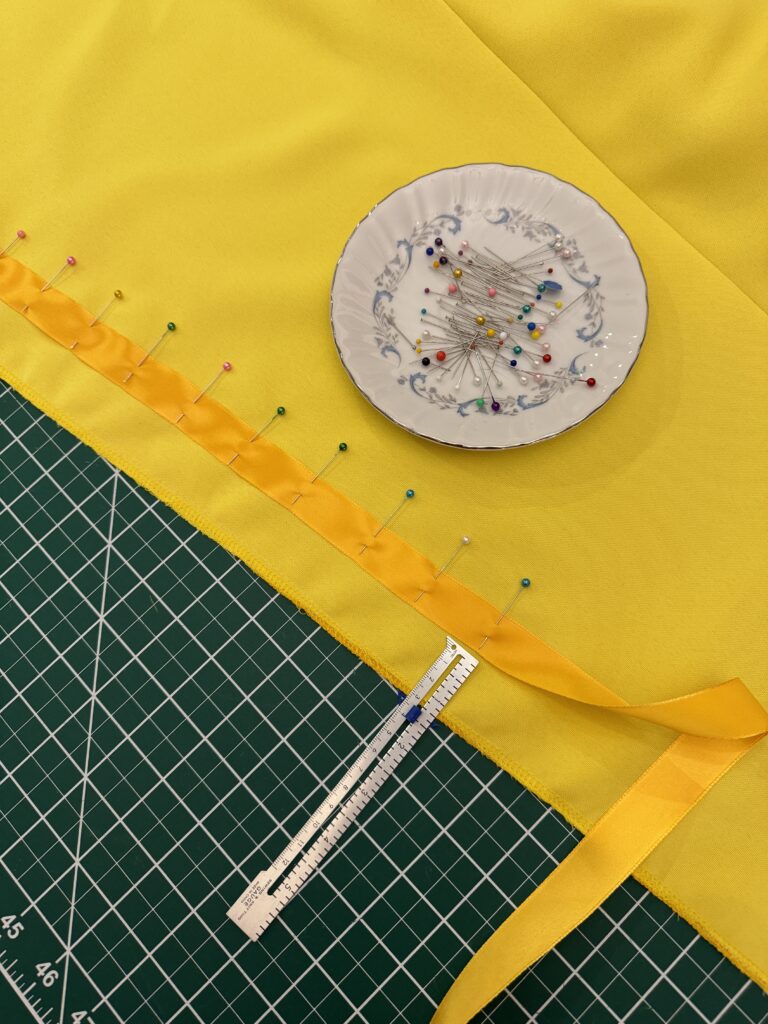
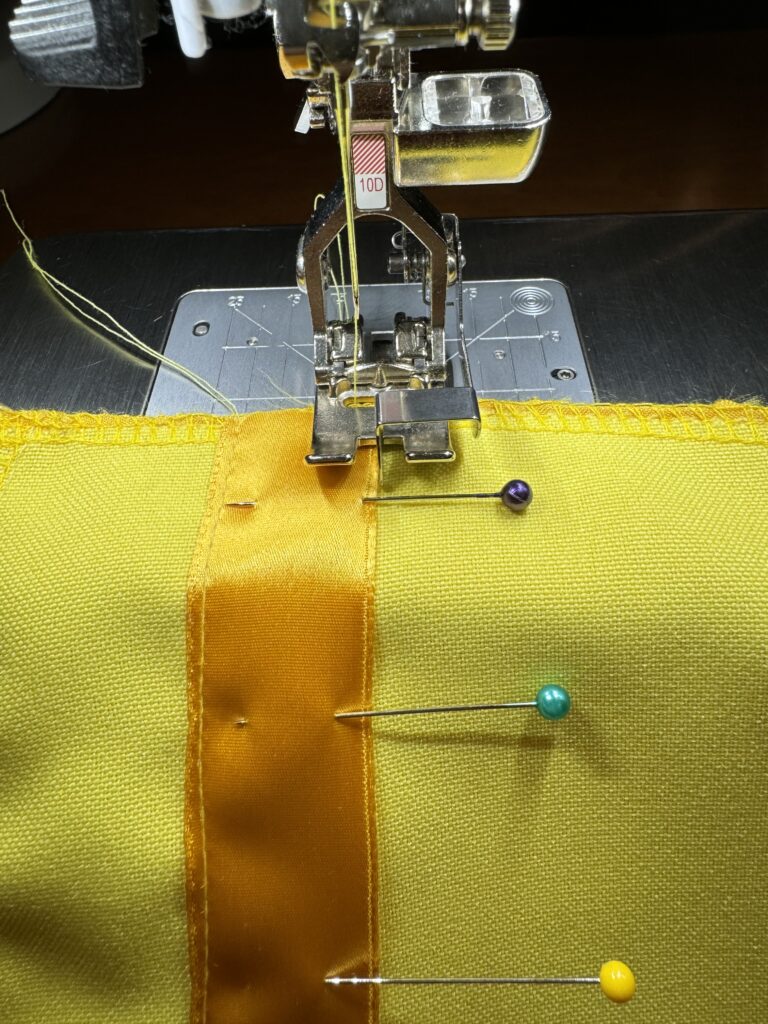
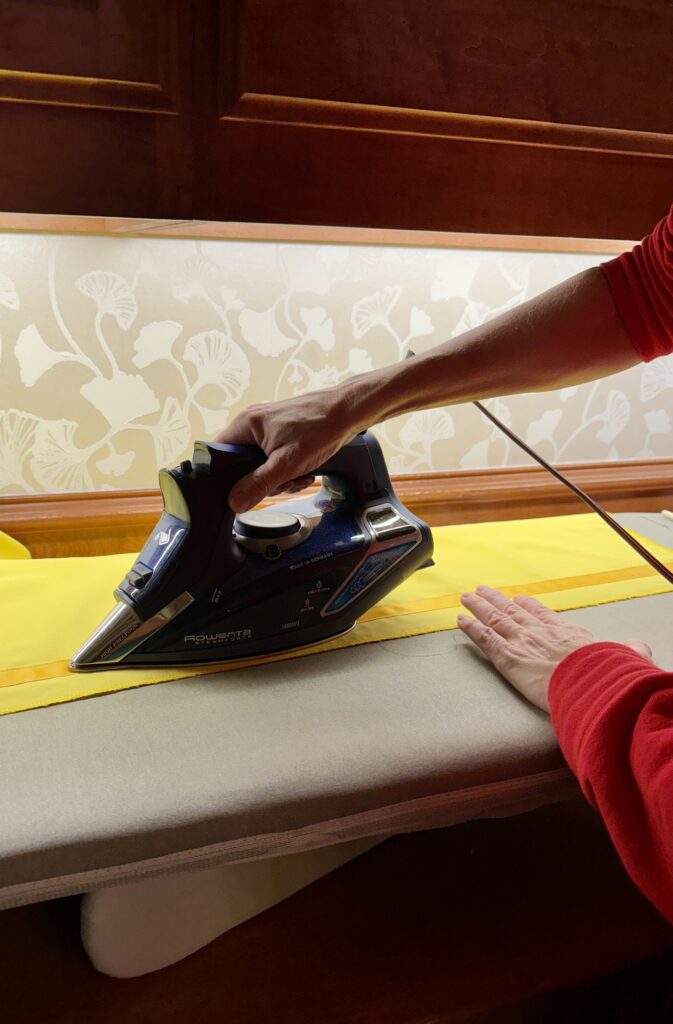
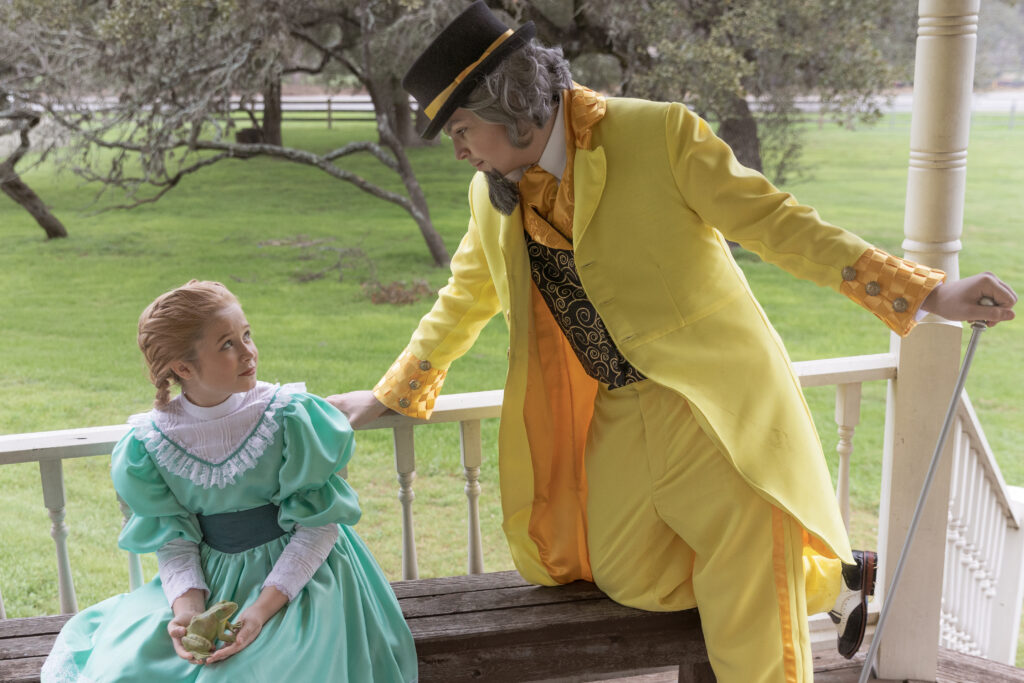
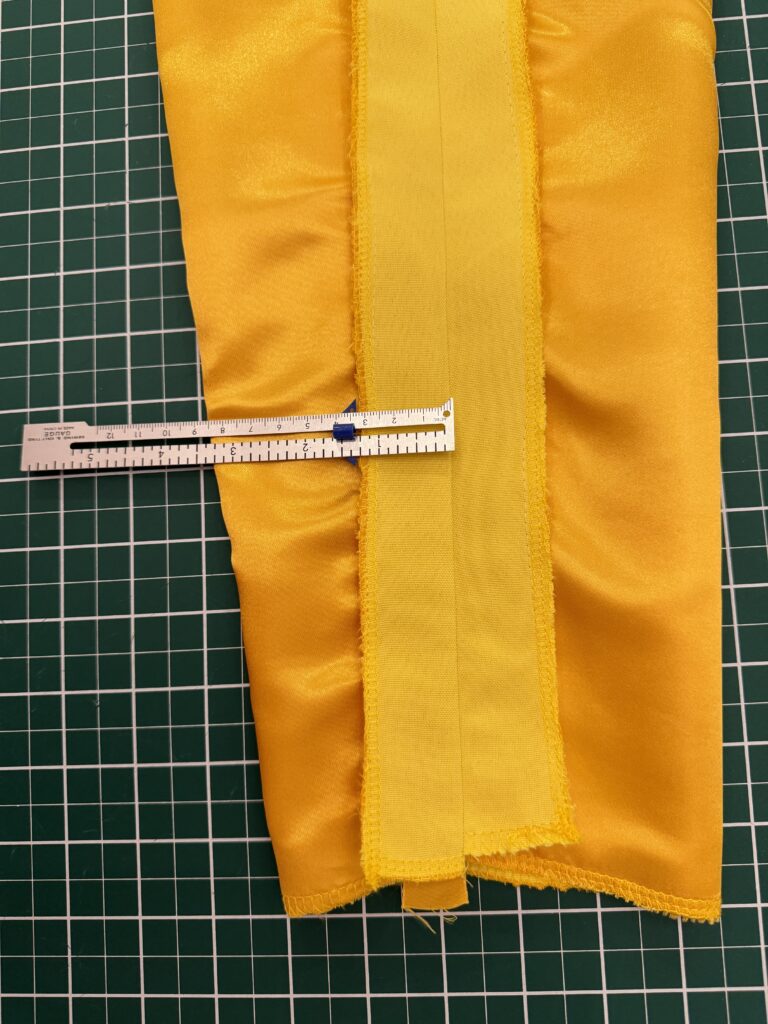
Since we had all the satin ribbon available, I also added an outseam stripe to bring some of the deeper gold in the jacket down to the pants. It also elongates the leg.
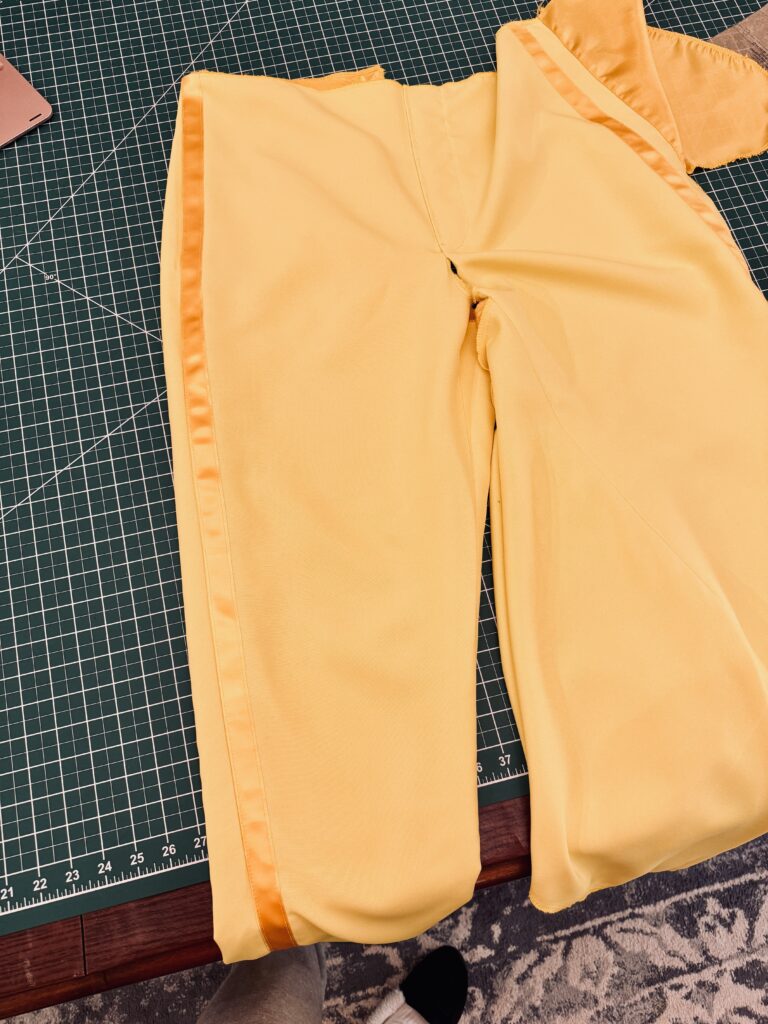
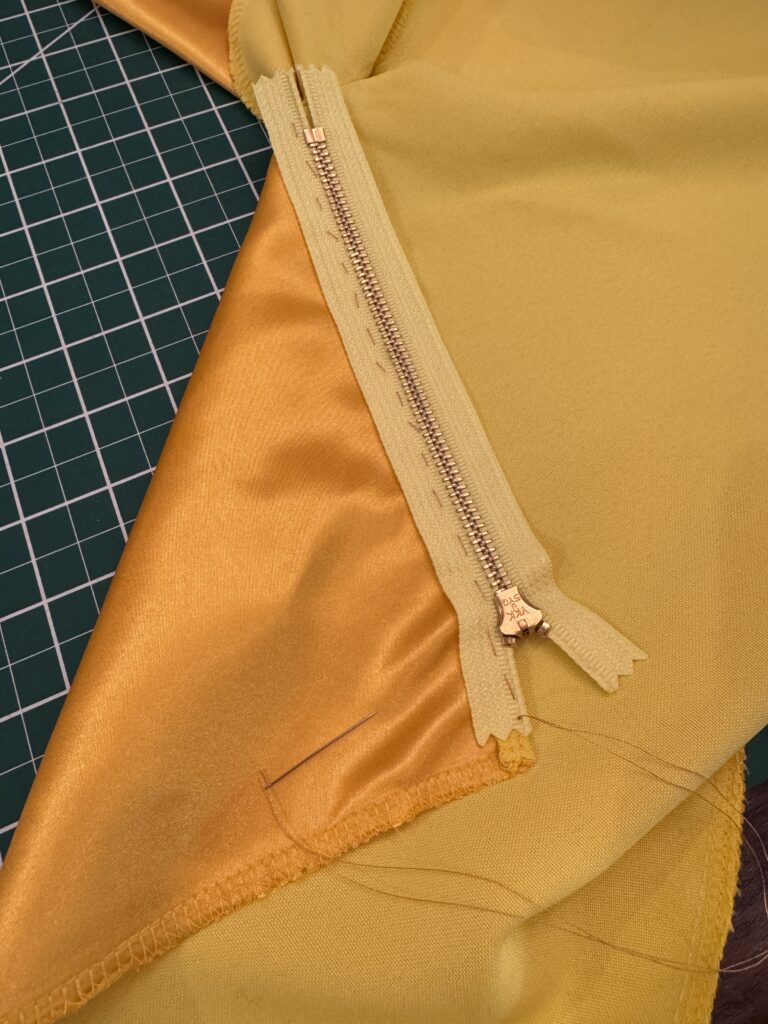
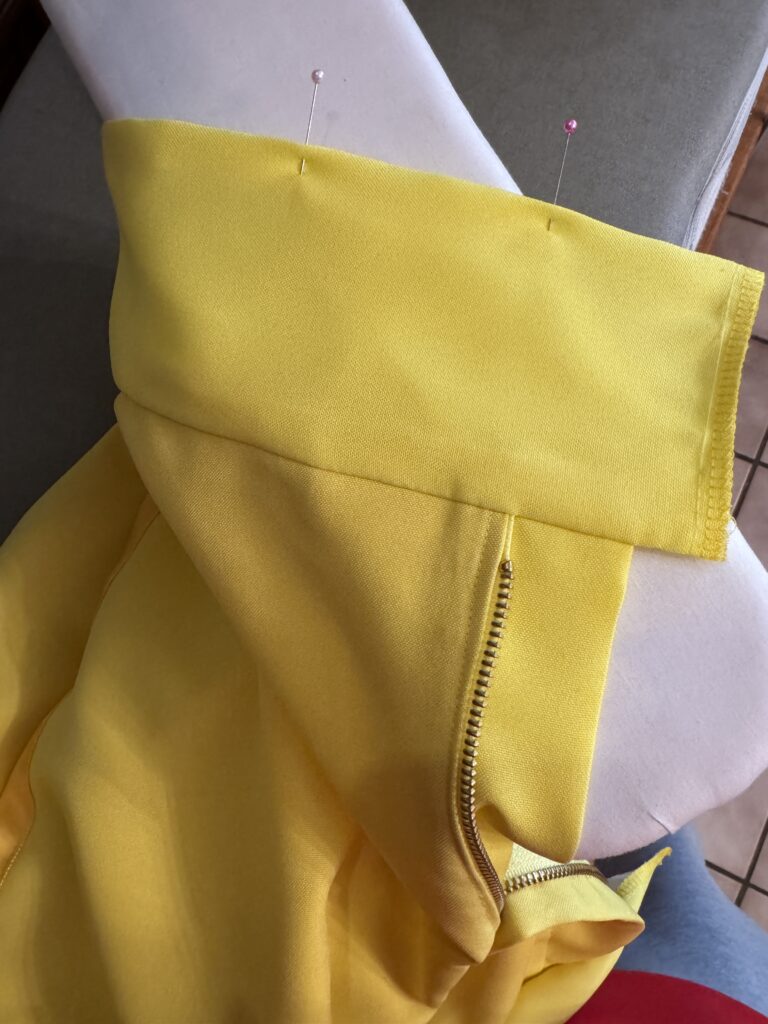
Now that the outseam stripe is complete, we installed the zipper, but left room in the waistband for adjustments after the fitting. The pants are also lined so they move easily as the actor dances.
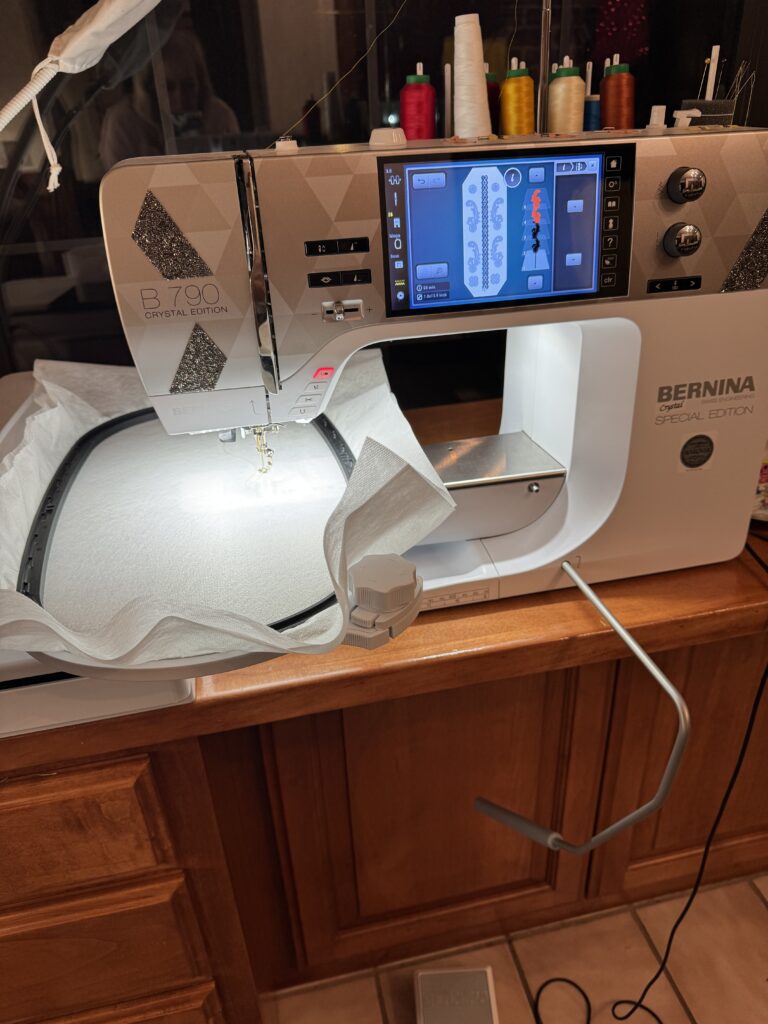
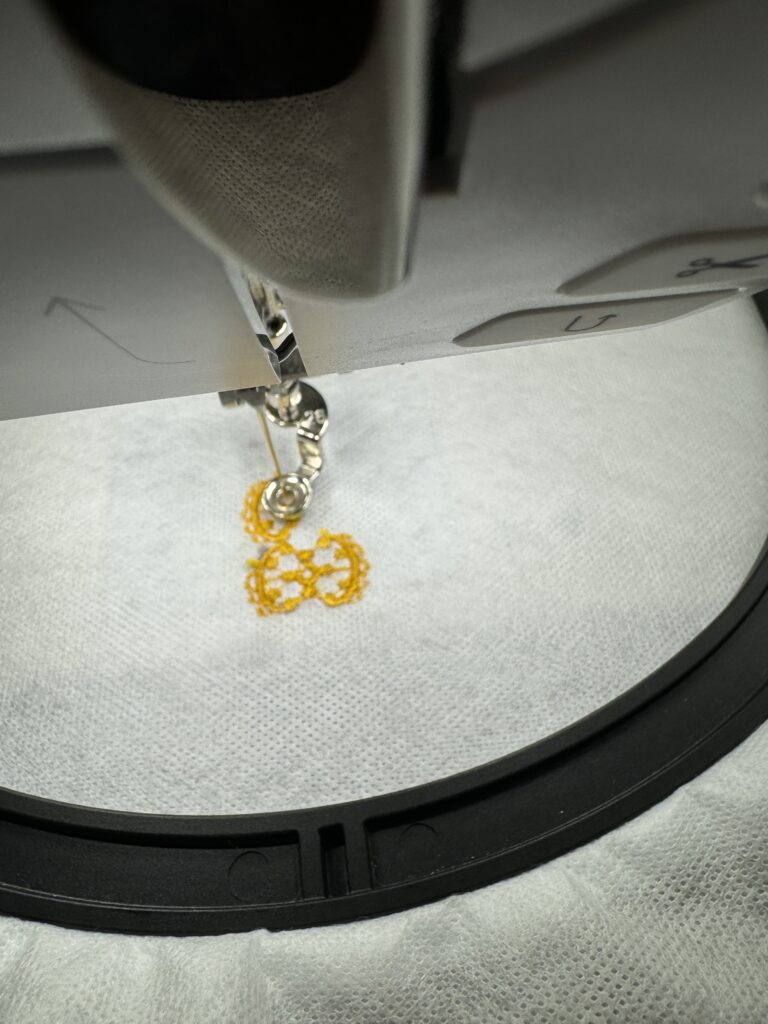
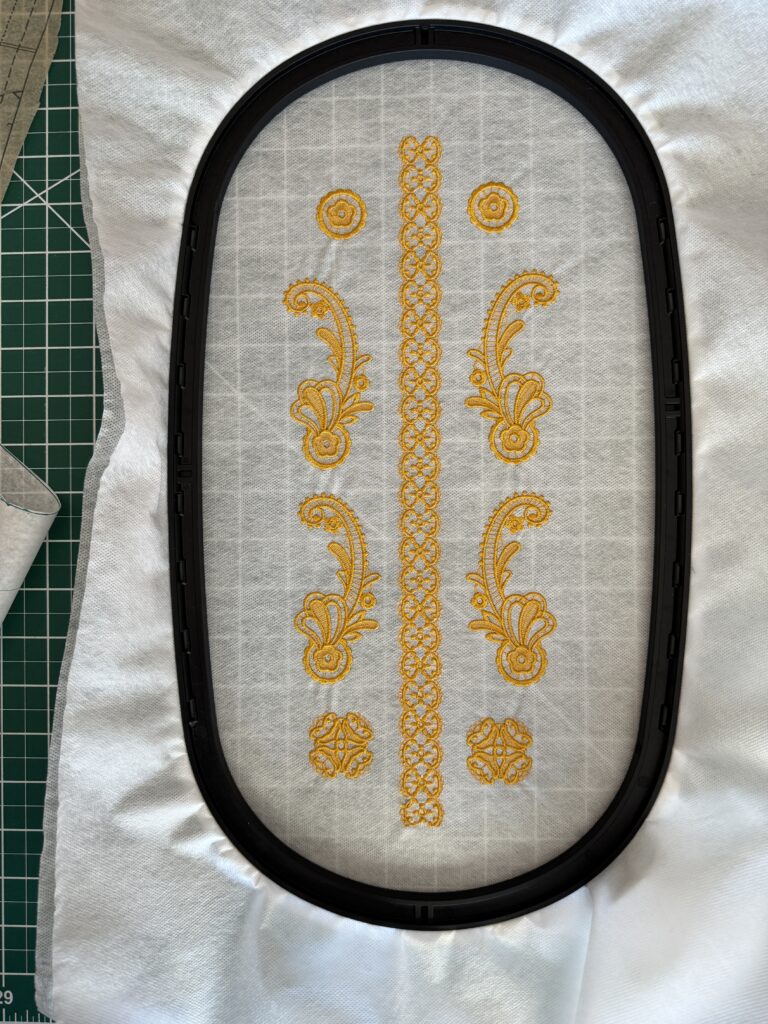
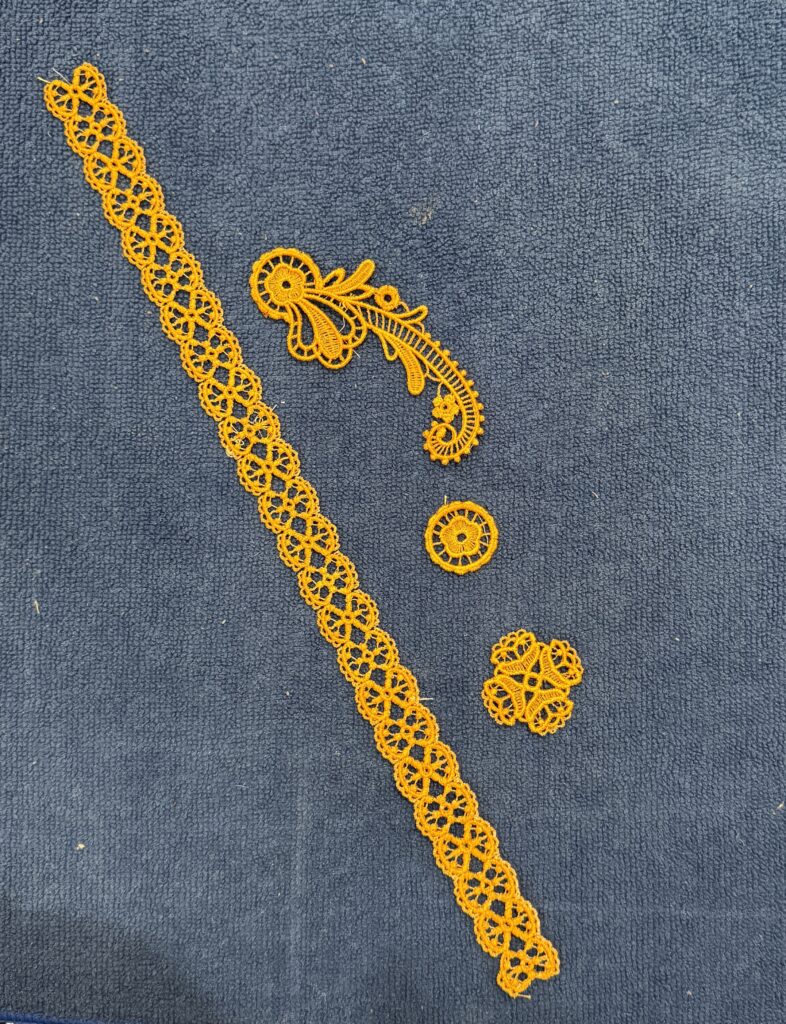
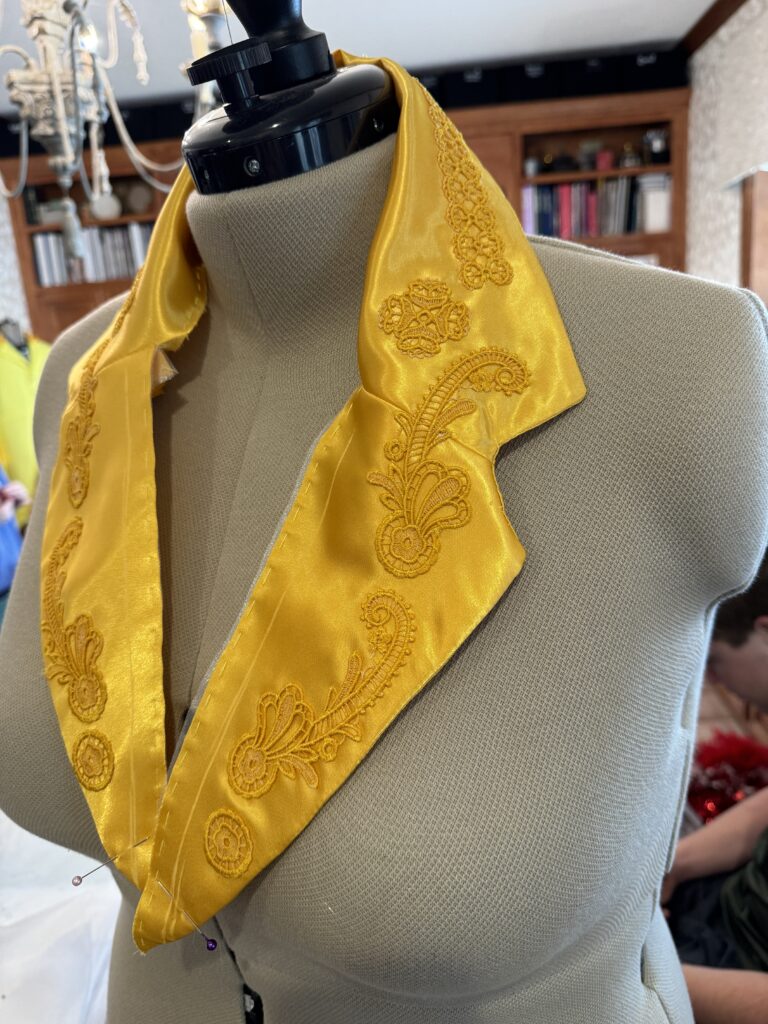
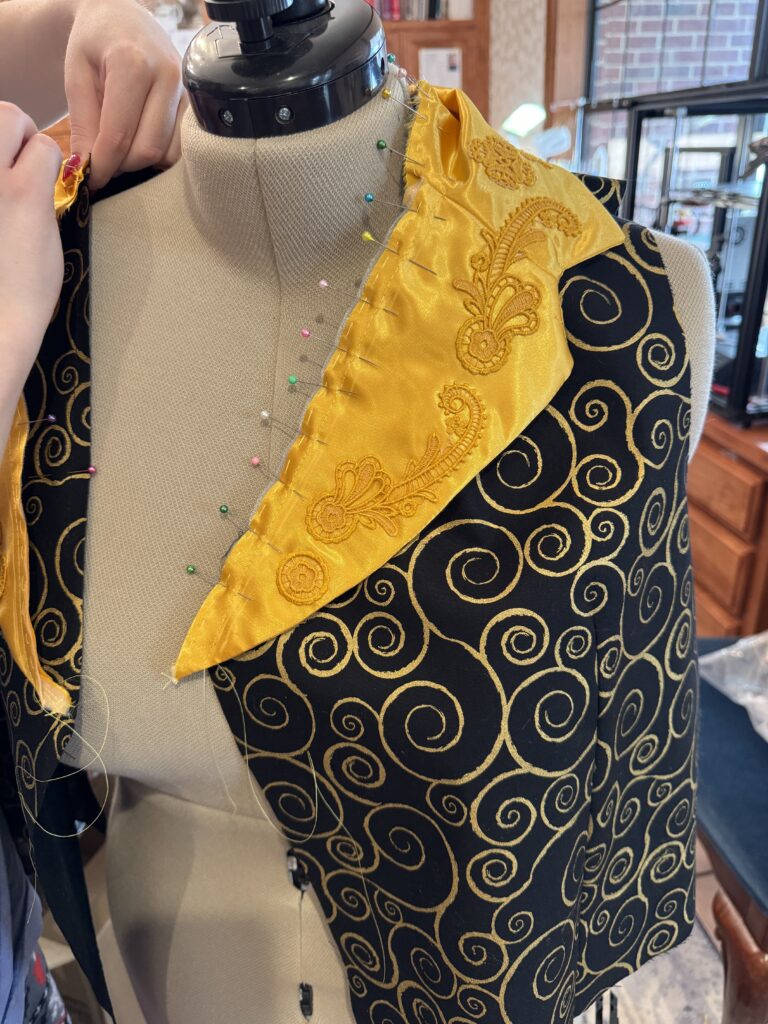
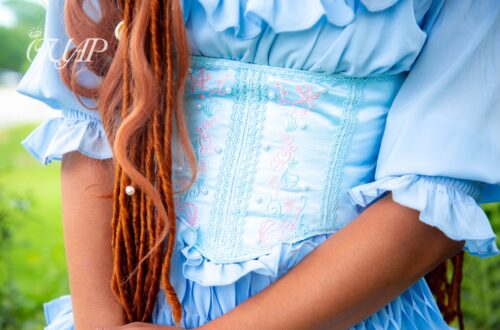
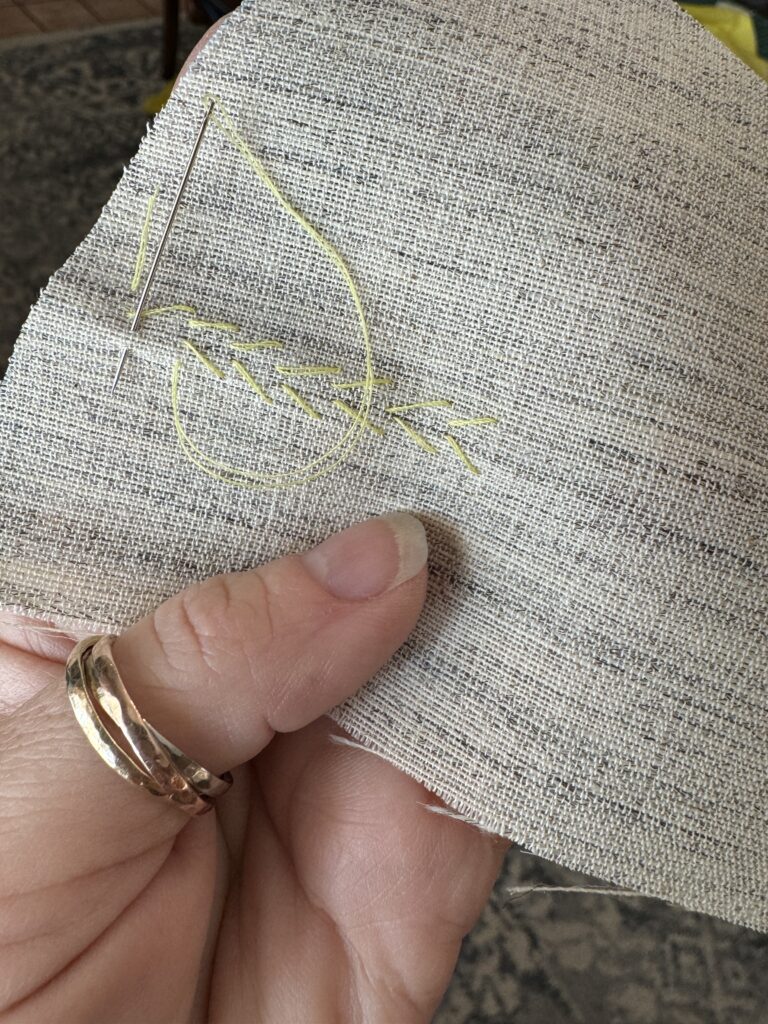
The hypnotic swirls on the vest are so perfect for this swindler! The collar is made from ‘slick’ satin, (get it? slick for a swindler?) and texture added with embroidered free standing lace. We chose embroidery that looks like a splash of water because of the character’s quest for living water.
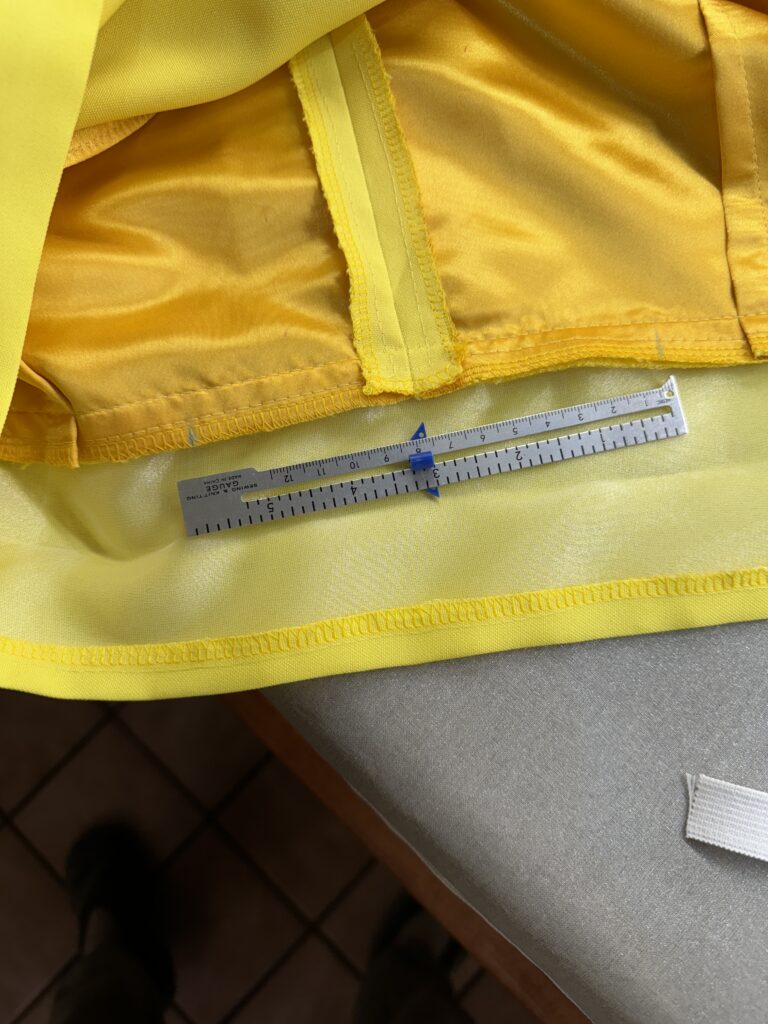
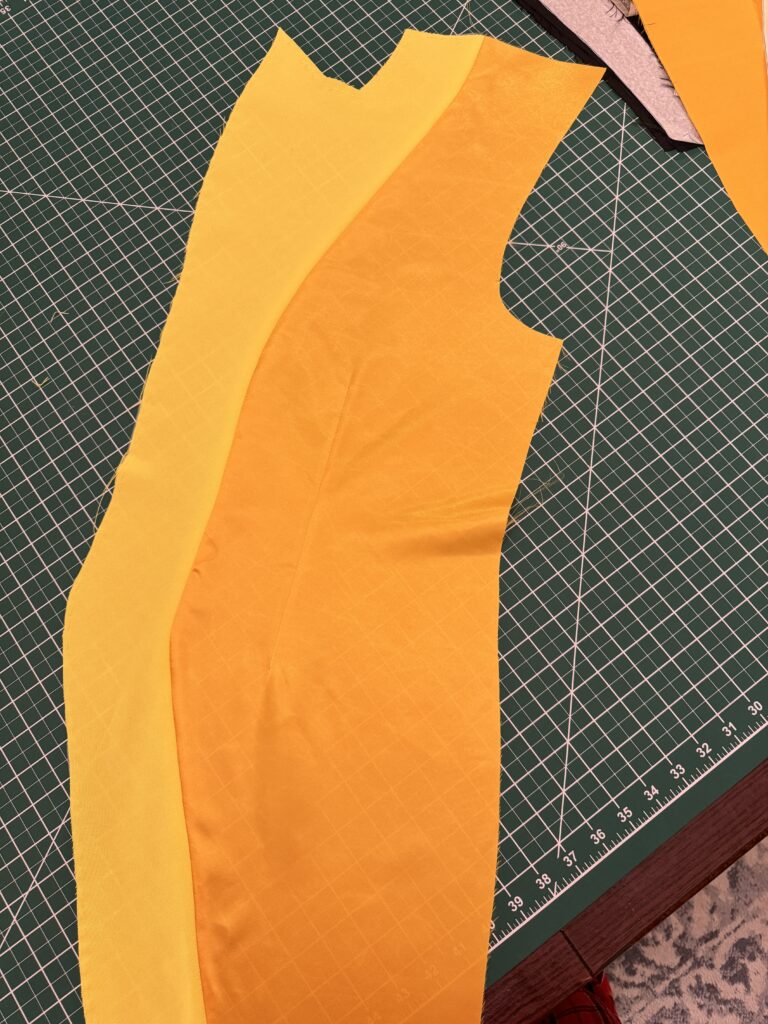
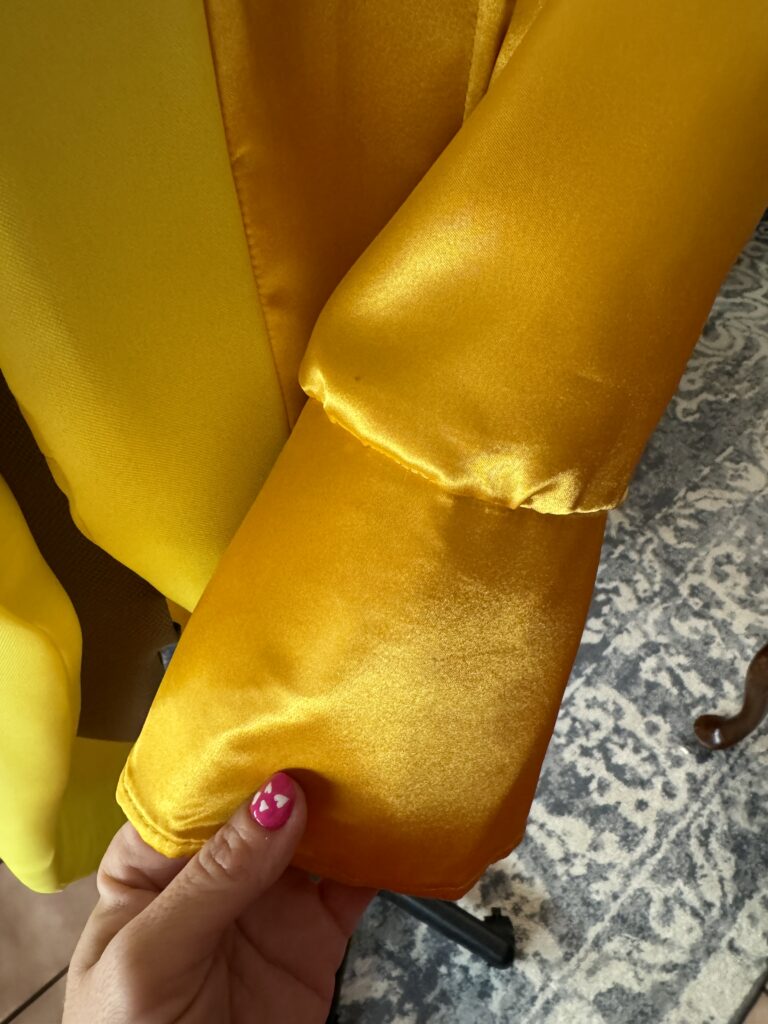
The waistband has organza interlining to keep it smooth and flat as he wears the pants. The outseam has generous seam allowances to allow for future adjustments. One very challenging piece for me was constructing the front lining with the cut away front. I had to think in reverse to cut the self fabric facing and add it to the satin lining. I like the flashes of the deeper gold lining that shows as he moves about on stage. The satin also helps the jacket to move fluidly and not catch as he dances.
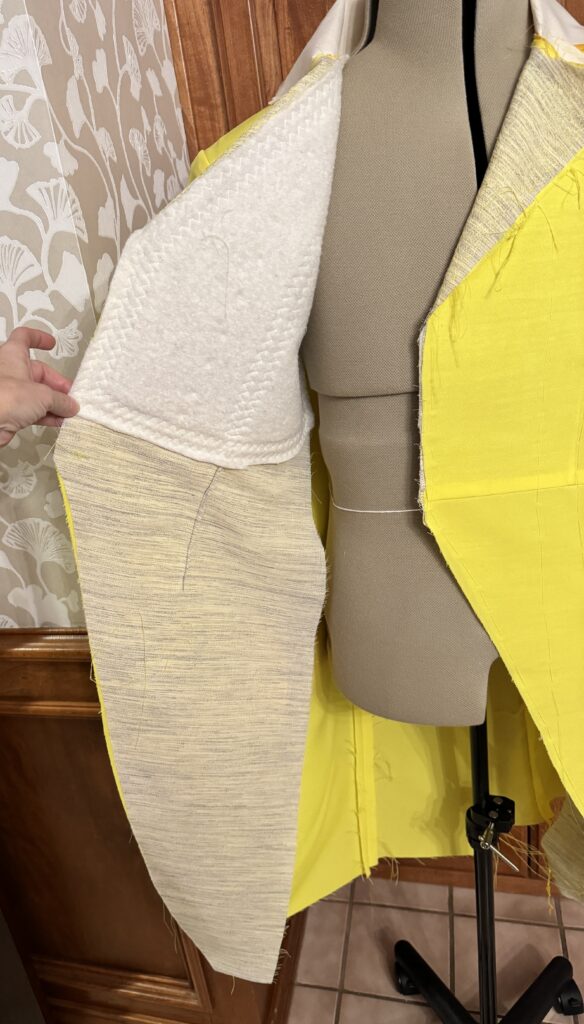
Once I had the jacket front complete and the initial fitting, I realized the jacket lacked the structure and body I hoped for. The fabric is suiting material, but it was floppy! I started reading through my men’s sewing books, the internet and watching YouTube and realized I needed quite a bit more work. I read the instructions for every big four pattern I owned for men’s costume jackets, and none of them included the steps of chest padding, lining, rolled lapels, etc. After hours of research and helpful conversations on my Facebook groups, these pictures show my first attempts at properly creating a man’s suit jacket. I realize I am just beginning, but I learned so much!
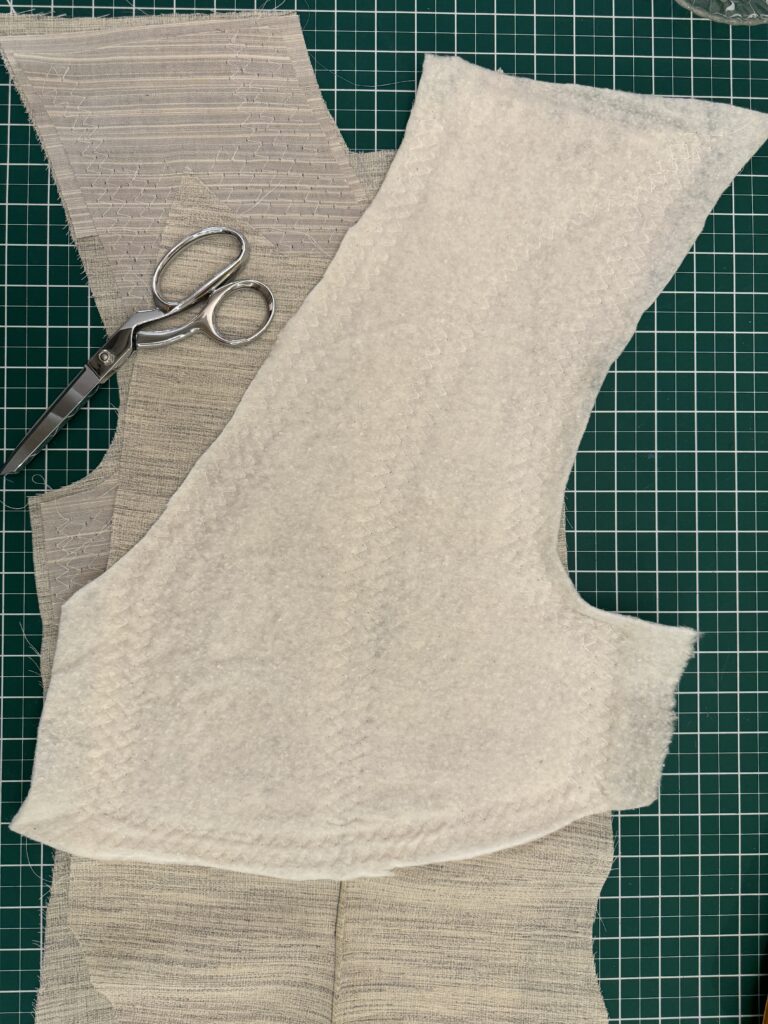
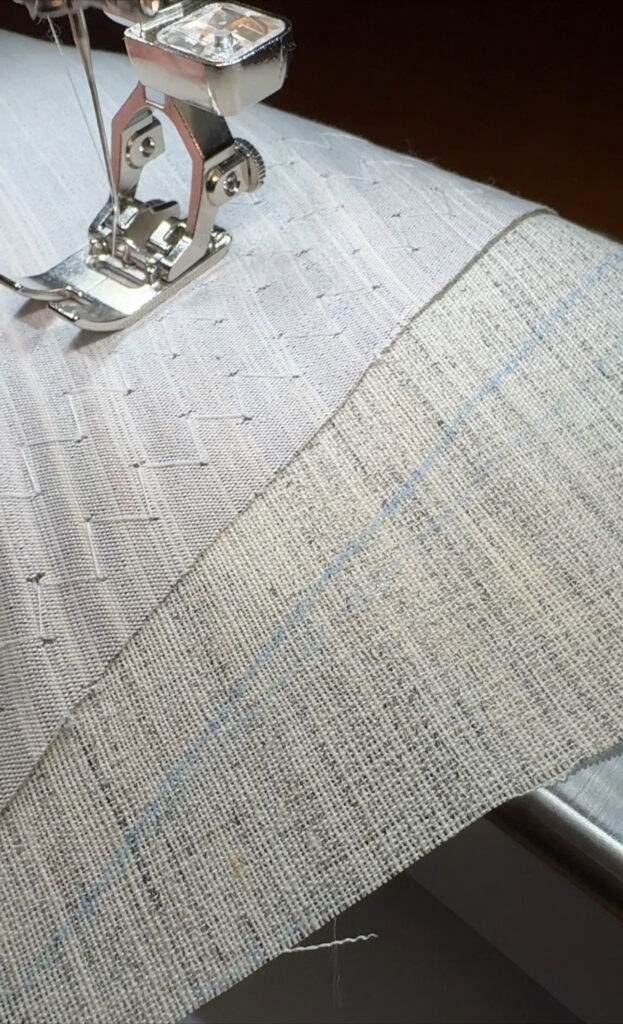
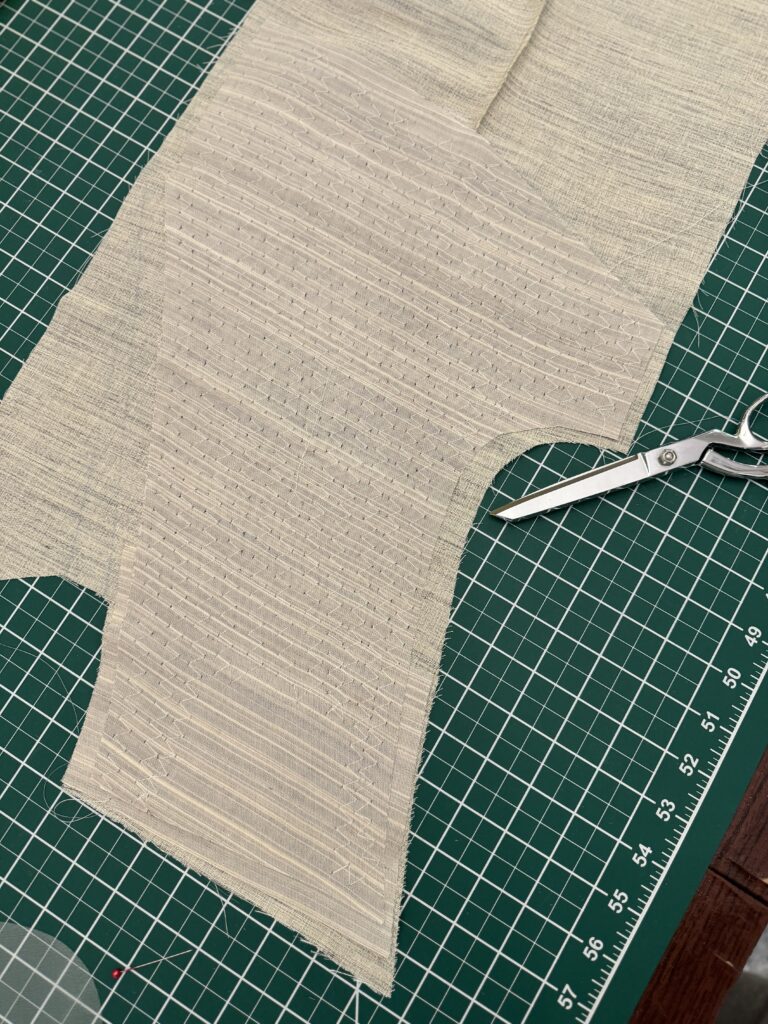
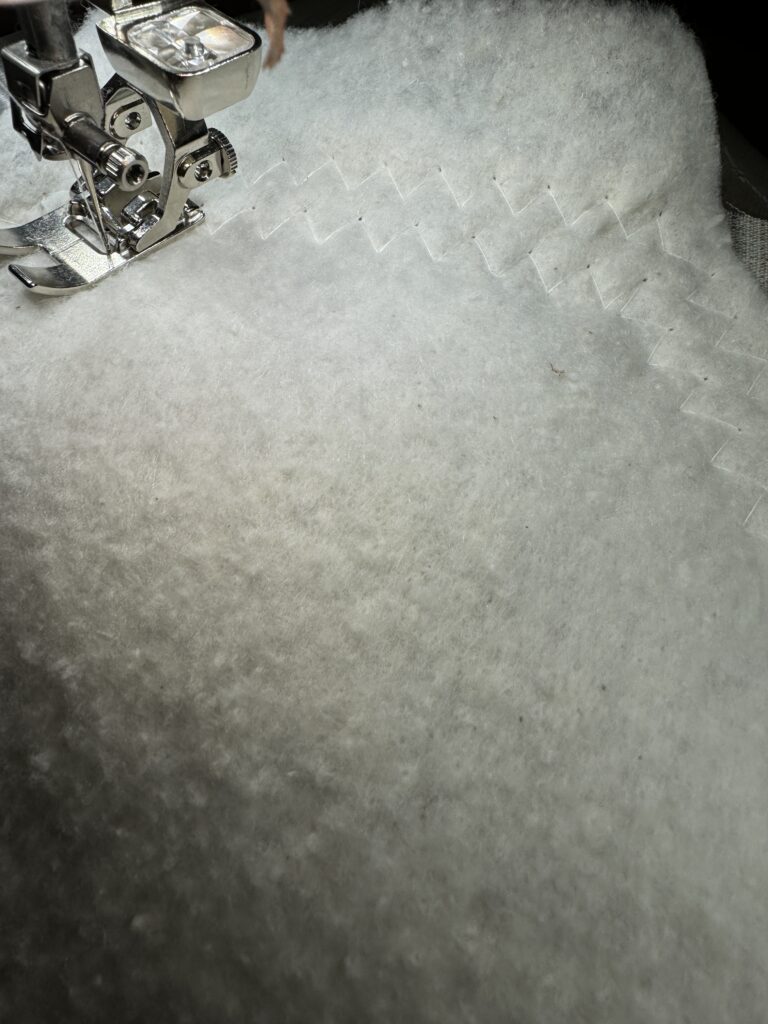
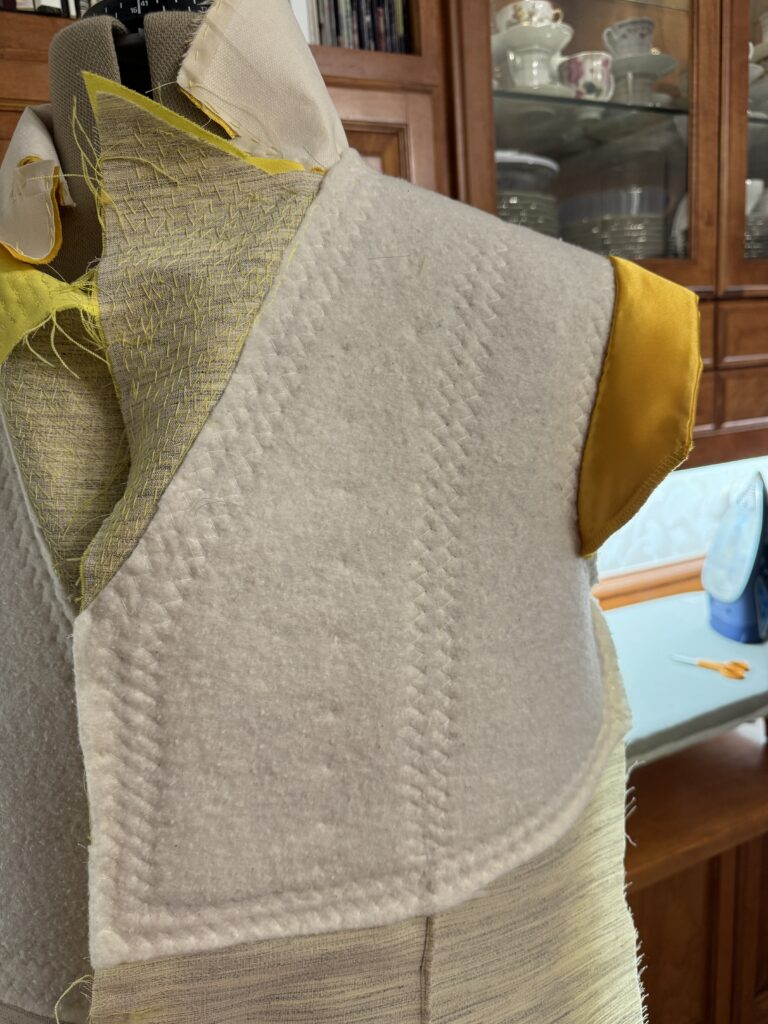
To give suiting fabric that sturdy body and shaping, many layers in between the top layer and the lining layer. I used 6.7 ounce Hair Canvas Sew-In Interfacing from Wawak. This is not actually horsehair, but a combination of 42% cotton, 35% rayon, 17% hair and 6% wool. To main shape, I cut a chest piece of 6.1 ounce Hair Canvas Crinkle Sew-In Interfacing made from 51% horsehair and 49% cotton for shoulder reinforcement. I sewed these two pieces together with pad stitching, to make one piece of fabric. Then I padded the chest area with a very light batting, which also keeps the prickly horsehair from being an irritant.

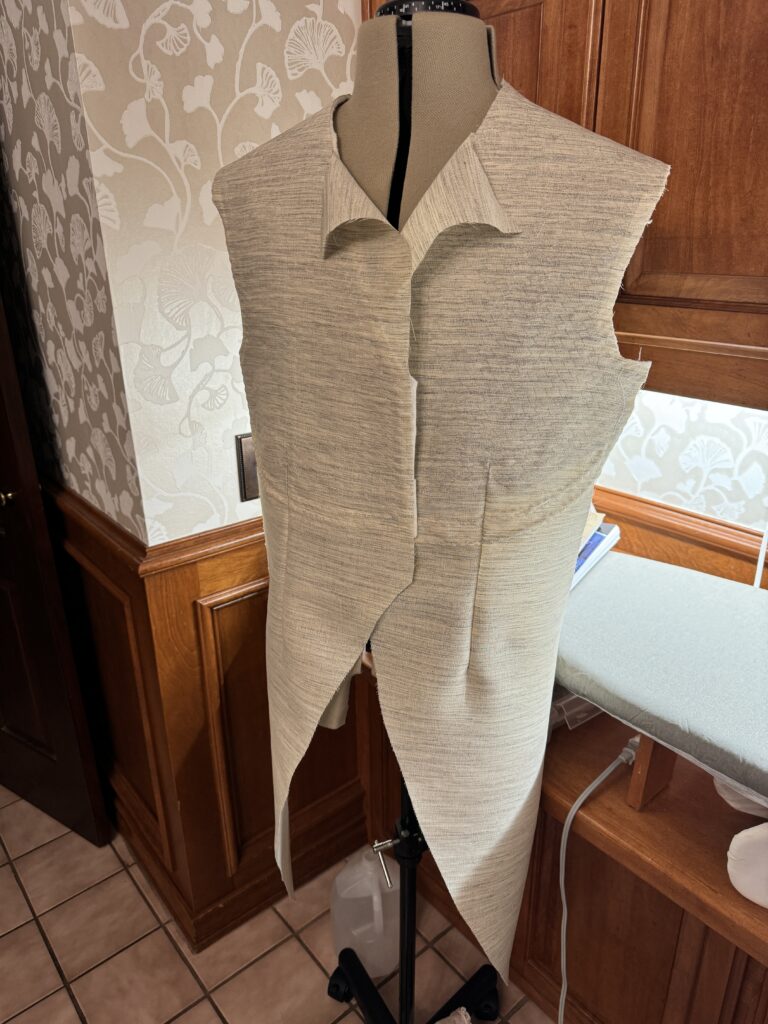
The completed canvas is basted into the jacket with HUGE basting stitches, which will be removed after the jacket is finished. This is called a full canvas, and it hangs freely inside the jacket layers, with just enough stitches around the top edges to keep it in place. If I attached it totally to the suit top or lining, it could create buckles in the jacket, and cause it to hang awkwardly. Now it’s time to shape the lapels. We want these to roll back onto the coat in spite of the sewn-in interfacing. We also want them to stay there, and not flop closed while wearing the jacket.


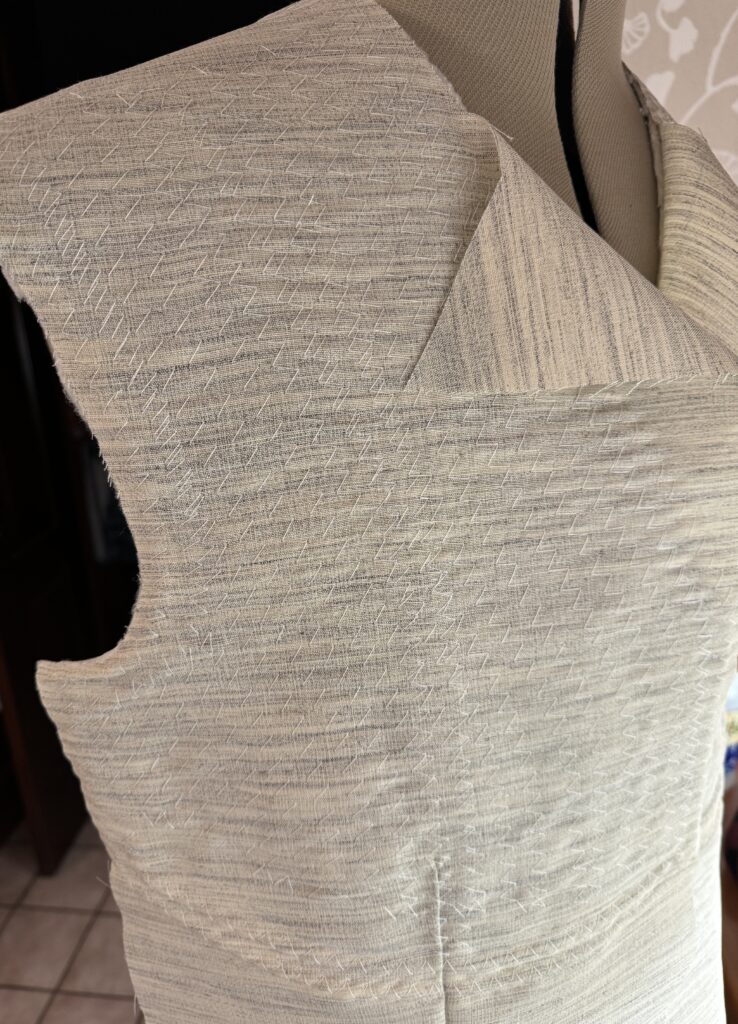
Rolling the lapel over my finger as I stitch created a permanent fold that springs back if pulled forward, and keeps the lapel rigid, without flopping over or hanging awkwardly. We pad stitched the entire lapel area, carefully keeping the stitches to the underside so they are not seen.
Completed pad stitched lapel and full horsehair canvas sewn into the jacket. Notice at the bottom, the canvas is not attached to the jacket. It will hang free inside the lining.
I built sleeve heads to help the sleeves hold their own, similar to the chest and lapel padding. These sleeve heads are the little bit of padding at the top of a man’s suit jacket, that hold the sleeve up and prevent the fabric from caving in at the the top.
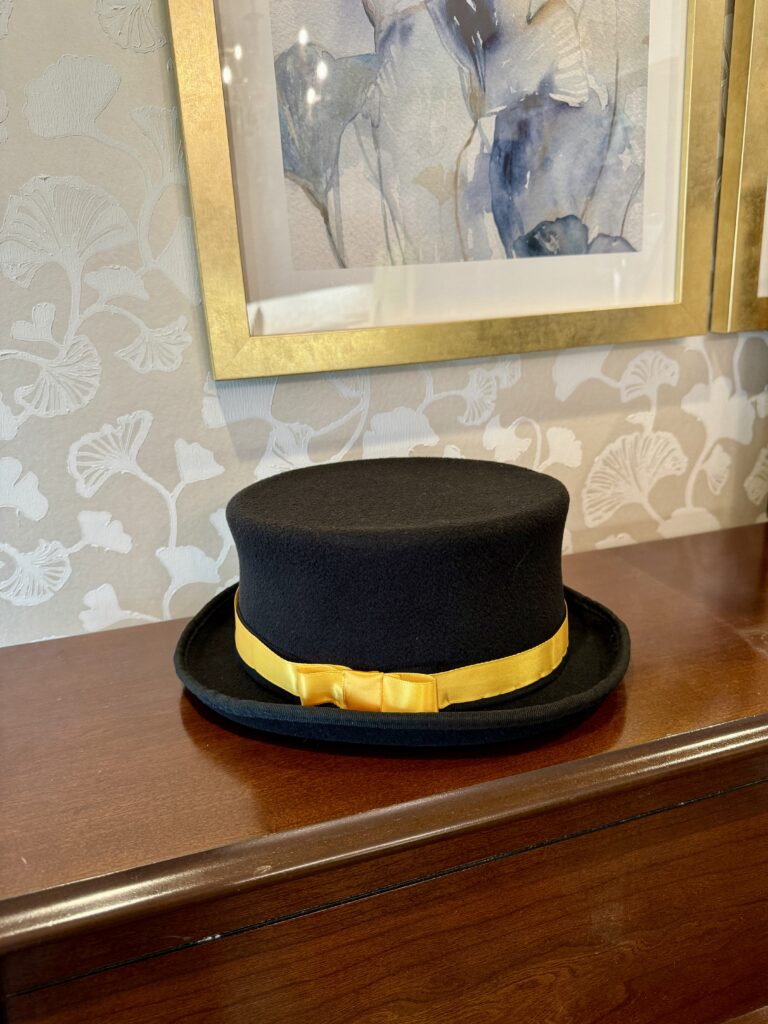
Rolling the collar to the center reveals the ‘hidden’ pad-stitching. The jacket currently still has the basting stitches in place – they stay in until the very end. I also added the same satin ribbon as a trim onto the hat brim. This keeps his ensemble very coordinated, and brings that rich gold up into the hat.

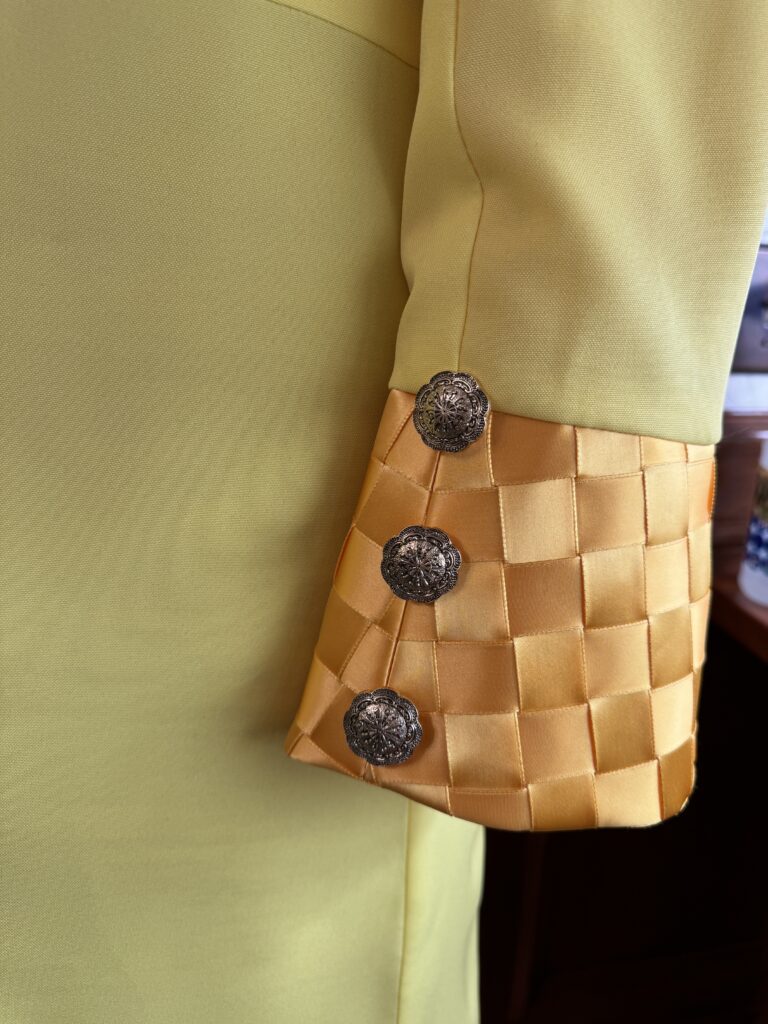
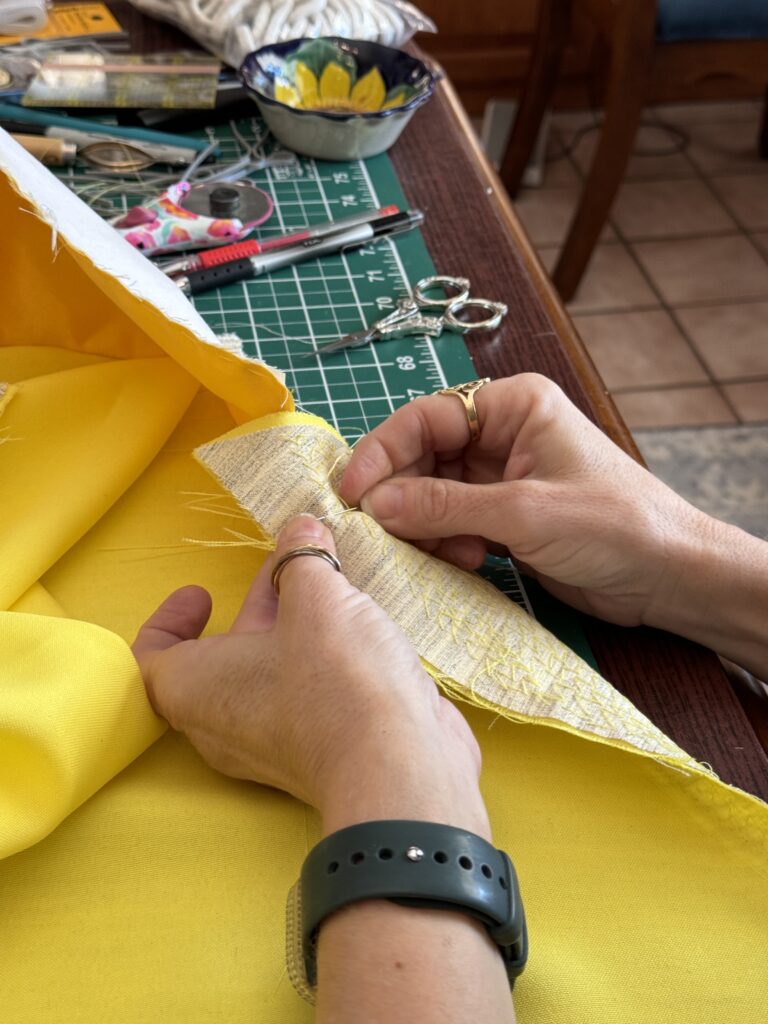
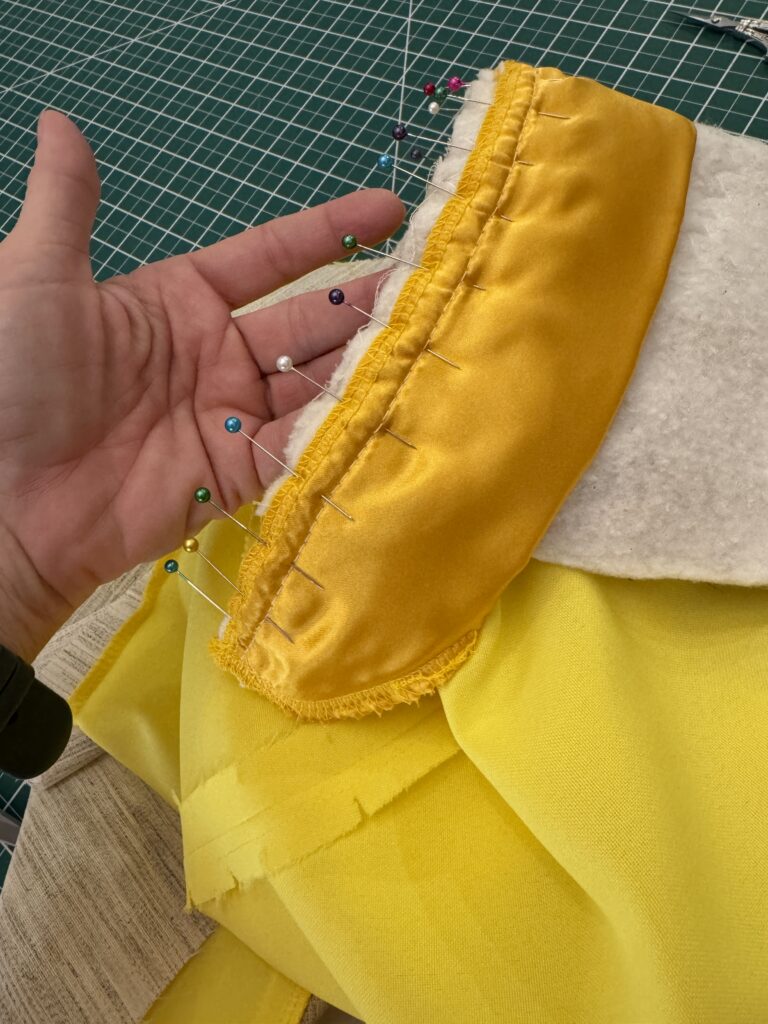
These are close-ups of the woven ribbon sleeve cuffs. I inserted the sleeve cuff between the suiting fabric and the lining, so it has a clean finish inside and outside the sleeve. This also prevents that sleeve from catching as he moves. I’m pretty proud of that perfect match of the ribbon weaving on the cuff seam. 😉
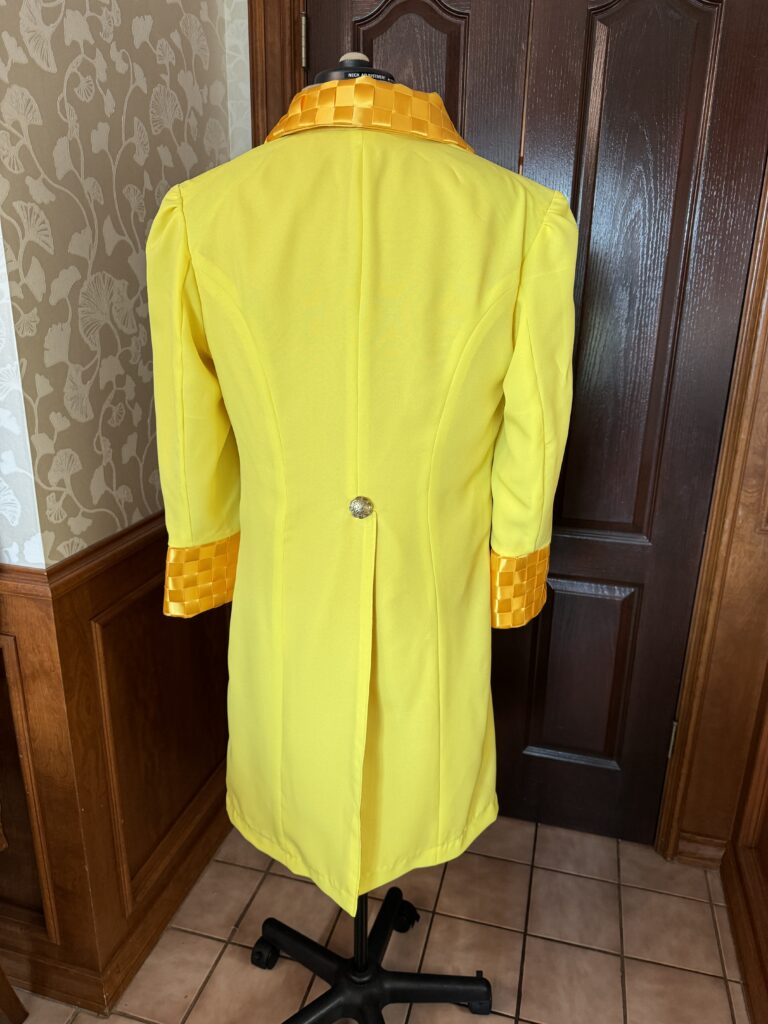

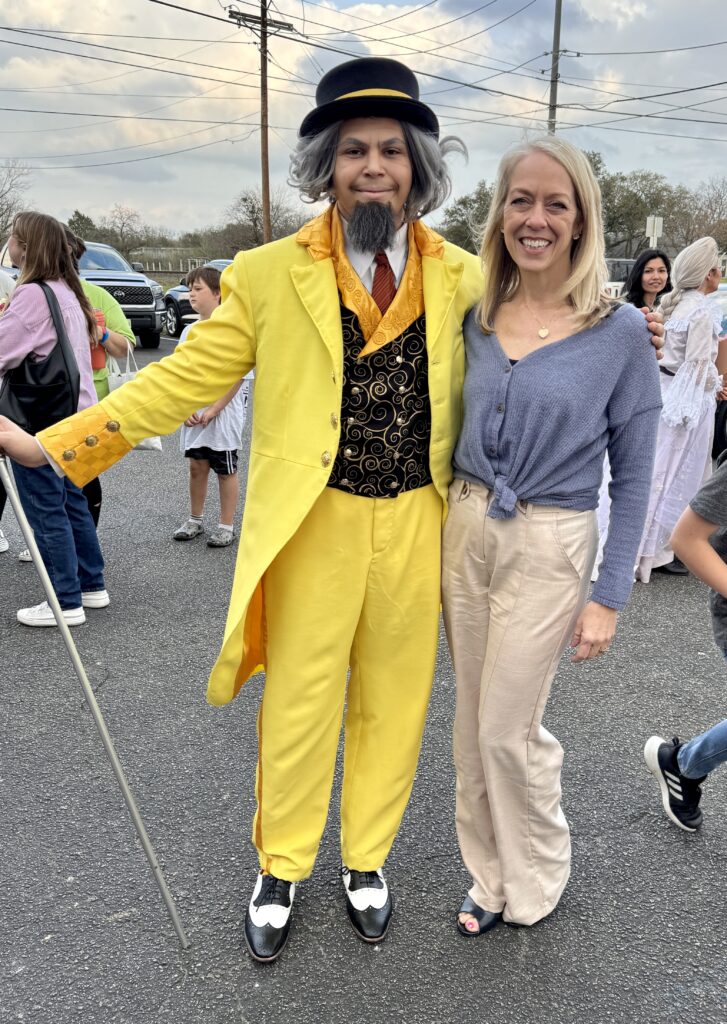
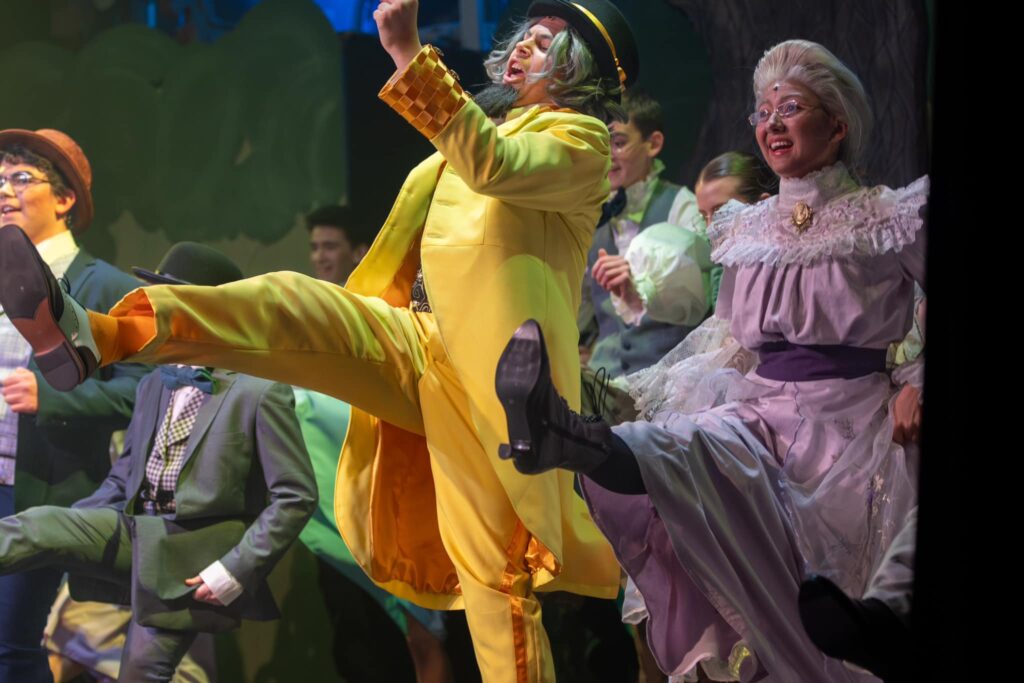
The back of the jacket had split tails, and a button to reinforce the back seam opening. You can also see the details of the woven satin at the back collar and sleeve cuffs. I took the jacket to another event I was working, and my friend tried it on. He had fun mixing audio in our awesome yellow suit jacket. After seeing the show, the actor and I snapped a quick photo together. He really brought that sinister character to life!